Table of Content
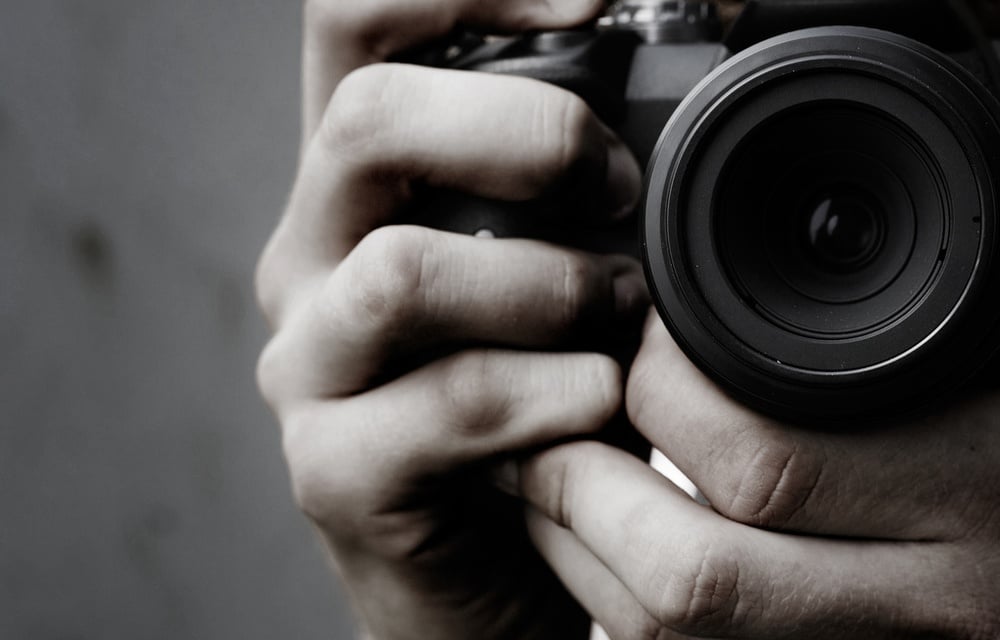
Photography is a beautiful form of expression, giving the person behind the lens the power to amplify a message with a single frame. When it comes to homegrown photography, there are a few ways you can make your photographs look professional. One of these strategies involves making a homemade light tent.
Lighting is critical when it comes to photography, and if you’re wondering how to create amazing photo lighting on a budget, then we’ve got just the thing!
Professional lighting kits can cost hundreds to thousands of dollars, making it difficult for newbie photographers to create stunning photography. The good news is that you can create your own homemade light tent, and it can yield the same high quality images afforded by thousands of dollars of equipment.
In this article, we’re going to tell you how to create a homemade light tent. You’ll need a few simple tools, about $10, and a little bit of patience!
Let's take a look a look at some of the tools you'll need for creating your DIY homemade light tent:
- A square box
- A white piece of paper, fabric, or poster board
- Tape
- Scissors
- An object to photograph
- A light or lights
- Patience
- $10
Creating a homemade light tent is easy peasy, and here are the steps:
1. You will need to get a box. Square is the perfect shape, but if you can't seem to find a square box, don't fret. As long as you can fit what you need inside, you should get desirable results.
2. Remove the top flaps of the box, and then make sure to cut large holes in three sides of your box. It's easier to use a blade, but if you have sharp enough scissors, those should work.
3. Add white side boards by using white paper, white fabric, or white cardboard found at a local department or dollar store.The cardboard can’t be reflective - if you're going to use anything that is thick, make sure it's not glossy.
4. Tape the white paper, fabric, or whatever you decide to use around the holes of the box and make sure that all three-sides are covered with the white item of your choice.
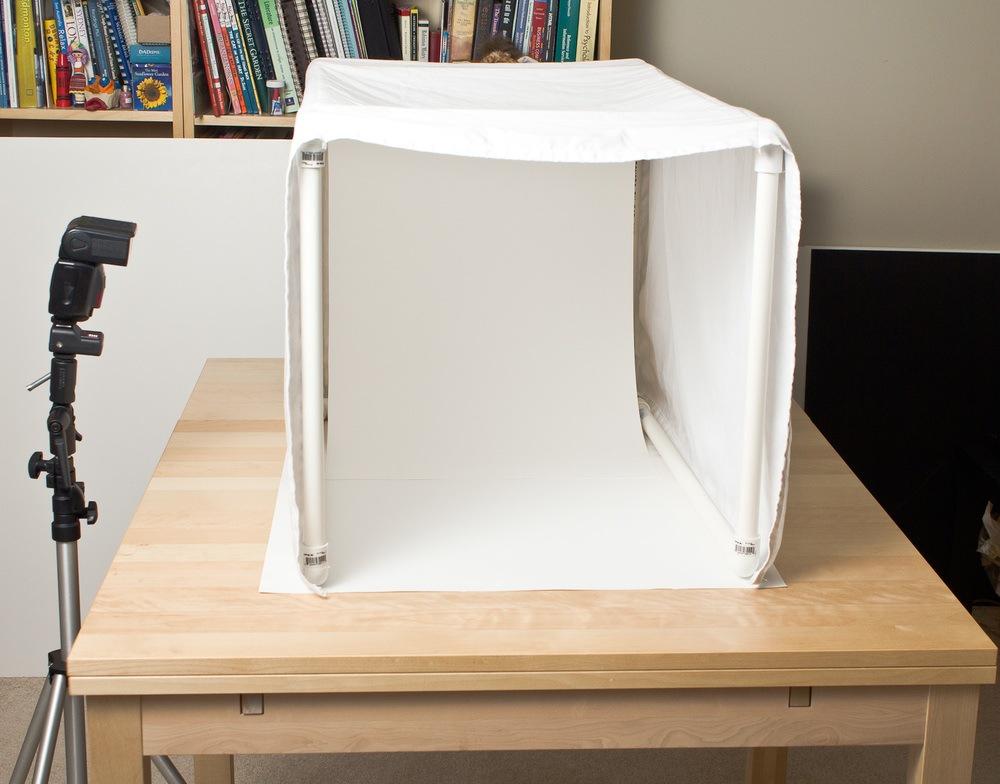
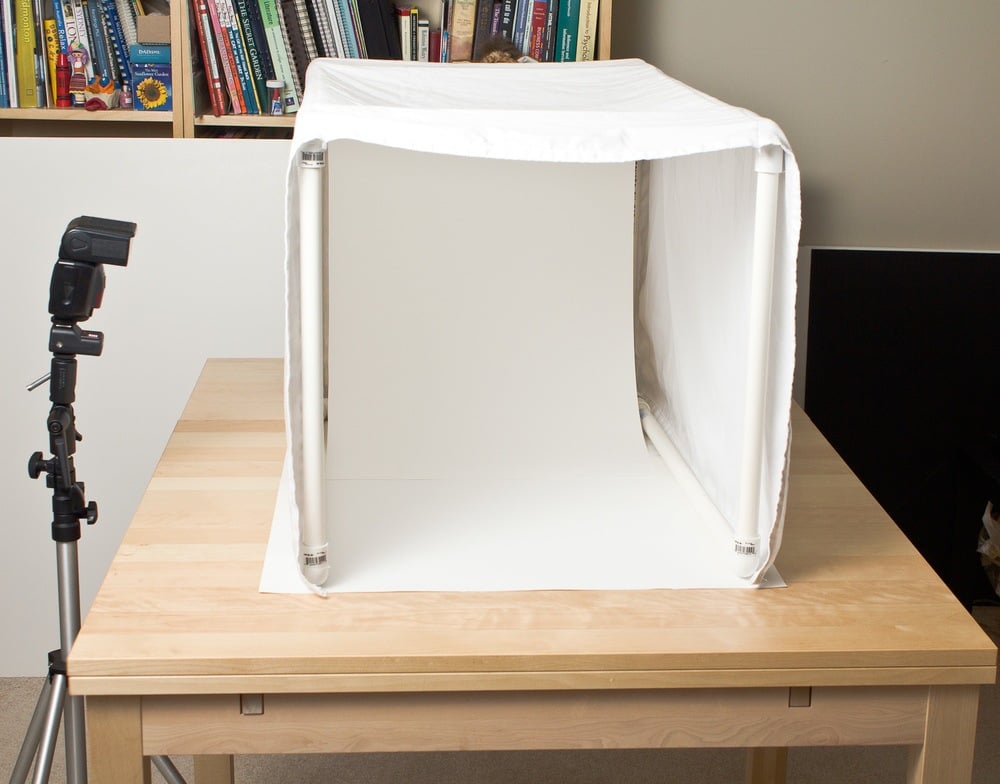
5. Test your new tent with a light and object. It might not be the highest quality tent for taking pictures and films, but it can provide quality lighting and help make your photographs look much better.
6. Are you looking for more light definition? Just add a light source on each side of the box. This type of setup is perfect for creating beautiful images and has a gorgeous effect on the object you are photographing.
Conclusion
The beauty of creating your own lighting sources and tent boxes for photography is the amount of control you get with the lighting. If you can dream it, then you can build it—creating tools for your photography studio doesn't have to burn a hole in your pocket. Sometimes, homemade is a lot better than store bought!
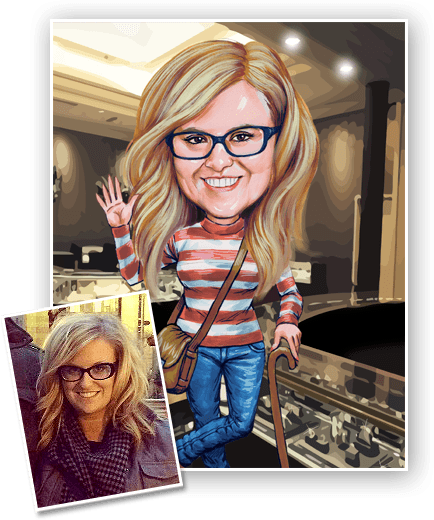
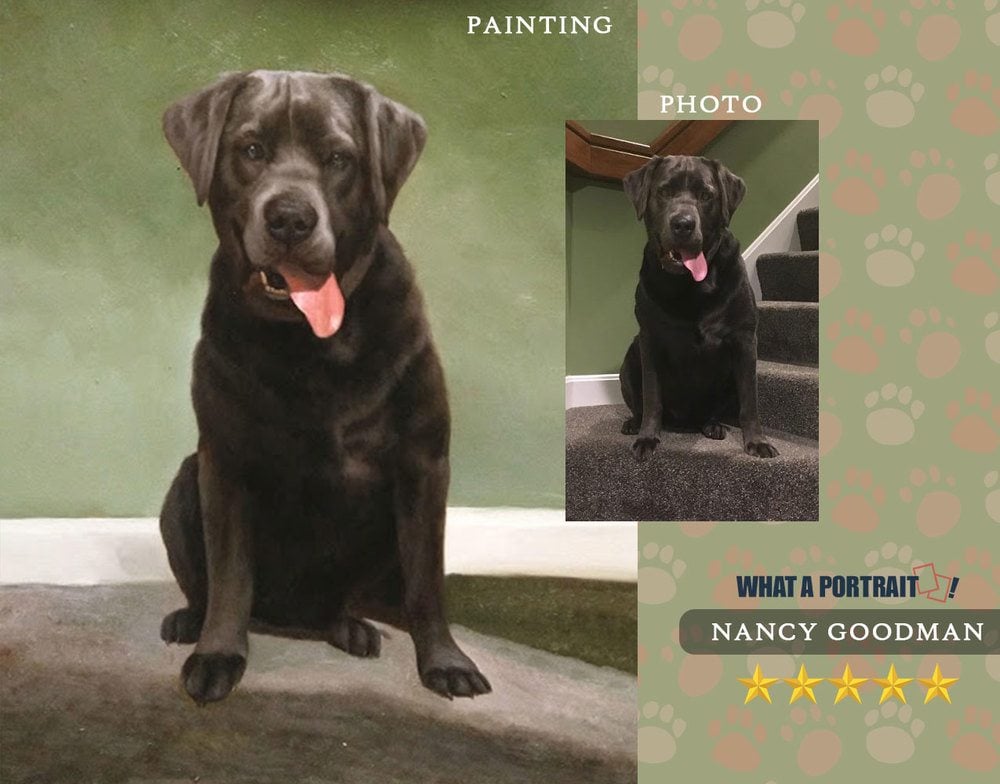
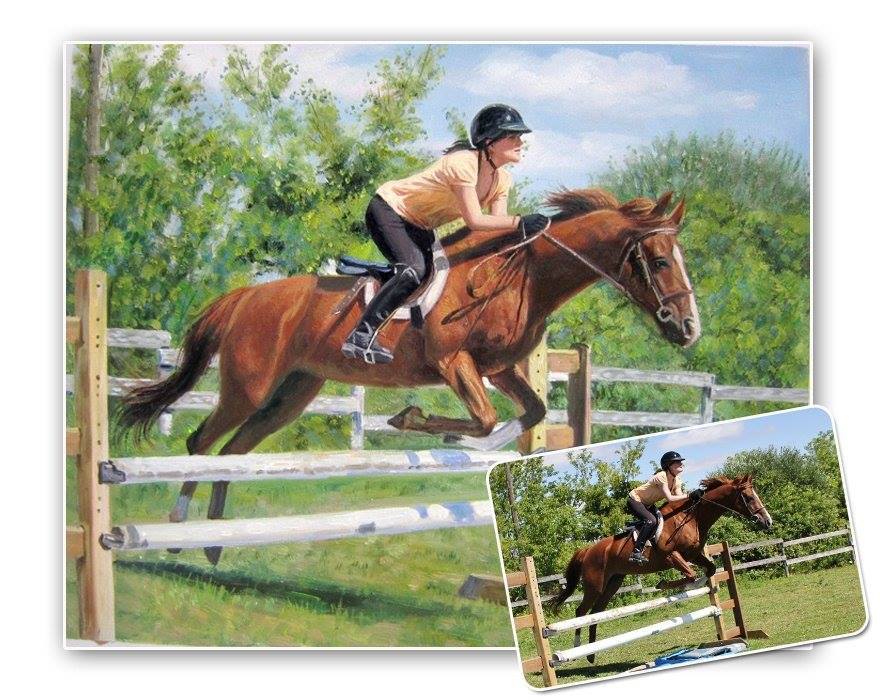
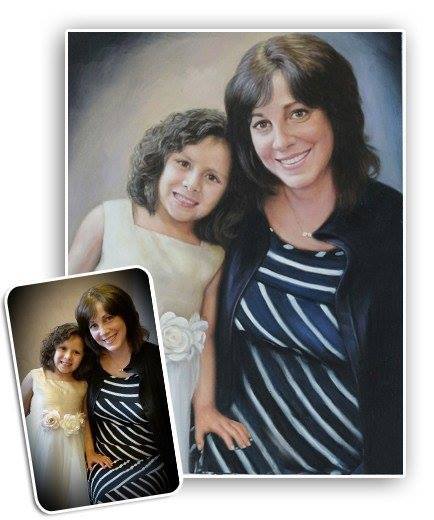
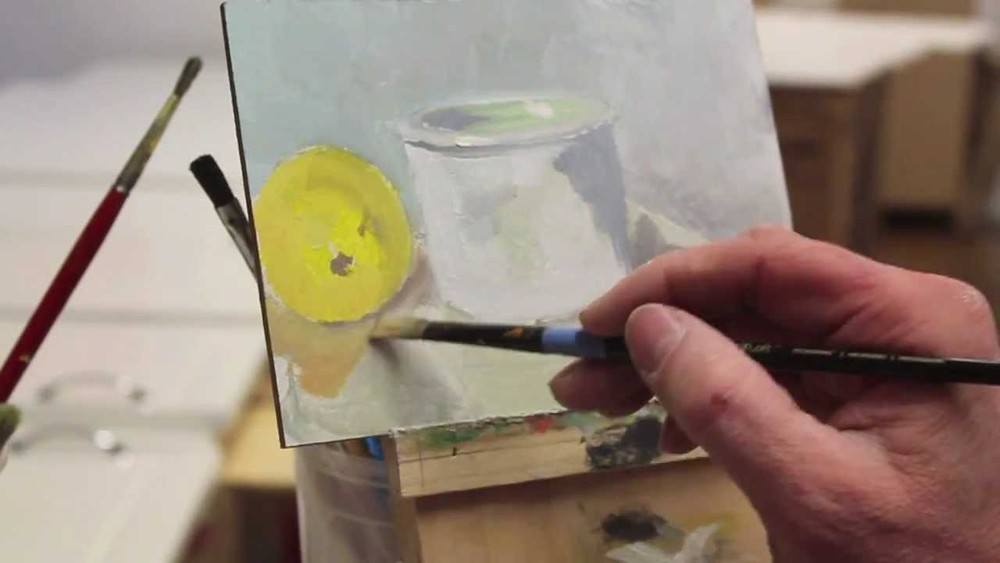
Don’t forget, you can even take your photography a step further by having us create a sketch or painting of your favorite images!


32 Comments