Table of Content
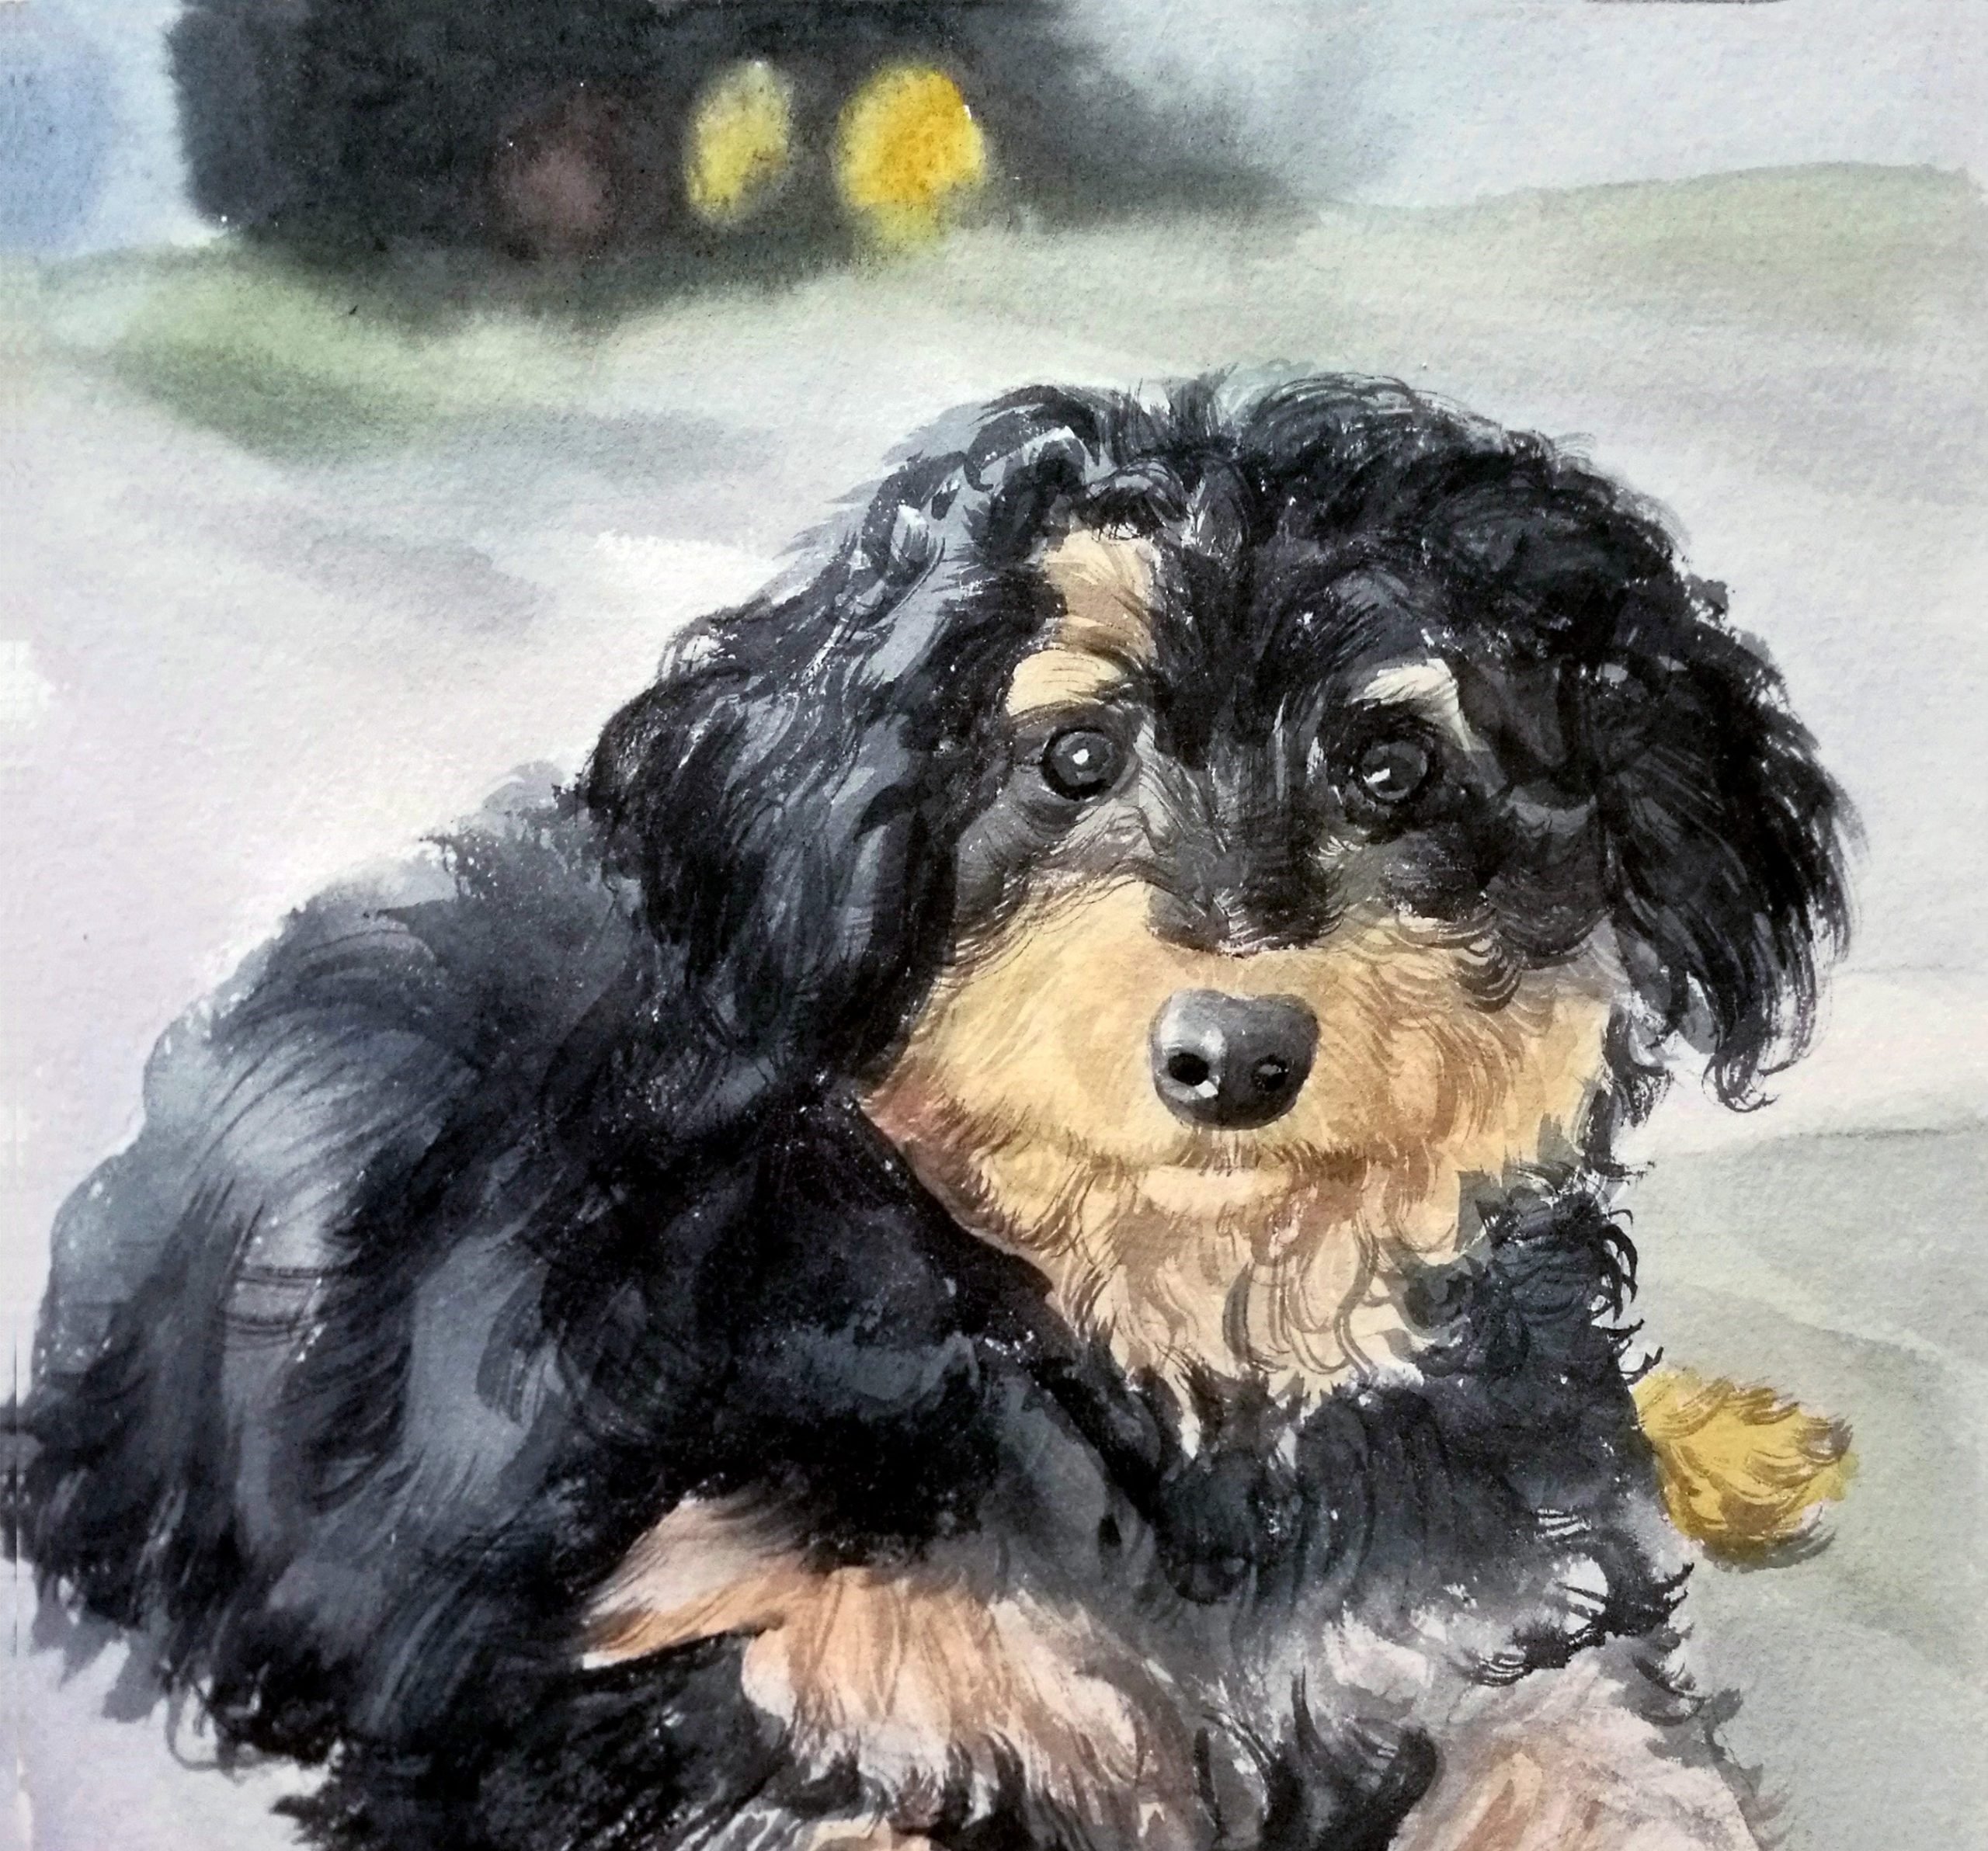
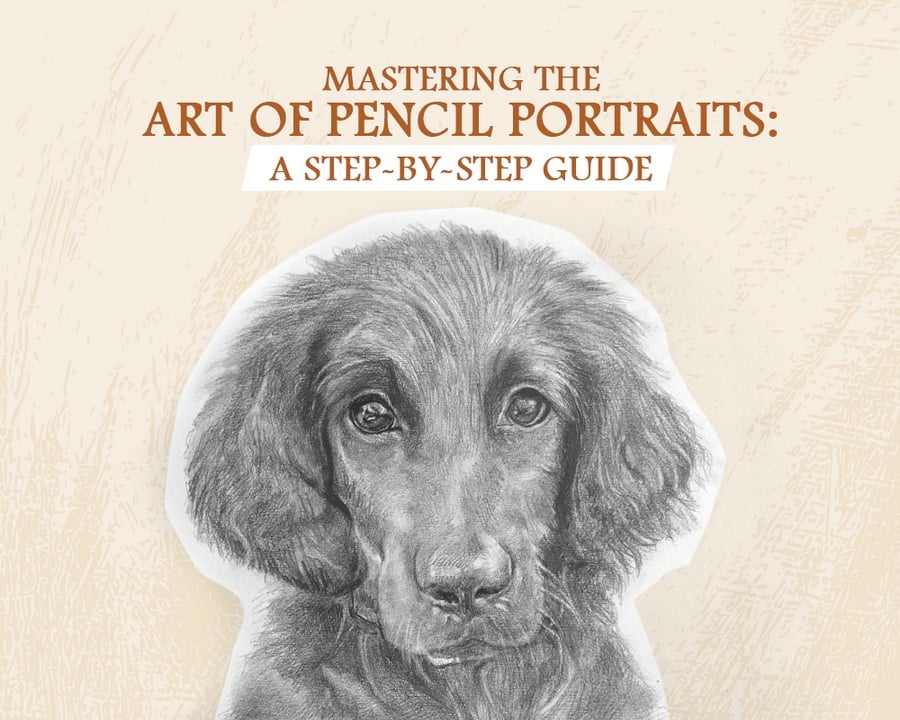
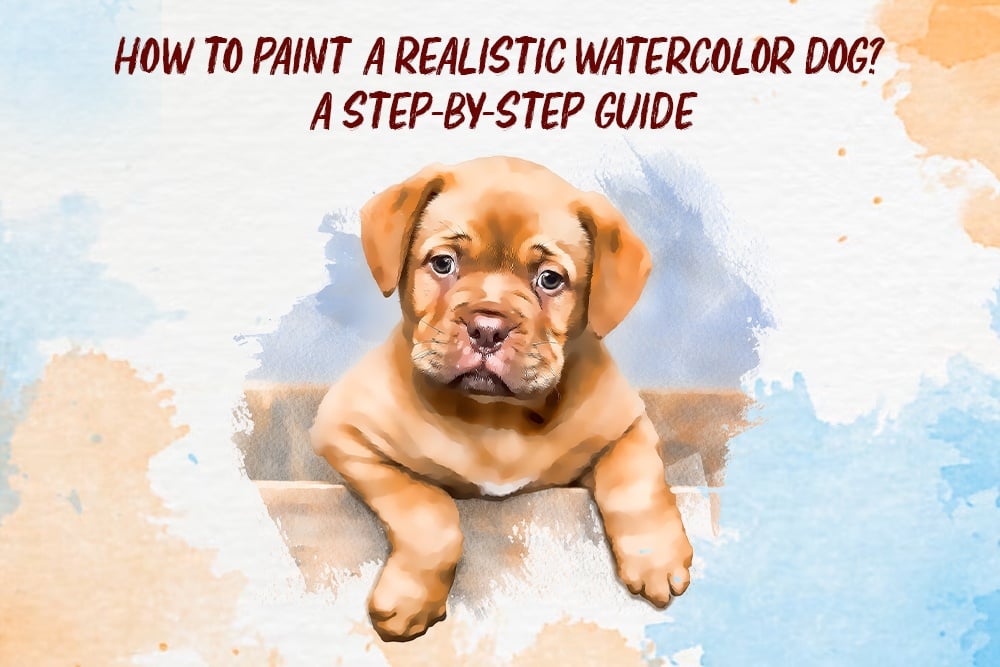
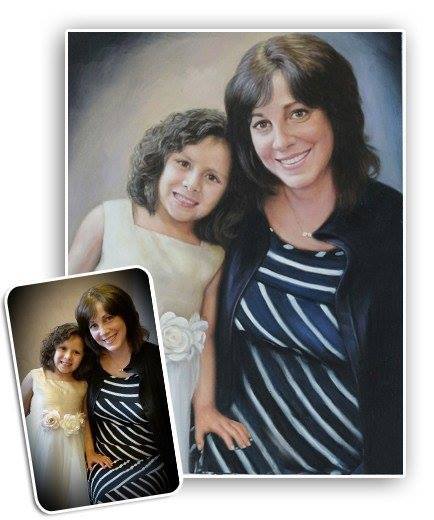
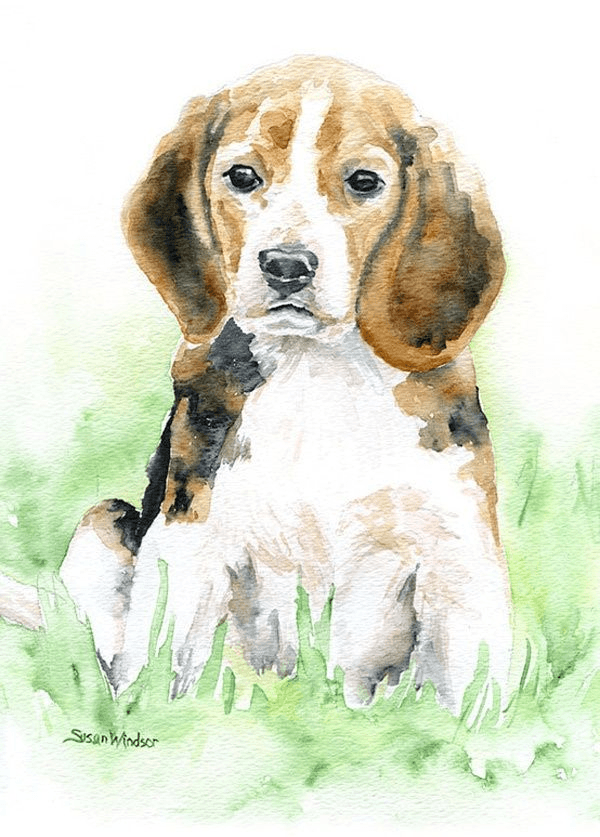
We all love doing our pet’s photography and storing those pictures as memories. Pet portraits remind us of our pet family and help us stay close to them. While many apps are available online for making a dog portrait, have you ever considered creating a realistic watercolor portrait of your furry friends?
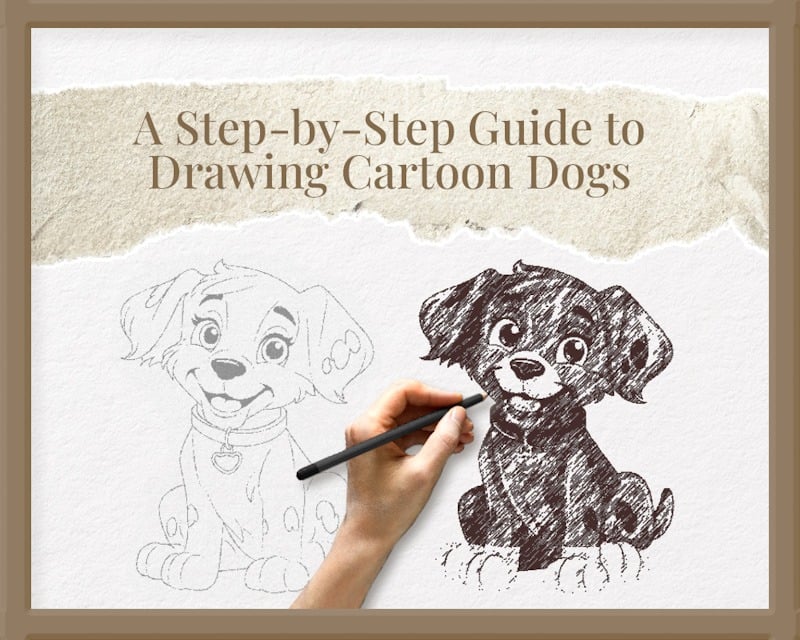
Do you own a dog and wish to paint a realistic watercolor portrait of him? Have you ever tried your hands on painting one? Are you searching for an easy tutorial or a guide to make one?
If you're also looking for a guide to painting a watercolor dog, you've come to the right place. Delve deeper into this article to explore the tips and tricks for expressive and lifelike dog painting.
Credit: Freepik
Credit: Pinterest
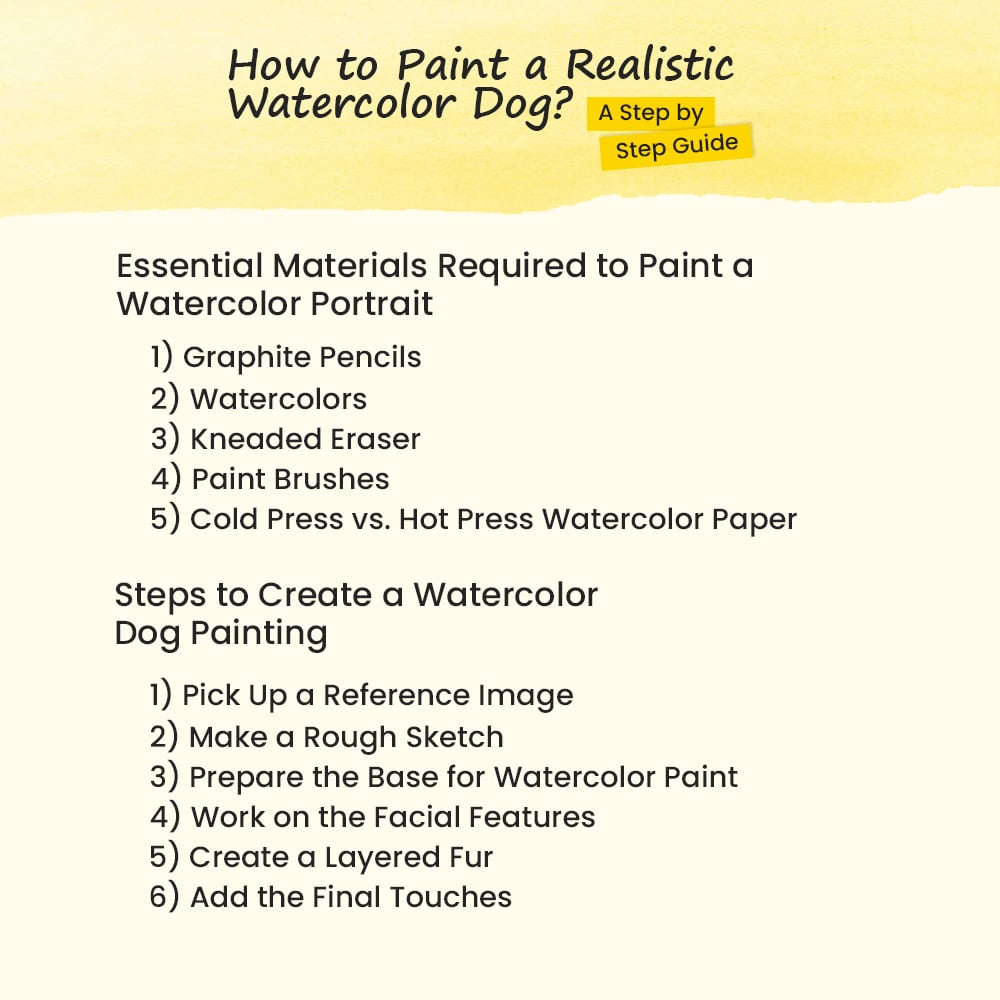
Essential Materials Required to Paint a Watercolor Portrait
Painting a watercolor dog is more challenging and complex than it appears. The two most important things, to begin with, are patience and technique.
Patience is necessary while creating any artistic piece. While making a watercolor pet portrait, one should take time and patiently handle things. Therefore, the artists must be patient with the techniques and methods of painting.
Learning the techniques is fundamental, and any artist must know the factors of painting to get the desired result. But, before starting to learn the tips and tricks of making an artwork, let's look at the essential tools required:
1) Graphite Pencils
Graphite pencils help people efficiently sketch a rough draft for a watercolor portrait. With the help of pencils, artists outline their subjects and fill the space later with colors. Using graphite pencils is recommended because they make light and erasable lines. One can purchase H or HB graphite pencils as they are best for sketching.
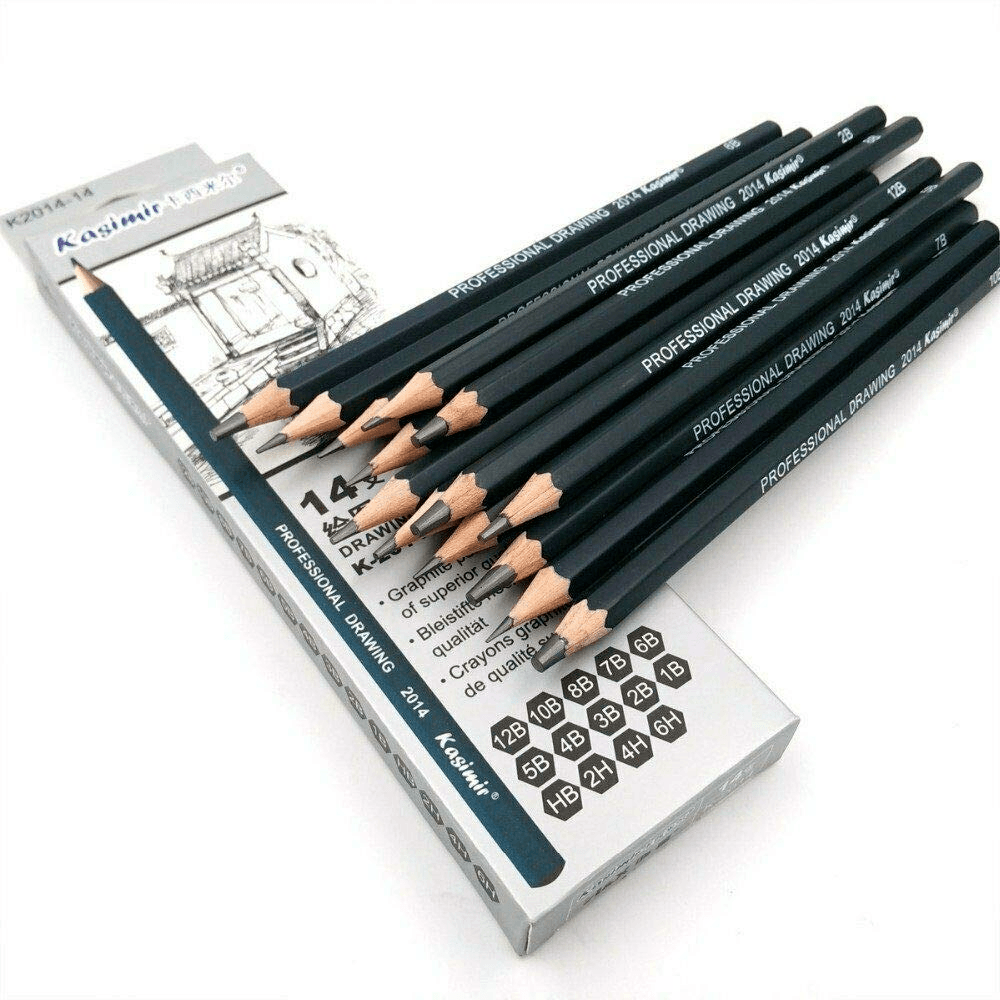
Credit: Amazon. in
2) Watercolors
Watercolors are best for creating landscapes and portraits. For a pet dog portrait, choosing a set of watercolors that is non-toxic for animals is vital. If, by chance, the dog licks or digests the paint, it should not harm them.
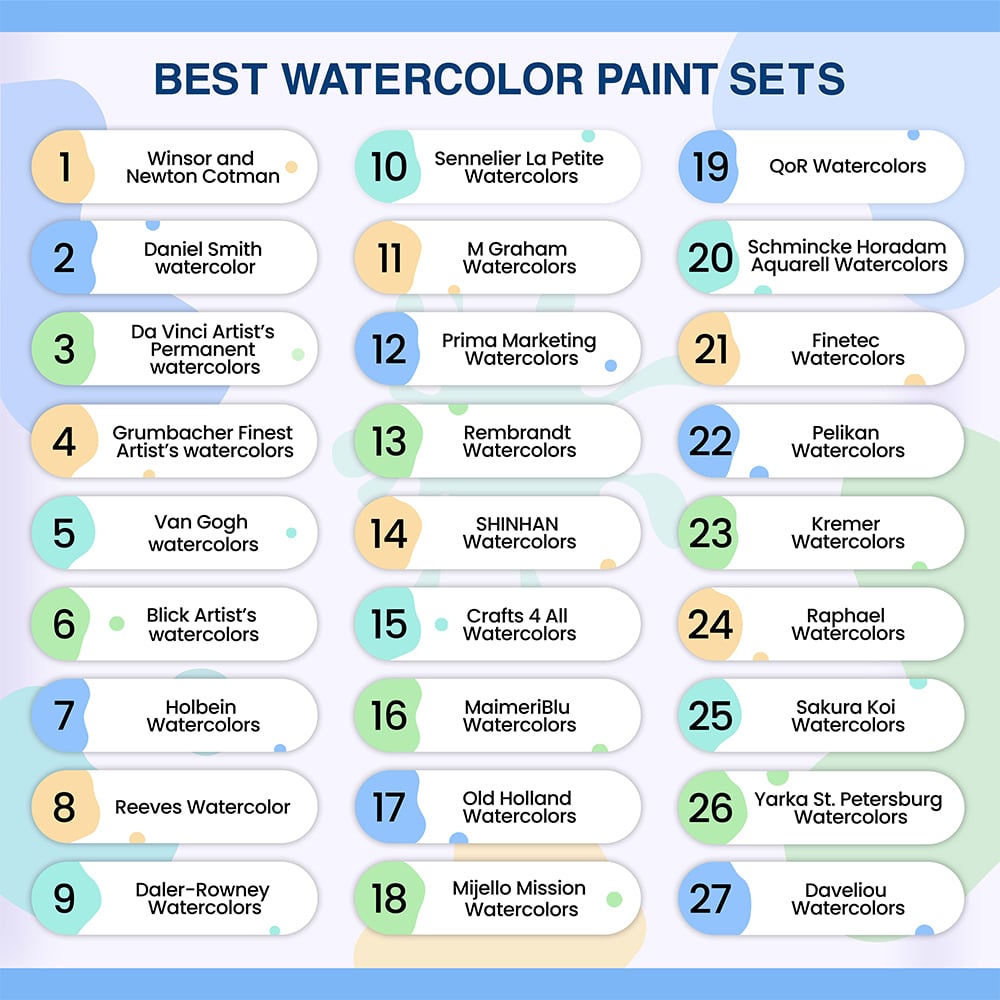
Apart from that, the paints should have high pigmentation for easy application. The formula of watercolor should be glossier, easily dilutable, and smoother. The best brand to buy watercolor paints is Winsor and Netwon Water Paints.
A mixing palette and a water container are necessary equipment, along with watercolors.

Credit: Windsor and Newton
3) Kneaded Eraser
A kneaded eraser is an essential element in any artist’s kit. An eraser can remove drawing mediums like graphite, charcoal, chalk, or pastels. As the name suggests, kneaded erasers can be molded and stretched into different shapes depending on the requirement.
The steps to follow while using a kneaded eraser are as follows:
- Unwrap the kneaded eraser on a clean surface.
- Stretch out the ends of the eraser, break it into two, and then knead them together.
- Combine some graphite shavings into the eraser to soften it immediately.
- Once you have softened and combined the pieces of the eraser, it is ready to use.
- Rather than dragging the eraser on your drawings, dab them to erase the part neatly.
- Once you have finished using the kneaded eraser, stretch and fold it back multiple times to clean it.
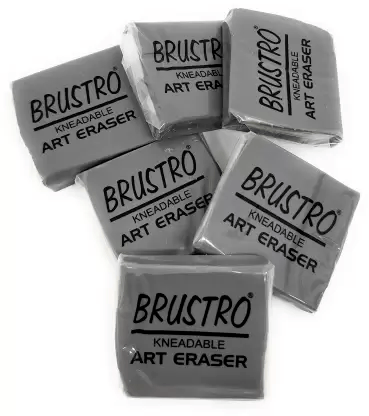
Credit: Flipkart
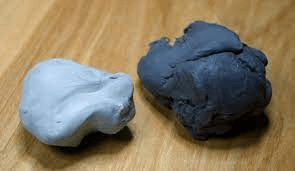
Credit: Wikipedia
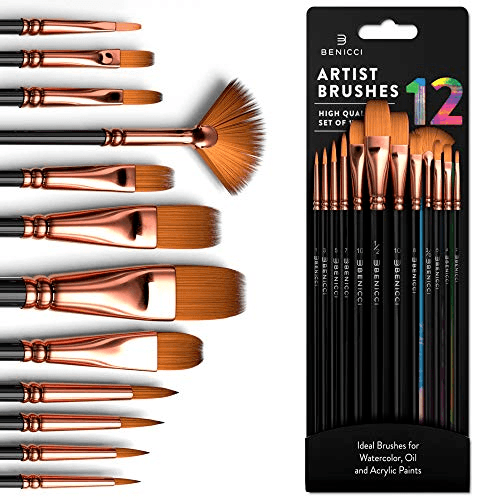
4) Paint Brushes
While various paintbrushes are available, the best-recommended ones are synthetic brushes. Synthetic brushes, specifically nylon, and polyester, are best used for their versatility and performance.
Nylon brushes combine two synthetic fibers that help hold the brush’s shape. However, they are best suited for painting with tempera, watercolors, or acrylics, but artists can also use them with oil-based paints.
The bristles of brushes vary in smoothness and hardness. Smooth bristles help create delicate strokes, whereas stiff bristles can hold thicker paints. Synthetic brushes come in an extensive range of quality and pricing. Artists can choose round, flat, or angled paintbrushes according to their preferences.
Credit: Amazon
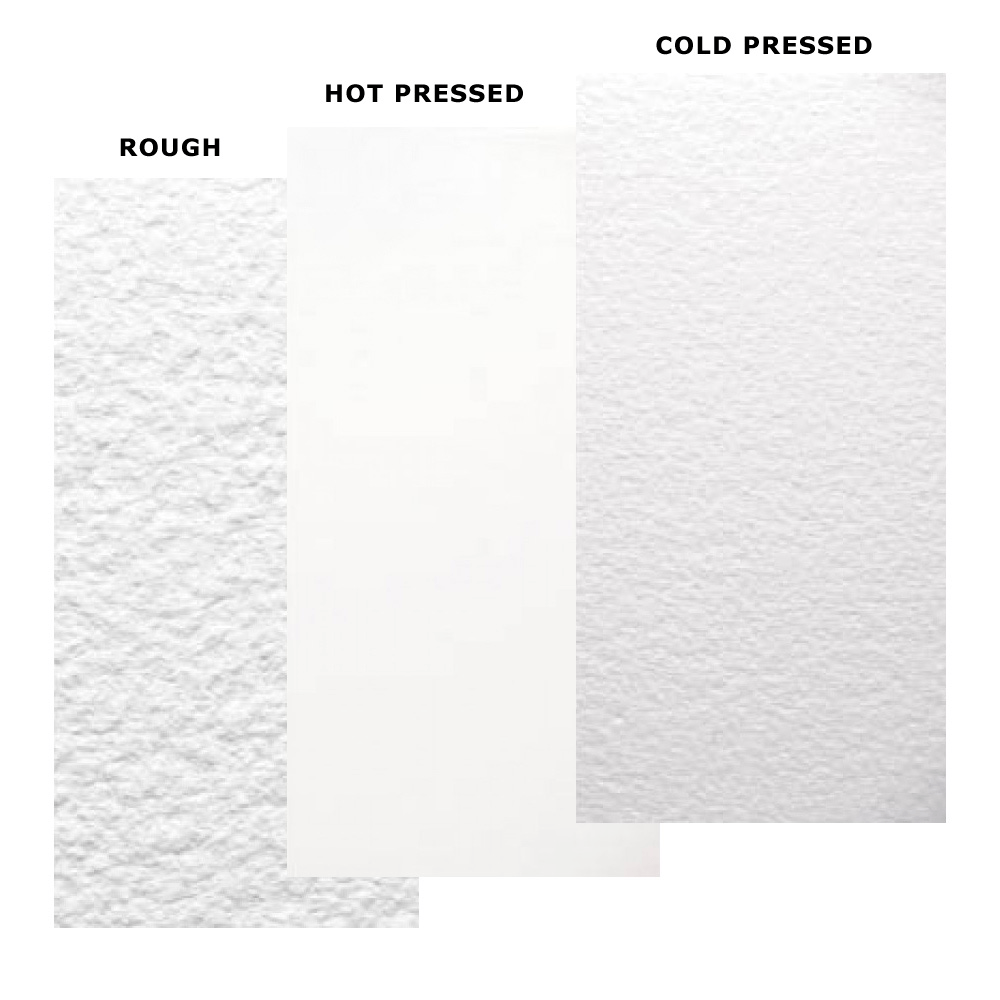
5) Cold Press vs. Hot Press Watercolor Paper
A cold press paper is a textured and toothed paper that is the best-suited for watercolor artists. The indentations on the paper's surface help absorb color and water effectively. A cold-press watercolor paper dries out quickly, so the artist has more time to blend and experiment with colors.
A hot press paper has a smooth surface finish that is less absorbent than cold-press paper. It is appropriate for giving precise brush details, such as transitions and gradients, to a painting. However, hot press paper is not suitable for layering colors.
Artists prefer cold-press paper more during water coloring because it gives them control over the water and colors. Its rough texture adds to the paper’s versatility and durability.
Credit: Himalayan Fine Art
Steps to Create a Watercolor Dog Painting
Let’s discover these easy and quick steps to make a realistic dog portrait:
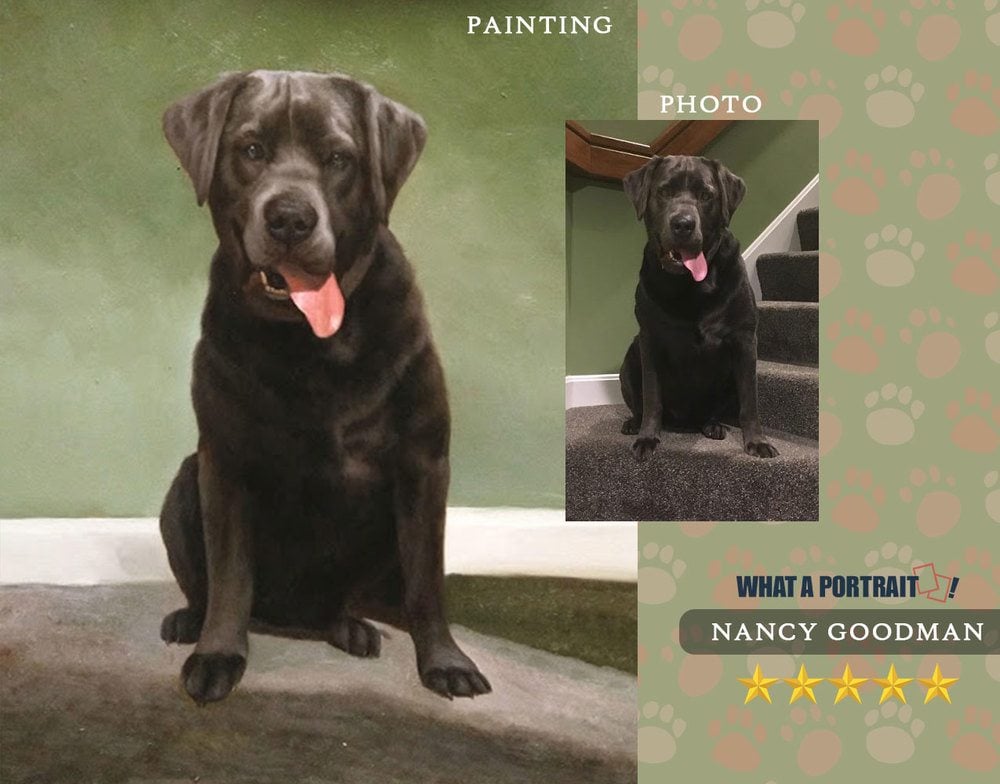
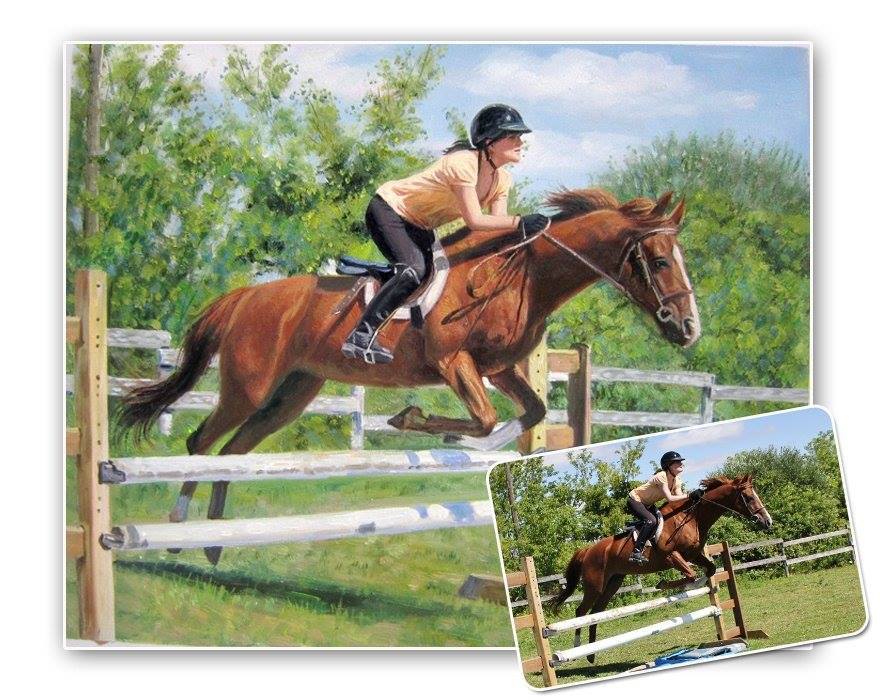
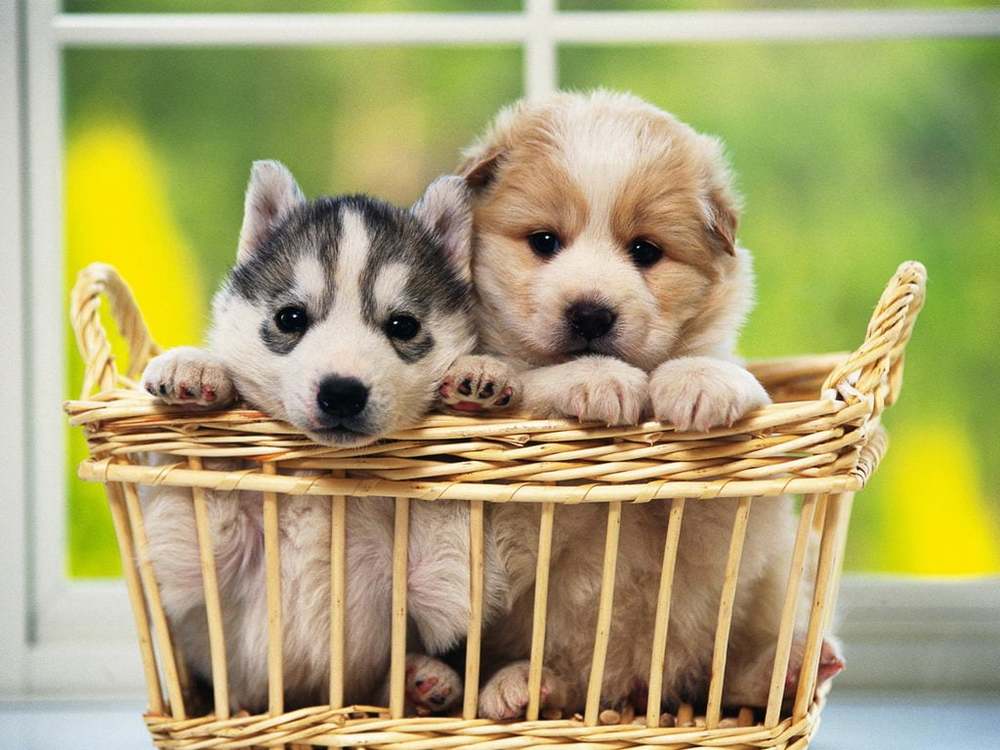
1) Pick Up a Reference Image
Before starting an artwork, gathering reference images for inspiration is important. You can capture your dog from different angles or even Google some pet photos. You can pick up high-resolution dog pictures from Pinterest, Shutterstock, an Instagram page, or other applications.
While selecting reference pictures, remember that the images should be clear and bright. The photo's composition, proportion, saturation, and light exposure should be accurate. You can even use editing apps like Photoshop and BeFunky to remove the background of the picture so that you can focus solely on the dog’s characteristics and features.
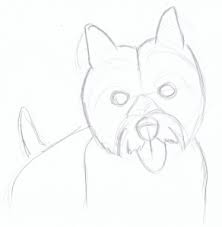
2) Make a Rough Sketch
The next step is to create an outline of your dog. Using a graphite pencil, neatly draw a rough sketch of your dog. Make light and fine lines that are easily erasable. Try sketching the same features and body structure.
You can draw freehand or use a transfer paper to trace the photo directly on the watercolor paper. A transfer paper helps you effortlessly replicate the exact figure on another piece, and tracing speeds up the sketching process and gives accurate results.
Credit: American Day Blog
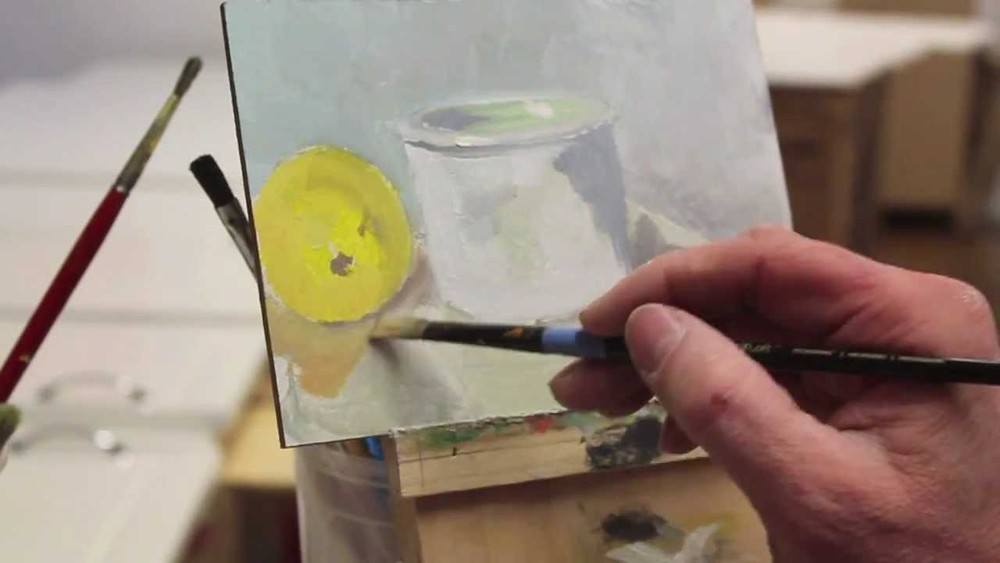
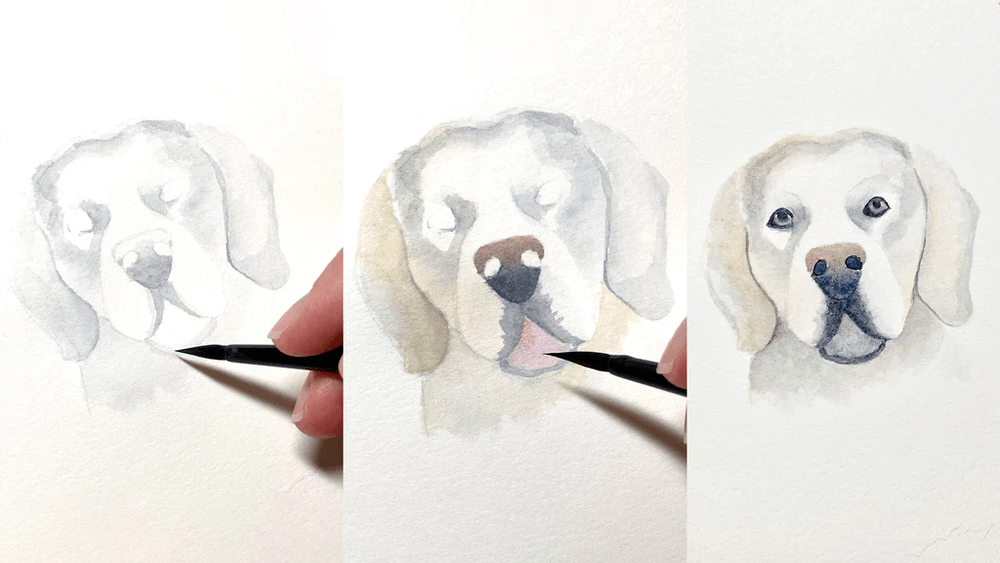
3) Prepare the Base for Watercolor Paint
After you have finished sketching the subject, begin creating a base coat. Using a round brush, cover the head and body of the dog with a layer of water. Covering the sketch with water is called the wet-on-wet technique. Use the wet-on-wet technique to give your picture a smooth and complex effect.
After applying a minimal layer of water, add the first washes of colors. While making a dog portrait, always go from light to darker shades. Choose colors according to your reference image from the palette. Dilute the colors with water to achieve the right shades.
To give a realistic touch, under the eyes or around the mouth, use lighter colors like yellow ochre or burnt sienna with a tinge of darker shades like cobalt blue and burnt umber. Now blend the colors and prepare a good base for your painting.
Credit: Etchr Studios
4) Work on the Facial Features
Expressive facial features add life and soul to a painting. Use small round brushes to make realistic facial features. Start with the highlights and reflections of the eyes. Go from lighter to darker tones and use the wet-on-wet technique to give the eyes a color gradation. Do not wait for the layers to dry; continue painting them one on the other. This way, the eyes look more natural and lifelike.
After completing the eyes:
- Work on the nose, mouth, and tongue.
- Look at your reference image and identify the shadows in the picture.
- Cover the dog’s nostrils with a dark color like black, then create a grey shade around it.
- Give the dog’s jaw a sharp lining and finalize the features.
Use burnt sienna color to map out the dark areas and create layers of light, dark and mid tones on the subject. Mix and blend the colors to give the face form.
5) Create a Layered Fur
The fur covers a dog's entire body, so painting the hair coat in a pet portrait is crucial. From the beginning, use short visual lines with a natural hairy texture. Use broader brushstrokes with diluted colors to block shadow areas.
Use the wet-on-wet technique to paint smoother and lighter fur. Layer up the fur area to darken the portrait. Apply dark colors to add layers and give natural creases and textures. You can re-wet your painting and apply color until you get the desired shade.
Credit: Youtube
6) Add the Final Touches
The last and final step of painting a watercolor pet portrait is adding finishing details and touches. As you are nearing the completion of the painting, go through it again and minutely check all the details.
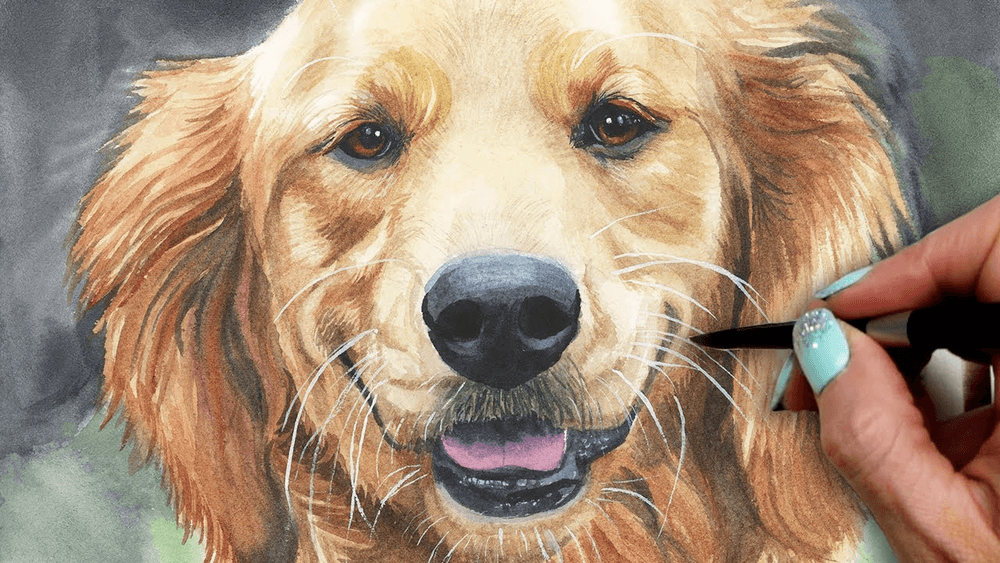
Soften the transitions and add layers to darken the portrait. You can also use diluted white paint to highlight specific areas or create whiskers on the dog’s nose. Once you have finished the watercolor portrait, let it dry up completely.
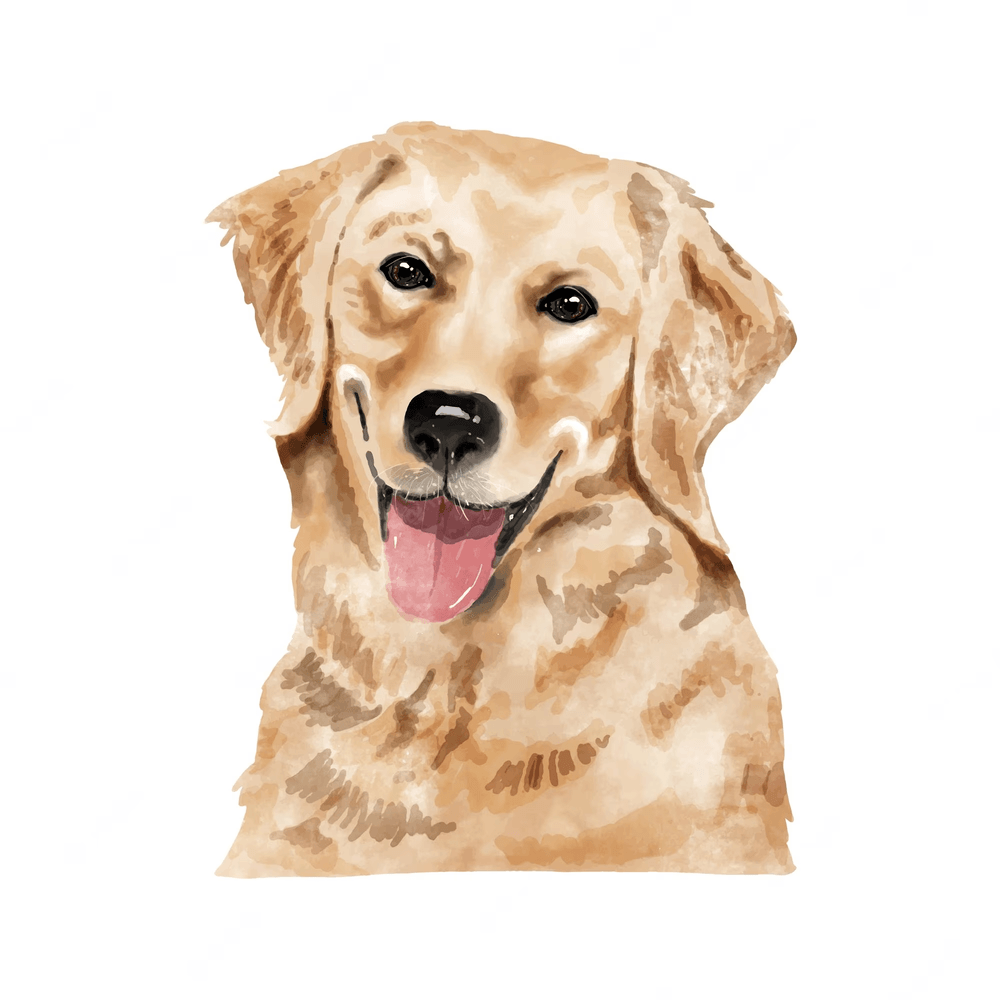
That’s it, and your realistic watercolor portrait is ready.
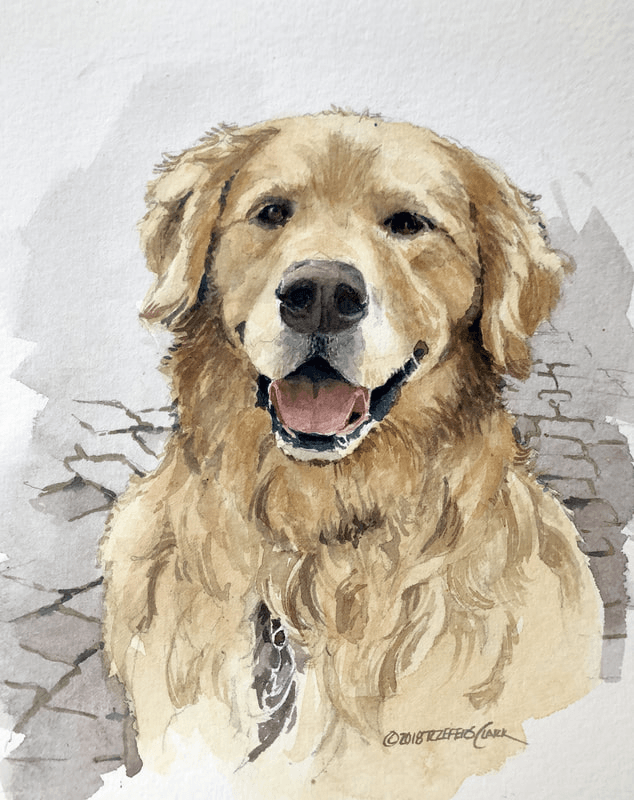
Credit: Brookside Studio
Conclusion
To summarize, making a realistic watercolor painting requires patience, effort, and hard work. The painting may turn flat and unrealistic on your first attempt, but anyone can create a beautiful hand-painted dog portrait with practice. You can develop and improve your artwork with constant effort and learning different methods.
So next time you plan to try painting dogs in watercolor, scroll through these easy steps and learn the tips for making a pet portrait. You can even watch Youtube tutorials or videos on painting lessons and attempt to create portrait paintings of more animals.