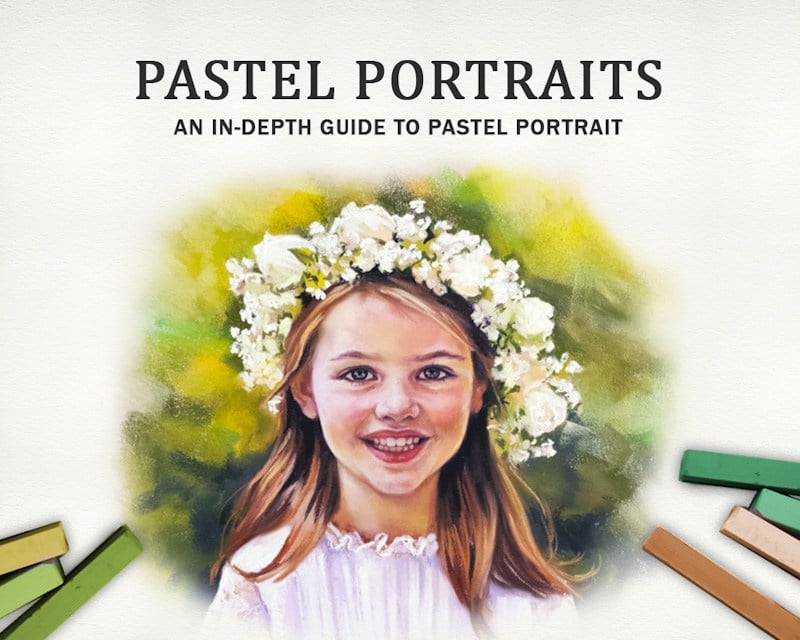
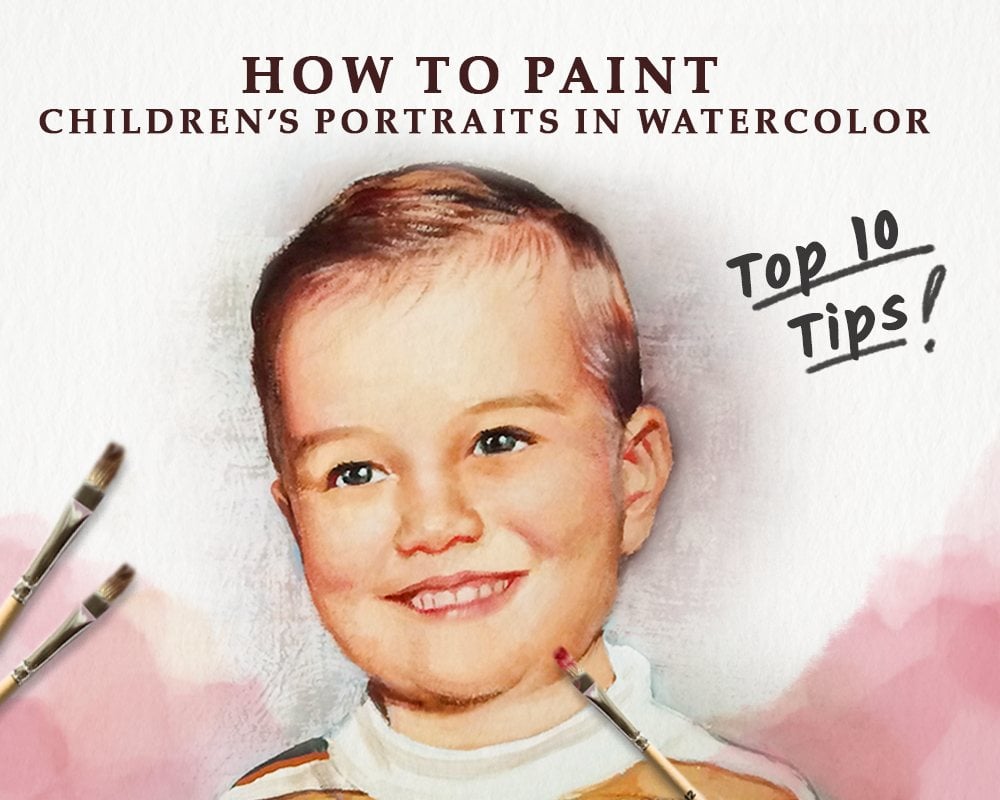
Table of Content
- Watercolor: the overly runny medium?
- Gathering the art supplies
- Choose a high-quality reference image
- The next step is to ink your portrait with a waterproof pen.
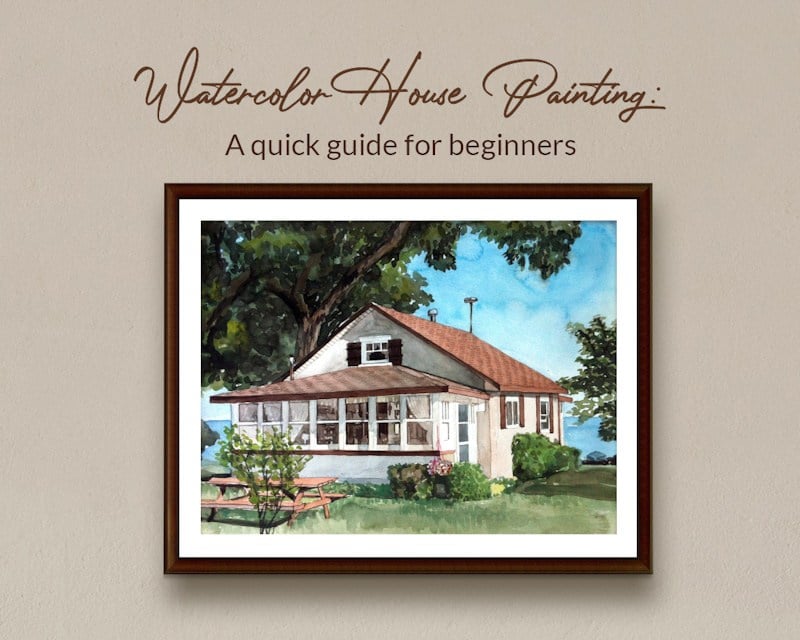
- Painting The House Portrait
- Preparing colors and brushes
- Painting the shapes and details of the house
- Layering color to add depth and dimension
- Finishing touches
- Framing and finalizing the piece
- Attaching the finished piece to the frame
- Conclusion
Want to capture the soul of your new home in a painterly fashion in its full glory and have it framed as family memorabilia? Believe it or not, you might be just a few brushstrokes away from getting there!
It could be sweetly redolent of your childhood home or a thoughtful gift to your mom or someone close to your heart. It could be a personal art project you've always wanted to embark on, or maybe you like a good challenge. Whichever the case, rest easy, as we're here to help and turn this house portrait painting process into a walk around the patio!
Embracing the notion that "Home is where the heart is" to enshrine and eternalize your heart and home through a timeless portrait is a beautiful yet enduringly artistic endeavor that takes effort, will, and commitment, so let us now delve into the process of painting your very own watercolor house portrait House portraits from Photos through this easy-to-follow step-by-step guide to creating custom watercolor house portraits for absolute beginners!

Credit: Letter lane studio
Watercolor as a painting medium has been in vogue for centuries and not without good reasons – versatility, affordability, compactibility, and manifold therapeutic benefits. Fundamentally, it has four main ingredients: Gum arabic, additives, and evaporating water. Gum Arabic is used as a binder lending it luminosity and gloss. It also affects the flow of the painting by slowing down the spread and can be added independently to your paint. Additives like honey or ox gall are used to alter the viscosity. Its fluidity, transparency, and fast drying time make it an excellent choice for "en plein air" (or open-air) painters who enjoy painting outside and rendering meaning to landscapes through direct observation of their surroundings. Although widely known for his oil paintings, Van Gogh, the trailblazer of post-impressionist style paintings, started his painting career by briefly working with watercolors, completing around 150 pieces using them. The 20th-century painting virtuoso Pablo Picasso also used watercolors in his paintings, distinctly marking his "blue period."

Credit: Wikipedia
The origin of watercolors, however, dates back to the Stone Age when illustrations of animals and humans were engraved on caves using charcoal, ochre, and other pigments. It then saw its heyday both in Egyptian (after the discovery of papyrus) and Chinese art. Albrecht Durer is credited with popularizing the watercolor painting technique during the Northern Renaissance era when landscape and architectural paintings rose to prominence. Durer was known for his skillful woodcuts and engravings of animal and human bodies, done with great precision, accuracy, and a disquietingly breathtaking patina. The Industrial Revolution and the commercialization of watercolors at the height of the impressionism movement made tube paints accessible and affordable. Modern-era watercolor paints use saturated, deep, and pure colors to create evocative one-of-a-kind pieces.

Early cave painting
Credit: google reference image

Three studies of a bullfinch painting by Albrecht Durer
Credit: fine art America

woman knitting by Vincent Van Gogh
Credit: Vincent Van Gogh Gallery

Meditation 1904 by Pablo Picasso
Credit: Etsy
Watercolor is just the perfect medium to start with as a novice artist due to various reasons:
Clean, safe, and environment-friendly: It has none of the problems other paint mediums are fraught with, like the presence of harsh chemicals or toxicity from inhalation (e.g., turpentine or other solvents). It also eliminates the risk of being hazardous to pets and small children.
Affordability: they are highly affordable, unlike other paint mediums, making them more easily accessible and available to people from all walks of life.
Compatibility: the portable size is one of their unique selling points, making them travel-friendly.
Its high blendability compared to other mediums and fast drying time gives it an edge over other paints. It is also a highly therapeutic outlet for the ventilation of emotions and thoughts - stimulating creativity and lowering anxiety.
Watercolor: the overly runny medium?
The watery quality of the paint makes it somewhat daunting to work with due to the runny texture, often ruining the quality of the paper (as it has to be water-absorbent). This makes watercolors notoriously challenging to work with fragile surfaces causing the paper to tear, rip or crack. The finished painting also needs glazing as an additional layer of protection to prevent it from insects, mites, mildew, accidents, and toxic air. The technique itself takes years to master as one has to learn to control the brushstrokes and know the exact water-to-paint ratio needed to paint, making it less favored compared to other paint mediums, even by seasoned artists.
Fascinatingly, architects highly prefer watercolors in architectural visualization due to the details added to buildings, furniture, and decor, allowing them to zoom in and focus on their subject. The flow helps highlight the harsh crisp edges and bring balance to the painting, making it an efficient and concrete way to map out their schematic plans on paper.

Credit: Angela Fehr watercolor
Some key things to keep in mind when painting a portrait using watercolors are:
- Developing control over the painting technique and going from "light to dark" instead of the other way around as in the case of oil paints
- Developing control over the fluidity and thickness of painting and knowledge of working with different brushes and sponges.
- Avoid overpainting and softening dry edges. Adding more brushstrokes than necessary waters down and ruins the painting's quality
- Try not to be overly meticulous about "mistakes" when sketching or painting, and fix areas that will either get hidden or be painted over.
Gathering the art supplies
Beauty is in the eye of the brush-holder! So let's begin by setting up the workspace and gathering all the art supplies you will need:
- Pencil
- Erasers
- Watercolor paint
- Watercolor paper
- Watercolor marker
- Brushes
- Cup of water
- Paper towels
Choose a high-quality reference image
The first step is to choose a high-quality reference image (make it as 2D as you can)
- Print it in black and white to capture the tonal values correctly.
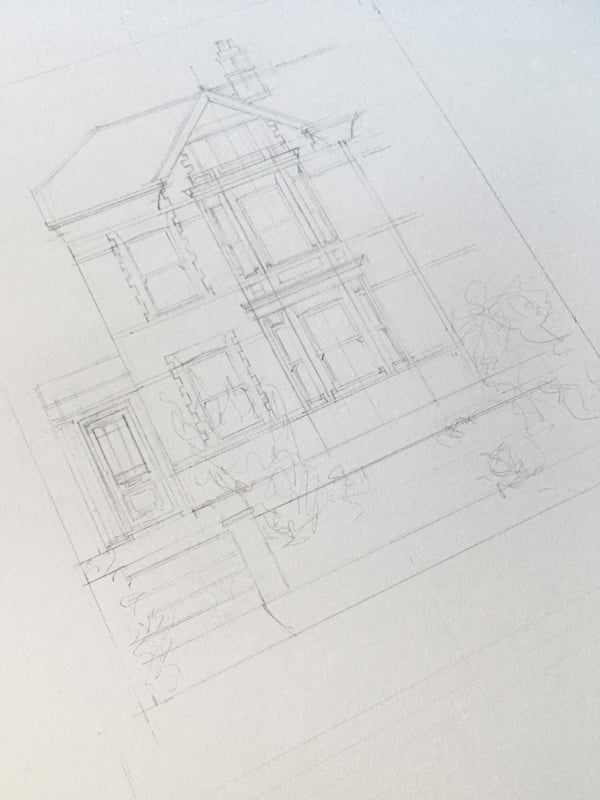
- Using the reference image as your guide, carefully make a preliminary drawing with your 2b pencil. You may trace the image using a window, projector, or lightbox onto the watercolor or drawing paper.
- Side note: Ensure that you're using cold-pressed watercolor paper as they're designed to withstand multiple washes and bring out the brilliance in your painting,
- At this point, observe the different angles and sketch out the parallel and horizontal lines to work out the proportions and composition of your portrait and eliminate any areas that aren't central to your portrait before inking it.
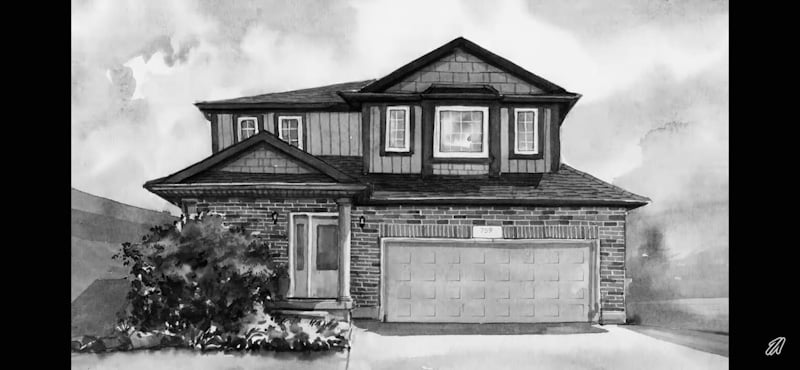
(This is a black-and-white version of the finished painting for illustration purposes, but use an actual black-and-white photo for yours)
The next step is to ink your portrait with a waterproof pen.
Start with the roof lines as it is the easiest to begin with, being the most extended straight lines of any drawing, and then using that as a starting point, start filling in details.
This is the most time-intensive part of the sketching process, so take your time to work on the details and don't fret over the little imperfections, as they'll be hardly noticeable once your painting is complete. Feel free to erase unnecessary pencil lines once your ink has completely dried.
Here's a tip: use a thicker marker to work on the main layout of the house and a thinner one for the detailing to add a layer of dimension to your portrait.

Painting The House Portrait
And now on to the most exciting part – painting the portrait with watercolors!
Before we begin, if you're feeling stuck or confused about what colors to go with or need a prototype for inspiration, exterior houses design apps like DreamDesign and My PaintColors allow you to customize trim designs and sidings while also enabling you to experiment with various colors, textures, and materials. Snap a photo of your wall or the outside of your house and select a color from the built-in database of brand colors. It will automatically replace it with the desired color. Apps like Sherwin Williams ColorSnap Visualizer allow you to virtually paint your room by capturing colors from your surroundings and matching them to the image.
If you're Photoshop savvy, you could also change the color by masking, changing, adjusting, and recoloring the selected area, as explained wonderfully and in great detail in this video.
Change your House Color in Photoshop - test new colors to paint your house - YouTube.
Preparing colors and brushes
A quick color mixing 101
As houses generally don't require a diverse palette, it's best to use a limited palette to make your house painting come to life. You'll be needing:
- Four different tones of green (for foliage) – "Green Earth" is especially great for this
- Three tones of orange or red (for the bricks)
- Gray ("Slate" from Greenleaf & Blueberry – for concrete)
- Blue tones (Ultramarine blue and cobalt blue)
- Black and "Violet Hematite" – for shadows
= 2 round brushes and one flat brush
- Paper towel
- 2 cups of water
Begin by wetting the paper with a light wash of the background color that complements your house. Stick to a neutral blue-grey wash to lay out mid-tones. Use a broad brush to make quick brushstrokes.
While there is no one-size-fits-all approach to begin your painting, it is considered best practice to paint the lightest and largest areas if you need help with how to begin.
For the sky, use a mix of ultramarine and Prussian blue and add light grey shadows to the underside of clouds.

Credit: YouTube
Painting the shapes and details of the house
Start from the top for the roof and mix blues, greys, and burnt sienna.

Credit: YouTube
Consider using orange-ish red tones (burnt umber, cadmium yellow, alizarin crimson) for the bricks and shingles. After thoroughly drying the paint, paint the rectangles for a more realistic brick-like look. It's always a good idea to spatter with clean water for a more rustic look. Add a light tint under each brick to create a shadow. Use a white pencil to add dimension to the edges.

Credit: Pinterest
For the windowpanes, use a mix of cobalt blue and Prussian blue.

Credit: YouTube
Layering color to add depth and dimension
For the foliage, in the first layer, lay out the basic shape of trees and grass. In the second layer, add details like leaves and shadows. Consider mixing hooker's green and phathlo blue to make the foreground pop, giving it the illusion of depth.

Credit: YouTube
When adding details, be mindful of where the direction of light is coming from.
For the siding and trim, use a fine-tip brush to add details. Wherever shadows fall (due to the reflection from the sky), add a layer of blueish tint (you can use cobalt blue and mauve to achieve this effect). Incorporate glazing, a wet-on-dry painting technique on top of dried layers.
Tip: Squint your eyes to gauge whether to make your strokes darker to lighter! This will help you get a better idea of where contrast is needed.
To fully attain a 3-dimensional effect, add highlights, mid tones, and shadows.

Credit: YouTube
Finishing touches
- Darken and soften edges where the shadows fall, especially the roof and the sides of the house.
- Use a big flat brush to apply loose dark washes
- Black shadows could benefit the trees and bushes as well
- If you're unsure, use tracing paper and scumble on top of it to see what it'll do before you work on the painting
- You can also make use of Photoshop for this.
- Feel free to work on the details with the watercolor marker once the paint has thoroughly dried.


credit: YouTube
Framing and finalizing the piece
Choosing the right frame for your portrait painting can be tricky, especially when there are so many different colors, sizes, and styles of frames to choose from.
A Frame not only protects but enhances the aura of the painting itself, so choosing the most suitable frame is vital. A good frame will enhance and complement the painting without stealing the limelight of the actual artwork.

Credit: Etsy
A few key things to consider when shopping for your frame are:
- Choosing a complementary color
- Choosing a frame that contrasts the color of your painting: when in doubt, always use an understated over an overstated color
- It is best to use traditional wooden frames like ash, basswood, cherry, or walnut for portraits and landscapes, while gold-leafed frames are great if you want to add a baroque touch to your house portrait.
- Consider the overarching style of your room and room decor and choose a frame that aligns more with it, as a good frame can help bridge the gap between the mood of the painting and the room itself.
- Note: Neutrals are always a safe choice: you can go minimalistic with simple colors like grey, white, cream, or black frames or keep things elegant with unpainted gold or silver.
- Material: while wood and metal are classic choices, other materials like glass and plastic are also solid frame choices.
- Width: old-fashioned paintings typically use thicker, heavier, and more ornate frames to serve an ornamental function; however, modern contemporary art uses thinner frames allowing the artwork alone to enchant the viewer.

Credit: Summit Shore Creative

Credit: Wikipedia
Watercolor paintings, in particular, are fragile and look best when framed with a "mat" or mount. This thin strip of paper is often included with the frame. It helps to close the gap between a larger frame and a smaller painting. Acid-free mats help protect your artwork from deterioration by ensuring the painting doesn't directly touch the glass. You can choose between neutral or colored mounts and even double mounts to introduce subtle colors.
Ensure the glass has a UV filter to prevent it from fading due to UV exposure.
Attaching the finished piece to the frame
It's finally time to frame your finished artwork!
Get a framing kit that comes with built-in materials required for framing. Follow this youtube video for the complete process of How I Frame my Watercolor Painting / Easy to Follow Process - YouTube
Once you've affixed your painting on the mat board, clean the front side before placing your artwork on the glass.
Now place the foam core backing board on top of it
Hold both sides of the frame carefully and raise it to see whether you're content with how it looks from the side angle.
When hanging, use your d-rings with self-tapping screws. The d-rings should be placed at a one-third distance from each side of the frame. When done, tie each end of the nylon string using strong knots to the d-strings to prevent your painting from falling from the wall.
And Voila! There's your finished masterpiece up on the wall.
Conclusion
Watercolor paintings can initially be tricky to work with, but learning the correct technique goes a long way. With sufficient practice, you could transform a simple watercolor house portrait into your personalized framed piece of history! Simplicity is the essence of watercolor paintings. To paint loosely and freely, it becomes crucial to avoid getting too caught up in capturing all the details as accurately as possible. Instead, work on getting all the shapes in first and then focus on bringing visual harmony and balance to the portrait painting.