Table of Content
In the past, painting and completing an art piece took hours and hours of meticulous work. Artists had to place each brush stroke on the canvas carefully and strategically. But in today’s digital age, you can create art in just a couple of seconds. It is because of the revolutionary advent of AI technology and innovations.
You don’t have to be a professional artist or graphic designer to transform your photos with a few clicks. You don’t need to be an expert portrait painter to create masterpieces of yourself, either. Using this easy guide to convert photos to digital art, you can learn how to make stunning artwork in no time. It’s almost like magic!
What Is Digital Art?
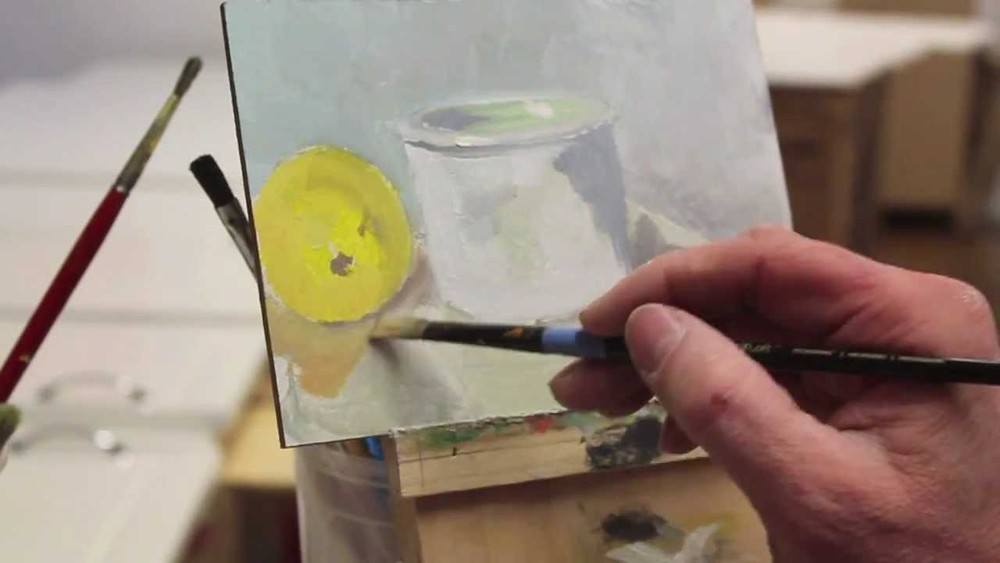
Typically, artists create traditional art on a blank surface. It could be paper, canvas, fabric, fibreboard, or a wall. They use various mediums to draw and paint images on these slates. Charcoal pencils, oil paints, watercolors, acrylic, and so on are among them. Many different artistic techniques come under this category. For example, it could be cartoons, pointillism, or abstract paintings.
Digital art creators make modern art using apps on smart devices. Creating art using electronic technology has existed since the 1970s. Today, it is most commonly used in advertising, marketing, and film effects. You can still create art in any artistic style using these painting apps. Thus, in some ways, it is similar to traditional canvas paintings. For example, you can digitally create pictures in an oil painting style. Automatically created AI art is also a form of digital art!

Credit: “Ashore” by Simon Podolak
Of course, you can always draw sketches from scratch (in the traditional sense) using these apps, too. But this type of art takes immense practice, and its quality improves as you build your skills over time. So, if you want to create some quick avatars or sketches, filters, effects, and other AI tools can aid you in digitizing drawings. Or, you can turn photo into abstract art by hiring skilled artists.
What Do I Need For Digital Art?
Now that you know what digital art means, you must be wondering how to get started.
- All you need for digital art is any electronic device, such as a mobile phone, tablet, or PC.
- Download and install the photo editing software of your choice into the gadget.
- Keep the photo you want to convert into a painting ready in your device photo library.
How Do I Create Digital Art?
Digitally creating artwork takes little time. How you can make digital art depends on the app you’re using, but the steps are typically similar in all cases.
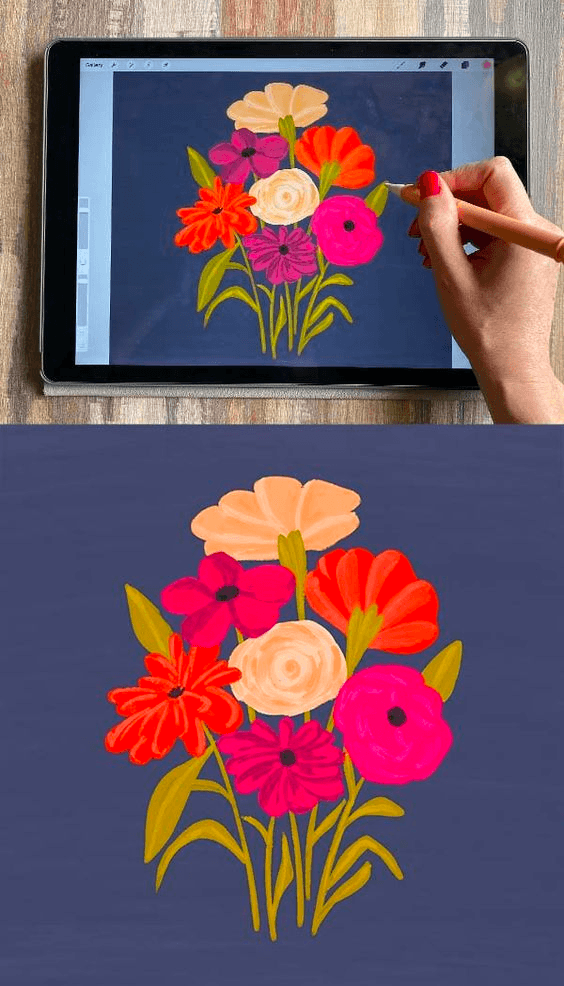
Credit: Liz Kohler Brown
First, you need to upload your photo or sketch into the app. Then choose and apply the desired filter according to the available painting styles. Now download the image into your gallery. But let’s take a deeper dive into the following leading apps that can turn photos into paintings:
Creating Digital Art With Fotor
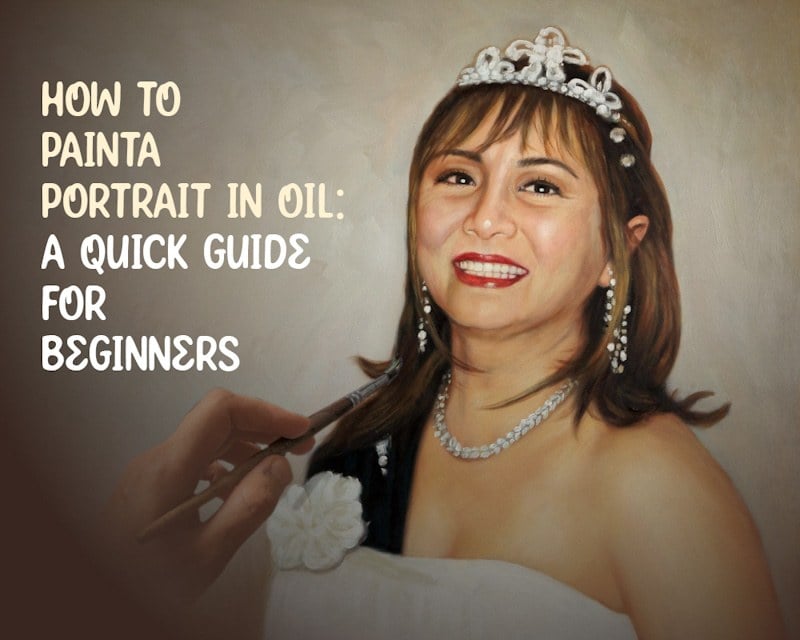
Fotor has a software tool called GoArt, available as an app on your mobile, Mac, or Windows PC. It uses advanced AI technology to help you make one-of-a-kind NFT artwork. You can turn your selfies into self-portraits or a scenic photo into a landscape oil painting. The possibilities are endless! The app also has a feature for printing out the images you create.
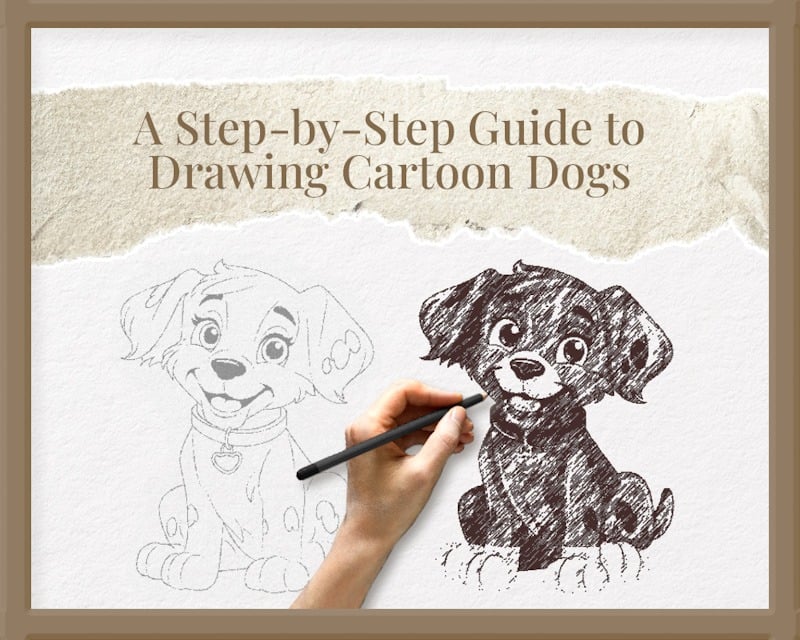
Some art effect options include expressionism, pop art, cartoon, and pencil drawing. The app can also mimic the style of famous artists like Picasso and Van Gogh. To customize the picture, you can add vintage filters, grains, grayscale, and other effects. The app is free to download, with some in-app purchases. So, how do you use Fotor?

Credit: Fotor
Step 1: Upload the Image
To use Fotor on their website, press the button titled "Go Art Now." Upload the image that you want to turn into a painting. To practice, you can use stock images.
Step 2: Choose the Effect
On the left, there is a tool menu. From here, choose “AI Art” and “GoArt,” which will take you to the page with various digital art painting effects. From the list, select the art filter you want to apply to your photo.
Step 3: Apply Effect and Make Adjustments
Once you have chosen the effect, apply it to your photo. You can regulate the degree of the filter’s effects at this stage. Fotor also lets you cut out and emphasize the image's subject and change the backdrop. And voilà, within a few minutes, the app has converted it into an artwork! The photo will have a watermark. However, you can remove it using virtual coins or upgrading to the premium version.
Step 4: Download The Image
You can now save the image to your device. Share the artwork on social media or print out a poster if desired.
Credit: Fotor
Creating Digital Art With Befunky
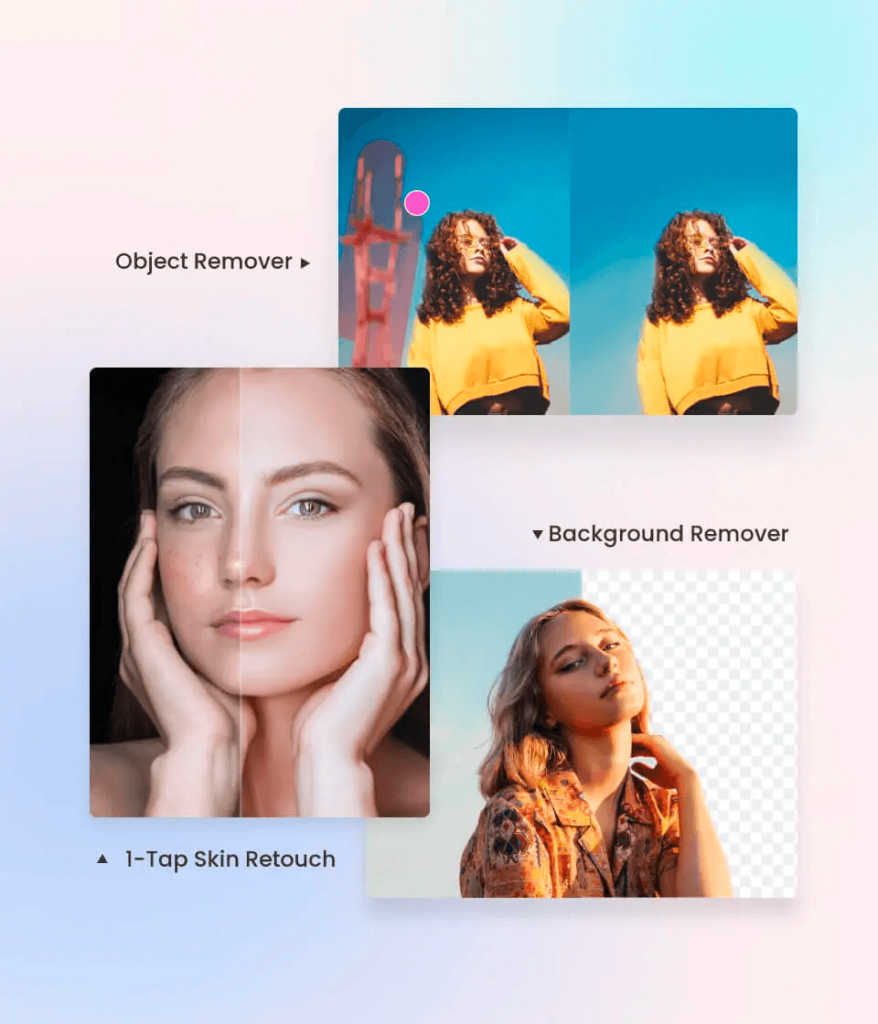
Befunky is another tool that uses AI to turn your photos into art in various styles. These include impressionism, pointillism, pop art, cross-hatching, and cartoon sketches. It covers a range of effects based on medium. Graphite, Watercolor, Ink, Oil Paintings, and Pencils are among them. Artists have specifically designed these ‘Artsy’ effects, so their quality has been well-refined.
Additional customization tools exist to edit and make the masterpiece your own. Befunky uses Style Transfer techniques to provide a set of artistic style filters that can help you unleash your creativity. The app has a newly remastered version of its popular Cartoonizer effect. This effect uses advanced rotoscoping technology to create cartoon paintings. Such features make Befunky a fantastic tool for turning a photo into a painting.
Their new Deluxe Edition Digital Art Effects promise to stay close to traditional hand-drawn art’s texture and style. If you choose the oil painting style of a particular artist, the app can replicate the same in your photo. It can recreate the feel (matte or shiny), vibrancy and depth (rich or light), and type and blend of brushstrokes (thick or fluid) of the art style on your picture.
Credit: Befunky
Step 1: Upload the Image
Using the free version of Befunky editor on their website, click the “Open” button at the top to upload your image. Another way to do it is to drag and drop the image straight to the canvas from your camera roll. The menu has an Image Manager option to help you arrange your photos.
Step 2: Go Through The Effects
A small paintbrush and a palette symbol will be visible on the side panel. Select this ‘Artsy’ tab to open up a menu of all the effect categories (Mosaic, Pastel, Ink, Oil) you can choose from. Within each category, there are multiple art styles. Scroll through these and choose one you like.
Step 3: Apply The Effect and Make Adjustments
Now you can adjust the intensity of the effect using the slider at the bottom. For further personalization, choose the ‘Settings’ option. It will open up a list of aspects you can adjust using sliders, such as the brush size, strength, and smoothness.
There is also scope to apply the effects in specific areas rather than the entire picture. Click ‘Keep’ to use the filter in select areas. You can also adjust this using the Erase button or by clicking and dragging the area you want to be unedited. Once satisfied with the picture, choose ‘Apply’ by clicking the checkmark icon. You can add layers and keep editing if you want to.
Step 4: Download The Image
To download the image to your device, click the ‘Save’ tab at the top.

Credit: Befunky
Create Digital Art With Illustrator
Experts and newbies use Adobe Illustrator, an app with many outstanding features and art styles. It can help create web designs, logos, graphics for packaging, etc. These features make it the perfect app for branding and marketing.
One distinctive feature of Illustrator is that it uses vector images instead of raster images. This term means the pictures comprise points and lines, not pixels. So you can crop the photo, zoom in, and scale in or out without losing its resolution.
There are two ways to turn your photos into paintings using Illustrator. In the first method, lock in the image and reduce the opacity to trace it. There is also an ‘Image Trace’ tool to help you make quick outlines. Copy the color palette from the original photo and color in this traced outline.
This method is relatively time-consuming and requires some artistic ability. But on the bright side, you will have complete control over the outcome and details. You can determine the drawing style while digitally drawing it. Similarly, pick the art style by filling in the color using particular brushes. For instance, use watercolor brushes to create a watercolor-style painting.
Credit: Adobe Illustrator
The second method is using filters, which is simpler to do:
Step 1: Open the Image File in Illustrator
Start by launching the Illustrator application on your computer. You can choose ‘New’ in the dialogue box and add the image you want to edit.
Step 2: Choose Filter
Use the ‘Select’ tab from the top of the vertical tools menu on the left to choose the part of the painting you want to edit. You can avoid this step if you plan to edit the whole photo! Click ‘Effect’ in the horizontal tools menu on top and go to ‘Effect Gallery.’
This action will pull up a list of effects you can browse through. These filters include Coloured Pencil, Fresco, Dry Brush, Paint Daubs, Rough Pastels, Underpainting, and Watercolor. Select one you like.
Step 3: Apply The Filter and Edit
Once you’ve applied the filter, you can use a slider to adjust how intensely you want it. This way, you can customize your image and decide what percentage of the effect your photo reflects. The ‘Plastic Wrap’ effect lets you adjust the smoothness and detail, and the ‘Sharpen’ effect can help you control the contrast.
Step 4: Preview and Download
If you save the filter, you cannot reverse it, so preview your photo before downloading. This aspect of the app makes it hard to experiment with gradients and effects. Click ‘OK’ to finalize the changes, go to ‘File’ on the top toolbar, and ‘Save’ your creation.

Credit: Adobe Illustrator
Create Digital Art With Photoshop
Photoshop is another advanced photo editing tool. It gives you more control over customization. Some of the app's features are Neural Filters, Sky Replacement, Brushes, and Photo Effects. The app allows you to combine and remix photos, design posters and brochures, create social media posts, do typography, etc.
It would help if you had the technical know-how to get around this digital art maker compared to ‘one click’ apps. But Photoshop has an array of artistic filters and hand-painted effects to easily convert your photo into a digital art piece.
Credit: Photoshop
Step 1: Open a Photo
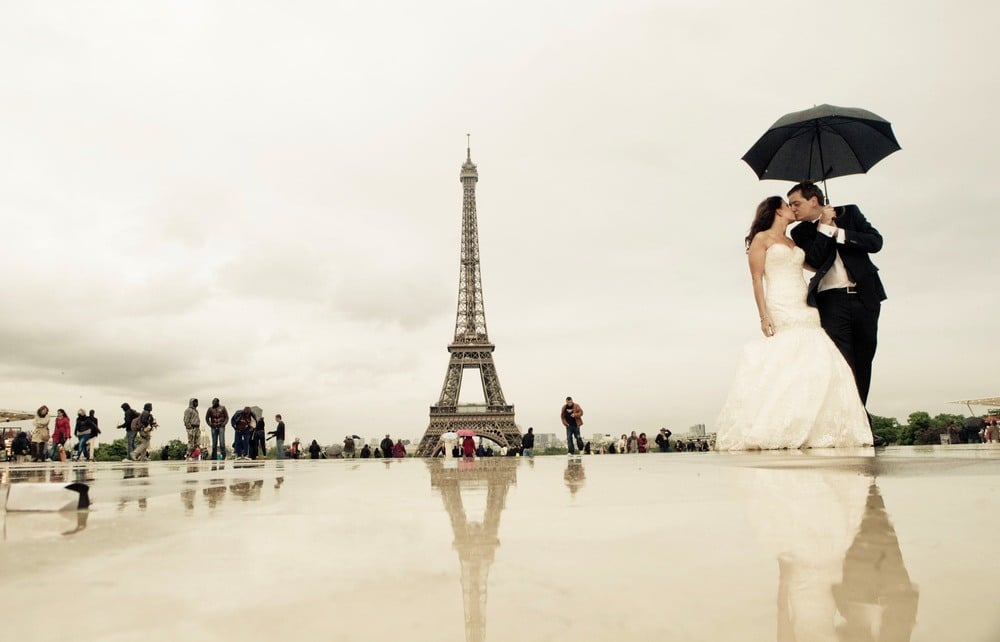
Open Photoshop and click ‘File’ and ‘Open’ to upload an image from your computer. Rather than portraits, the app recommends using a scenery or still-life photo to produce ideal results.
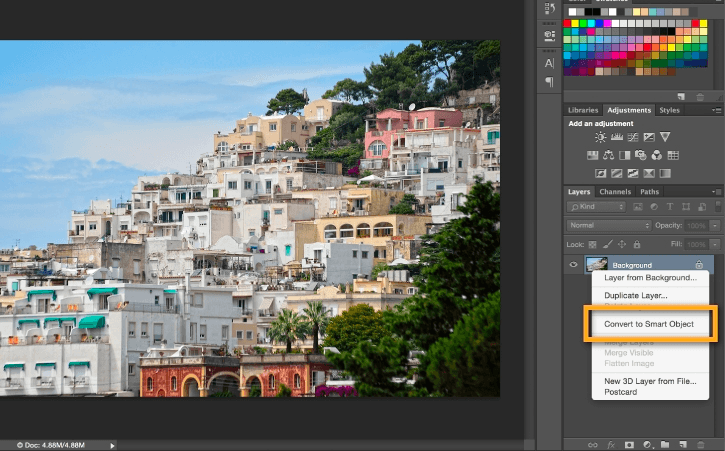
Step 2: Convert Layer to Smart object
At the bottom right corner of the app, you will find the ‘Layers Panel.’ Right-click ‘background’ and choose ‘Convert to Smart Object.’
You can find it in the ‘Window’ tab if it isn't visible. This step allows you to retain the original picture and edit the filter layer on the image instead. According to the app, it is thus a “nondestructive edit.”
Step 3: Open and Apply The Filter
If you click ‘Filter’ and then ‘Filter Gallery,’ you will open up different categories of filters. These include ‘Artistic,’ ‘Brush Strokes,’ ‘Sketch,’ and ‘Stylize,’ among others. The Artistic folder contains different styles like Coloured Pencils, Watercolors, Rough Pastels, etc.
If you choose ‘Dry Brush,’ for example, you can apply it to the picture. Colored Pencil is ideal for sketches and Rough Pastels for textured art. So, choose the right effect according to the painting style you want.
Step 4: Enhance Colors and Make Adjustments
A panel on the right will provide options to edit this selected filter's Brush Size, Brush Detail, and Texture. Make adjustments using the slider until you are satisfied with the picture. In the Layers panel, you can always return and click Layer 0 to open the Filter Gallery and continue these edits.
On the right, you will find the ‘Adjustments’ Panel on top of the ‘Layer’ Panel. Here, under the ‘Properties’ tab on the top left, you can select Hue/ Saturation to edit the intensity of the colors. Brightening the colors using these sliders takes your picture one step closer to a traditional hand painting. Click ‘Properties’ again to close it.
Step 5: Preview and Download
At the bottom left corner, you will find an option to preview the final image. Click ‘Fit in View’ to glimpse your whole picture before clicking ‘OK’ to save it.
Credit: Adobe Photoshop
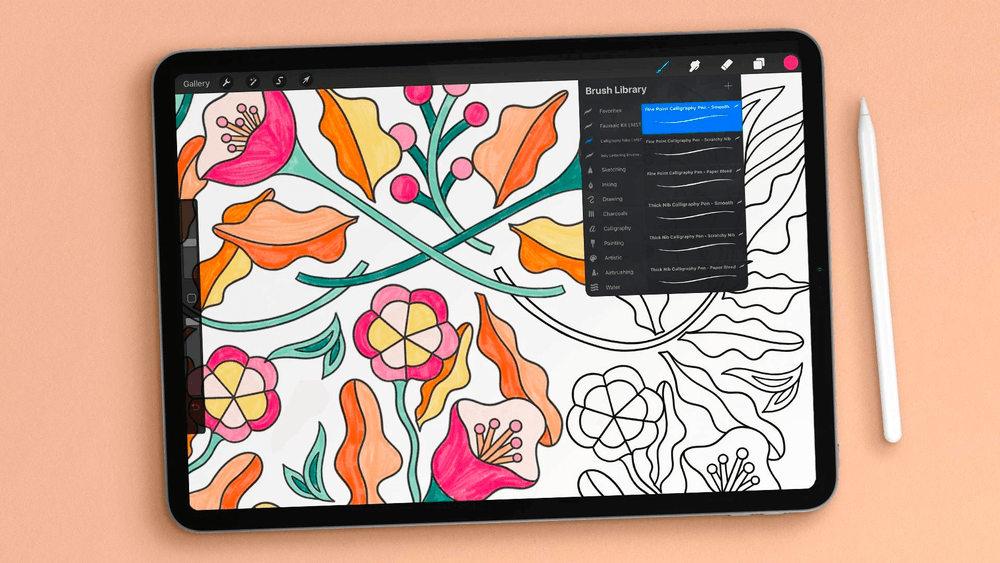
Create Digital Art With Procreate
Procreate is another major digital art studio with a plethora of features. Illustrators primarily use it for creating paintings, sketches, and animations. It is an excellent app with hundreds of brushes, filters, and dramatic effects inbuilt. Each brush has hundreds of adjustment settings; you can also import more brushes. It is also known for its praiseworthy UI, a great layering system, HD canvases, accessibility features, and other design tools.
As in the case of Illustrator, you can turn your photos into digital paintings by tracing the picture and painting it in your choice of brush style. This method is the most common way to use Procreate for this purpose, but it might require a bit of artistic talent. Don’t worry; there is a more straightforward way to use this painting app and turn your photo into paintings using the Smudge tool:

Credit: Procreate
Step 1: Add The Image
Open Procreate on your iPad and click ‘Photo’ to import a photo from your image library.
Step 2: Choose a Brush
Go to the ‘Smudge’ tool, which the app represents through an icon of a folded palm with an index finger pointing out. It is in the top right corner of the workspace. Here, you will find different brushes under the ‘Artistic’ tab. These include Oil Painting, Watercolor, Acrylic, Gouache, and so on. Pick one in the painting style you want to recreate in your photo.
Step 3: Make Adjustments and Draw Over
On the left side, there are sliders to adjust the brush size and increase its opacity. You can determine this based on the level of detail you would like to go to. Here, you are dragging the pixels and blending the photo's colors to create the effect of a painting. At this stage, you can fine-tune and perfect it.
To create a highly detailed illustration,
1. Zoom in on the photo to view each pixel or make the brush thin.
2. Go over the picture with this smudge tool in circles, straight strokes, or a combination of both. You can do whichever motion, depending on the texture you want.
3. Zoom out or use a thick brush if the minute details don’t matter and you want to create a more abstract painting.
Step 4: Save and Download
After you’ve gone over the entire photograph with the brush, your painting will be ready. This method of creation might be slightly more time-consuming than the other apps. But it gives you great control over your artwork, even the minor details. You can save and download the image to your device.
Credit: Skillshare
What is NFT digital art?
NFT stands for a Non-Forgetable Token. NFT digital art has a “unique digital identifier” that makes it impossible to be pirated and copied. The blockchain stores the single original version of the digital art. Its rights go to the owner or investor, just like traditional art.
So, these are the five most excellent tools to transform a photo into a painting. Whether you want quick results or more control, these top photo-to-painting apps can turn a photo into a fantastic work of art.
Using the amazing applications mentioned above in this article, you can choose any subject matter from your camera roll and experiment. It can be yourself, friends, pets, or landscapes. Enjoy creating masterpieces in seconds using your photos and these awesome apps- with one click!
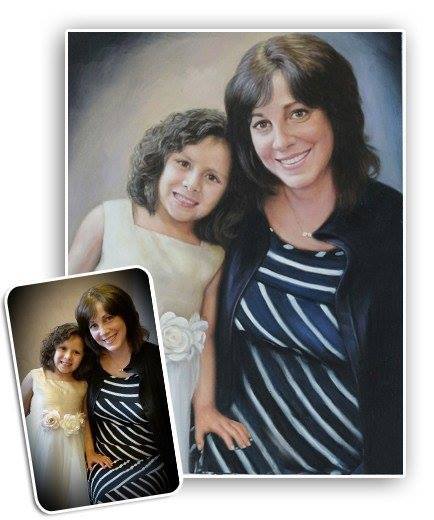
If you still like something hand made and traditional, do checkout Genuine European Portraits.