
Table of Content

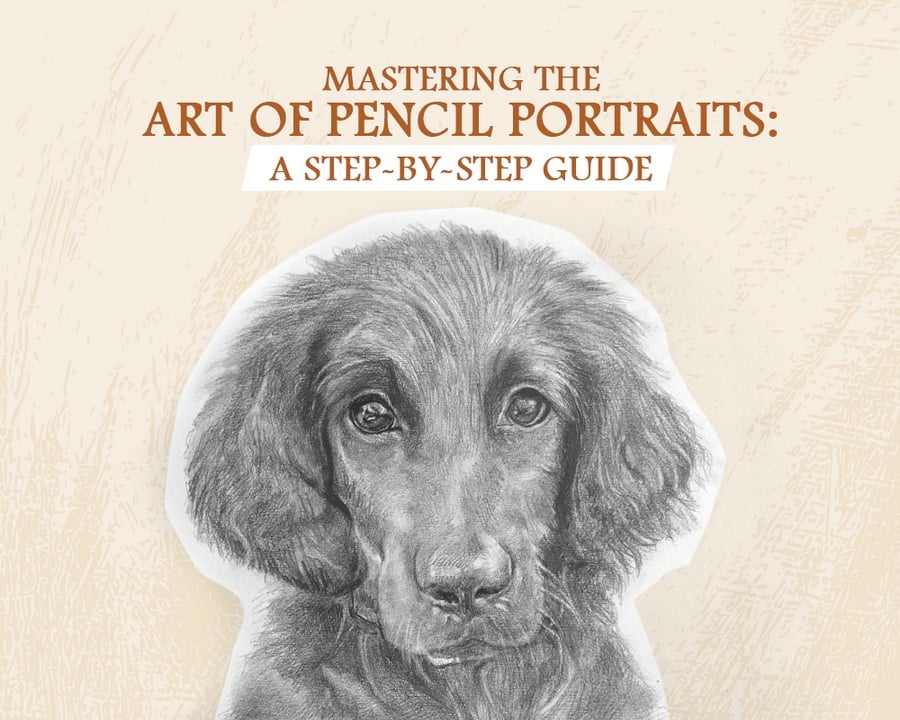
If you are a budding artist, one of the first things you experiment with will likely be a pencil portrait. It is truly fulfilling to master the art of pencil portraits and learn how to realistically illustrate a person’s facial features.
Portraiture can be daunting, but understanding some basic concepts of human anatomy and pencil sketching can facilitate your artistic journey. This step-by-step guide will prepare you for pencil portrait drawing.
Understanding The Basics of Pencil Portraits
Before jumping into the steps of portraiture, let’s explore some general tips that can support you as you start drafting your picture.
1. Choose a Suitable Reference
As beginners to portraiture, you might find sketching directly from your imagination hard. It is always better to start practicing with a reference image, especially if you plan to draw a particular character or person.

Credit: Skillshare
Go for a picture with a plain background so that the focus of your pencil drawing can be on the subject. A photo with many contrasts can be ideal for enhancing realism with shading. A light source placed above the head helps with that.
You can draw from life with a real-time model instead of a photograph for a more dynamic reference source. If you want to create a self-portrait, place a mirror before you for a 3D view.
2. Measure and Squint
Get an idea of proportions and sizes as you get into drawing. Contrary to what some myths propagate, it may not come naturally to you, even as a talented artist. You will still need to study human anatomy and understand the shapes and sizes of bodily features.

Credit: Yong Chen, Youtube
There is no harm in measuring and assessing the size of different aspects of the human face. Visualize, compare, and study until you know your subject inside out. You can also use graphs and axis lines to aid your sketching.
A helpful tip to get the shading and contrast right is squinting at your reference image. The broad tonal areas of darks and highlights will stand out when we view it through this blurred lens.
General to Specific
It’s also good to start with large, general shapes to create a line drawing rather than sketching the specific details from one corner or spot. A silhouette of the prominent figures establishes a foundation for your portrait.

Credit: Emily Levenson
After you get the proportions right, you can add more intricate details to this outline. But always start with a line drawing of the bigger picture for more accuracy.

4. Use Good Quality Material
If within your budget for this project, don’t hesitate to invest in good quality drawing supplies. They are sure to contribute to the quality of your portrait. Using cheap student-grade material versus those geared towards professionals can make quite a difference to the outcome.
Artist’s grade material will likely last longer and give you a more smooth and consistent glide than scratchy and choppy cheap ones. You will need the following materials for a pencil portrait:
A. Materials Needed for Pencil Portraits
Gather the following tools before you jump into the line drawing:
Quality Pencils
Artists’ grade graphite pencils from top pencil makers like Faber-Castell and Staedler are ideal for pencil sketching. Look for a well-bonded pencil with a strong, well-mixed lead that won’t be brittle or shed particles. Decide whether you want a hard and light pencil or a soft and dark one, and choose a grade (H, F, HB) accordingly.

Credit: JetPens
Essential Drawing Papers and Sketchbooks
Picking a sketchbook or paper is also dependent on one’s preference. Some brands you can depend on are Moleskin, Strathmore, and Canson. Look into the quality, functionality, and binding of the sketchbook.

Credit: Createlet
A thicker paper might be more premium in nature since the marks won’t bleed through, and the material won’t rip. Also, look for features like elastic closure, a fine tooth, micro-perforations, and acid-freeness. You can also explore different color options, but white paper is best for a typical graphite portrait pencil.
Additional Tools for Fine Details
Apart from the basic pencil and paper, you need a few other tools to aid you throughout your portrait journey. Keep a variety of erasers, such as kneaded ones, a sharpener, and a blending stump, with you. These materials can help you fine-tune the details in your drawing.

Credit: Anna Bregman
Getting the Proportions Right
Now that you have understood some basic principles of creating pencil portraits and gathered the required materials let’s get into sketching.
A. The Importance of Proportions in Portraits
Regardless of what you’re drawing, proportions are critical, especially in realistic drawings. Otherwise, the image may not turn out lifelike and three-dimensional. Correct proportions help you perceive the picture as it is in real life and contribute to the composition's overall harmony and balance.
B. Guidelines for Accurate Proportions
The following guidelines can prepare you to get the proportions right when drawing portraits:
Seeing it correctly
One essential thing to remember is that the reference image should be clear to draw accurately. Choose a visible photo with good lighting and plain background. Moreover, train your eyes to study the subject thoroughly.

Credit: Clip Studio Paint
You can pick a reference aspect against which you can measure the other objects or features in the scene. This should be somewhat average-sized when compared to the other elements in the picture. Now assess the different parts in the drawing in relation to it.
Measuring the height and width
There is no shame in using the correct values or proportions by measuring it. So get out a ruler or measuring device of some form to estimate the height and width of each object.

Credit: Live Science
Consider the fractions and proportions to understand the relationship between the elements on paper. Comparing the different features can help you know their size in relativity.
Measuring the distance between the features
As important as it is to understand the sizes of different elements - the eyes, nose, and mouth- it is also essential to know their placement. To locate them accurately, measure the distance between the elements as well.

Credit: The Virtual Instructor
When it comes to portraits, it helps to keep in mind certain universal proportions. For example, the distance between the eyes is roughly the same length as that of an eye. But always take into consideration the specific features of your model too.
C. Techniques for Constructing the Facial Structure
Now let us look at the steps to take as you start drawing:
1. Plan out the head.
In order to start from the generic rather than the specific, we must draw the face shape. With faint pencil lines, sketch the rough outline of the face on the paper.
If you need further support, draw one sizeable oval shape first, then figure out the specific face shape within this space. You can do so by noting negative space, which is the area between the general oval outline and the particular face shape.

Credit: iHeartCraftyThings
You might make mistakes as you sketch the contours and outlines of the subject’s face. Just erase the errors and redraw the gestural lines till the likeness forms. You can draw one horizontal and vertical line in a cross form to help you indicate the angle at which the face is turned.
2. Locate features using grids and axis lines.
You can use the axis lines to locate the features. For example, the vertical axis line is the invisible central line of the nose, so mark the edges of the nose on either side. This line goes from the middle of the chin to the top of the forehead, right between the eyes.

Credit: Anna Bregman
The horizontal axis line can be at the eye level, going through the center of the eyes. So, you can mark them on the top and bottom sides of this line. You can also draw this at the bottom of the nose. Regardless, these axis lines intersect in the middle, usually at right angles, dividing the face into four quarters.
You can also divide your face into three equal parts at the points of the eyebrow, nose, and chin if your subject is at the same eye level. Or, you can draw a grid with multiple straight horizontal and vertical lines intersecting at right angles. This will divide the paper into sections and help you locate the features.

Credit: CreativeGaga
These construction lines and grids help with symmetry and placement. Make sure to mark them lightly since they need to be erased in the end.
3. Chart the proportions with outlines.
Now that you have drawn the face shape and located the positions of different features, it’s time to draw their outlines. Use basic shapes like triangles, circles, and ellipses to draw the eyes, nose, mouth, and ears. You just need to draw faint outlines to chart their proportions at this stage.
It also helps to remember some general anatomical facts. For example, the upper tip of the ear will roughly be in line with the eyebrows, and the ears will be roughly as long as the nose. This knowledge will help you get the proportions right. But remember, at this stage, you only need to create a line drawing.

Credit: Tombow
Typically, eyes are almond-shaped with two pinching convex curves, and the lips also include top and bottom curves that pinch at the sides. The top lip is somewhat ‘M’ shaped, and the bottom one is like a ‘W’. The nose is long with lobster-claw shapes at the bottom sides, and the ears are ‘C’ shaped with bowls and protrusions.
D. Tips for Capturing Likeness
-
Some general tips for getting proportions correct and capturing likeness are:
- Spend more time measuring than drawing - this implies studying the subject before jumping onto paper. You can also measure multiple times and calculate proportions, even using a reference object or feature.
- Use a photo with a lot of contrasts and shadows that bring out the model’s facial features, as opposed to a washed-out one. Also, consider proximity and the context of the subject’s location.
- Always start lightly with faint, gestural lines when drawing the structure. You can also use dotted lines and fundamental geometric shapes to help you draft the framework.

Credit: Sketch and Shade
Creating Depth and Shading in Pencil Portraits
With the facial features mapped out, it’s time to introduce tone and dimension to your pencil portrait.
A. Understanding Light and Shadows
After studying the reference image, you should have a good sense of its lightest and darkest tonal areas. Where the shadow areas lie largely depends on the light source, but as mentioned earlier, squinting can help you identify tonal variations. Accurately shading the light and dark values is vital to achieve realism.

Credit: Suzzan Toni
Some general pointers to consider are that the pupils, under-eyes and eyelids, nostrils, and the area just below the lower lip typically tend to be the darkest tones. The insides of the ears and mouth corners are also typically in shadows, but there might be other areas, too, in black tones. If hands, hair, or accessories cause shadows, they are among the darkest values.
Meanwhile, you can spot highlights reflected in the pupil or iris, corners of the eye, and the oily skin of the ears or the bridge of the nose. Similarly, the moist nature of eyelids and lips lead to some tiny bright spots of reflected light in these areas. However, the white part of the human eye is actually more diverse in tone than one might expect and isn’t a complete highlight portion.
Credit: Pinterest
B. Rendering Realistic Shading with Pencils
The following steps can help you with the shading:
1. Start Shading
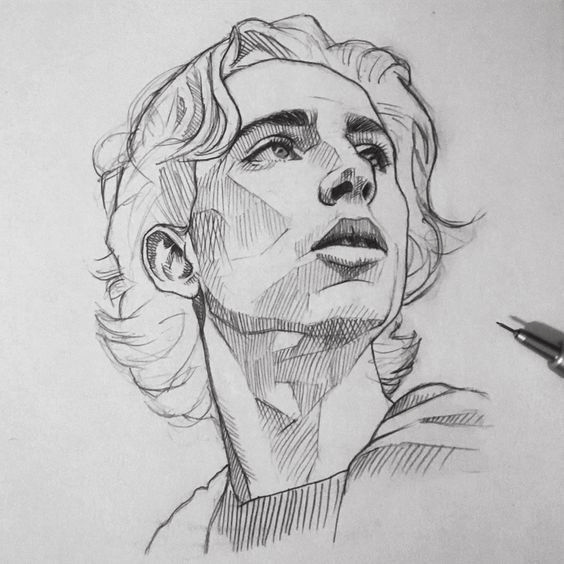
Now that you understand the tonal range in your reference image, you can start shading with pencils. Instead of getting into the intricate details, it is ideal to consider the face as a set of abstract shapes and shade broad tonal areas. So, rather than explicitly filling up a particular body part with your pencil, shade the appropriate general regions in the dark or mid-tones accordingly.
2. Building Layers
At this stage, shade lightly with a soft 4B pencil to create these tonal blocks. You can make these shadows in soft layers until you get full coverage, but you can even do hatching or cross-hatching to create contrast. Build these layers gradually to their full range, especially the darkest tones.

Credit: Pinterest
3. Defining the Darks and Lights
You can use the softest pencils (like 6B or 7B) for the blackest tones, but avoid pressing too hard on the paper and ruining the materials. You can also leave regions and specs of white spots blank to indicate the natural glow and reflection of the human face. This tip will work best on white paper.
C. Techniques for Achieving Smooth Transitions
A lot of the depth and realism of a pencil portrait lie in the transitions between shades and edges. You can create a sense of mystery and three-dimensionality by exploring shading techniques ({Blog post Title 2} - Shading Techniques : Top 5 shading tips and tricks you should master) on how to achieve smooth transitions, such as:
- Use a blending stump to smoothen the transitions of the shading. Using such a smudging tool is much better than using your fingers since the latter secretes oils that might stain the drawing or make it dull.
- Another way to achieve smooth transitions is by varying the pressure applied with the pencil on paper while shading. Also, use pencils of different softness and darkness to achieve well-blended gradations.
- Study the edges and consider whether there is a sharp contrast between the two surfaces or a gradual transition of shades throughout a spectrum. This will determine the definition and haziness of the picture and help you set the mood with shading.

Credit: Rana Art Blog
D. Adding Texture and Details to Bring Portraits to Life
Now that you are done with shading, you can refine it a bit:
1. Add texture
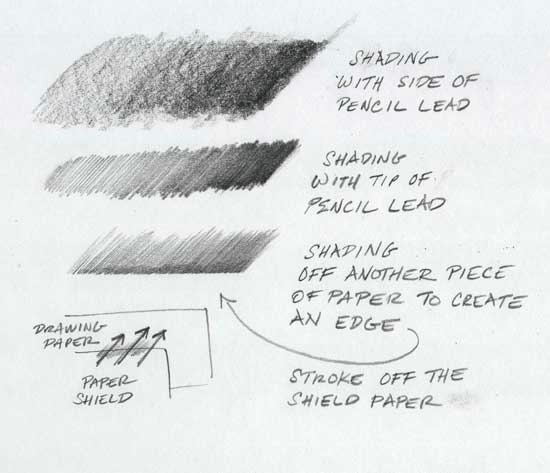
Add texture to your portrait with lines, stippling, blending, and hatching to enhance it. You can even create texture by rubbing the pencil from the side, keeping it horizontal to the paper. Add minor details at this stage, but wait until you finish drawing the features to get to the finest details.
Credit: Improve Your Drawings
2. Lift Highlights
To add more realism to your portrait and truly bring it to life, it is crucial to show the tiny spots of reflected light which are called the ‘highlights’ in art. The lightest tonal values could be lifted using an eraser if you forgot to leave the spot blank while sketching. These bright highlights could be at the tip of the nose, lips, etc.

Credit: Madhan’s Art
Mastering Facial Features
With the basic face shape set and the tonal regions shaded and textured, we can get into more details by drawing the facial features.
A. Drawing the Eyes: Windows to the Soul
The eyes are possibly the most critical feature of a portrait drawing because they are the most expressive and dramatic.
1. Step-by-Step Guide to Drawing Realistic Eyes
Since you have a basic almond shape already in place, continue with the following steps:
● Draw the Iris and Pupil
Within the cinching almond shapes, draw two circles, one inside the other. Although these are perfect circles, the upper eyelid typically covers a part of it, so that should be considered.
● Draw Eyelids
Ensure the lower eyelid is thick and not made of a single line. The top eyelid is a somewhat semicircle hood over the eye, which leaves subtle shadow shapes below.
● Draw Eyelashes and Eyebrows
The eyelashes grow from the bottom part of the lower and upper lid. You can draw individual strokes to achieve this effect. However, with the eyebrows, some dark shading is preferable to drawing each strand of hair. Shape the eyebrows above the upper eyelid.
● Add Features
Now, add the more minor features like the shading in the pupils and the spokes of the iris. Leave a small white spot for reflected light and darken the pupils with a 6B pencil.
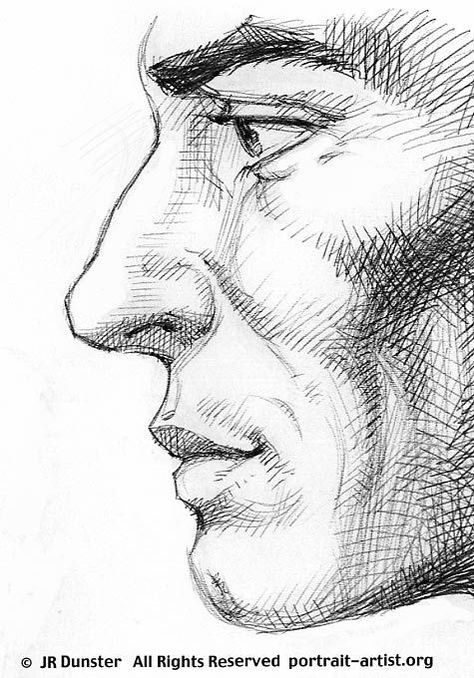
These are the main steps for sketching an eye but bear in mind that the rules would be slightly different for a side-profile pencil portrait.

Credit: Pinterest
2. Conveying Emotion through Eye Expression
You can convey emotion through the eyes since they are windows to one’s soul. You can do so with the following:
Eyebrows and Eyelashes
The shape of the eyebrows determines the facial expression. Arched eyebrows may indicate surprise or shock, while drooping eyebrows might suggest melancholy. Extend the lashes for a more feminine look.

Credit: Pinterest
Highlights and Shading
You can manage the feelings in the eyes and achieve realism through shading. For example, by lifting more highlights and leaving more reflective specs in the eye, you can create eyes that are teary or misty. Reflected light can brighten and enliven eyes.
Distance between eyelids
How much the top eyelid closes over the eyes and covers the eyelid can also help express emotions. For example, a wide-open look can convey alarm, and slightly closed eyes can express sadness.

Credit: Pinterest
B. Capturing the Essence of Lips and Mouth
The lips and mouth of each person are unique, and therefore you should consider the individual shape while drawing.
1. Techniques for Drawing Lips and Mouth
But the following general points can be of guidance:
Measure
Since drawing lips are a bit more distinctive, it’s best to measure them from your reference and get accurate proportions. Also, observe the projections of the lip to understand the tones. You can let the subject say words like “oh” or “easy” to discover their mouth shape.
Use Circles and Ovals
To sculpt out the voluminous lips, use three round or oval-shaped guides placed two at the bottom and one on top. You can contour the lips around these circles, catering to the specific shape of the model’s mouth.

Credit: Proko Via Pinterest
Draw Details and Lines
Lips have vertical lines across their length, so adding that detail can enhance the realism of drawn lips. For this, draw soft, gestural lines with your 2B pencil. You can add smile crinkles too.
If you plan on adding teeth, draw them so that the upper lip partially covers them. You also won’t be able to see the entire set of teeth, such as those on the extreme sides.

Credit: Artist Hue via Pinterest
2. Enhancing Realism through Highlights and Shadows
Keeping the following points in mind can help you shade lips to create a realistic look:
Add Shadow Areas
Since it projects in, the upper lip is typically darker. The bottom lip projects out, so the area below it is also usually in shadows. Even though teeth are typically white, they require some mid-tone shading. Also, leave dark space between the upper and lower set of teeth.
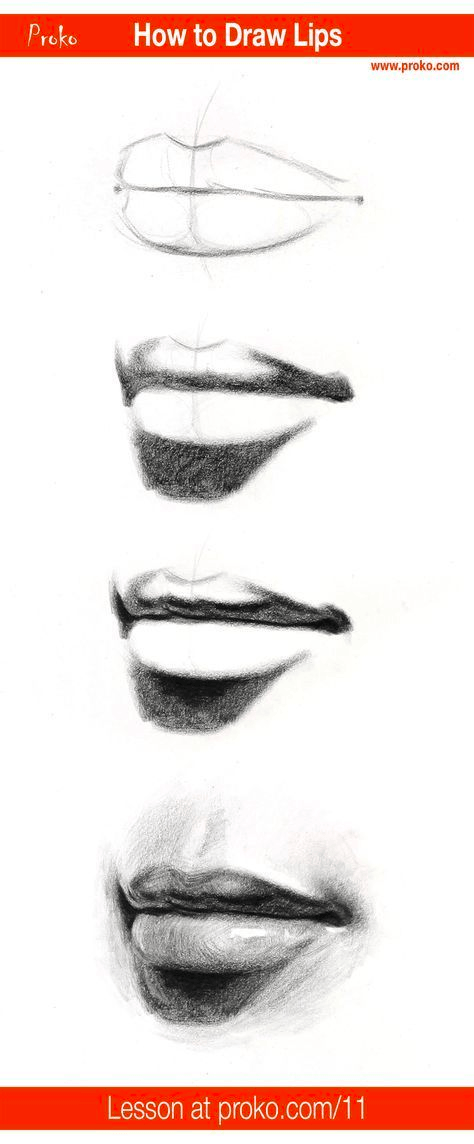
Credit: Credit: Proko via Pinterest
Lift Highlights
Since lips are plump, soft, and lustrous, add tiny specs of reflected light, especially on the lower lip. The ridges of the lip also tend to be bright, as the edges kind of blend into the surroundings.
Sculpting Noses: From Simple Shapes to Realistic Forms
Like with many other facial features, soft curves and outlines make up the nose. You can draw it with the following steps:
1. Steps to Drawing Noses with Depth and Accuracy
You can sketch a nose with the next steps:
Use Circles and Lines
To get the basic nose shape right, draw a circle with two straight vertical lines on top after getting the measurements and proportions right. You can then draw two claw shapes on either side of the circle.
Credit: Rapid Fire Art via Pinterest
Draw Nostrils
Below the diamond shapes created by the circle and claws, shade the nostrils with darker pencils.
Use Tones to Sculpt the Nose
Note that rather than having defining edges, noses in pencil portraits are often sculpted with shading. Look at the shadows it casts on either side of the bridge based on its dimension and direction, and render the tones accurately.
Credit: Pinterest
2. Highlighting the Unique Characteristics of Noses
The following tips to add finishing touches can help complete the nose:
Highlight the Tip of the Nose
Typically, the middle of the nose bridge and the pointed tip reflects light. So leave these areas bright by lifting highlights in these lustrous areas.

Credit: Pinterest
Add Pores and Textures
Also, pay attention to the texture of the nose, and sketch the pores accordingly. It will depend on the direction of the nose and the angle of the light.
Adding Life and Personality to Your Portraits
At this stage, you have completed sketching the facial features. Now let’s see how you can turn your basic portrait drawing into an individualized, lively creation.
A. Conveying Emotions and Expressions
What makes a face come alive is the communication of different feelings, reactions, and moods through facial features.
1. Techniques for Portraying Joy, Sadness, and Anger
Let’s explore the ways of depicting the expression of various emotions:
Joy
A smiling or laughing face will have the corners of the mouth lifted. The cheeks and nose wings would also be raised, and sometimes the eyebrows as well.

Credit: Janet Maine via Pinterest
In a few cases, there would be smile crinkles at the squinted corners of the eyes. If the teeth are visible, drop the chin, and roll up the top lip. Also, draw dreamy, sparkling, wide eyes for a genuine sense of joy.
Sadness
Remember that the lips tend to droop when expressing sadness, especially at the corners. If the person is in tears, the forehead will likely scrunch in the middle, and the inner eyebrows rise at the center.
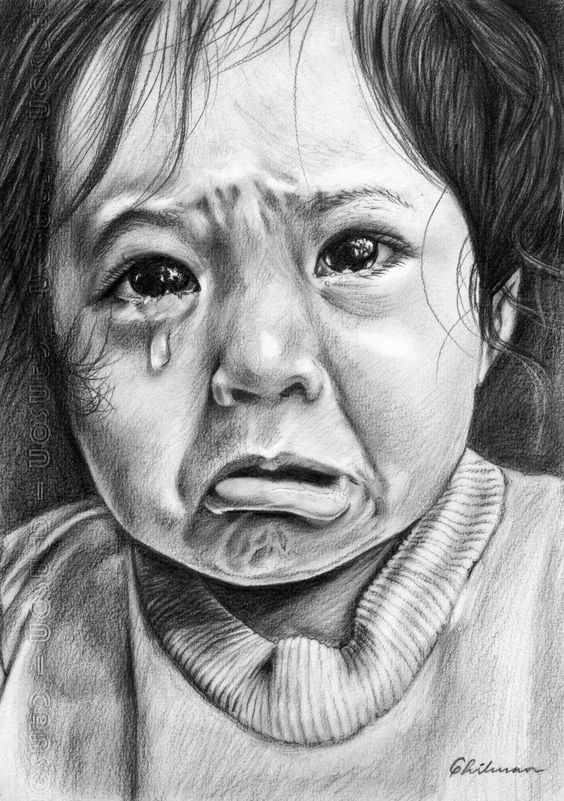
Credit: Ghilman
The inner corners and bottom of the eyes and the chin may lift or scrunch slightly. The outer eye corners should angle down. Overall, the face should appear long, and the eyes could glisten in tears.
Anger
When it comes to fury, the face is tight and scrunched down inwards, especially at the forehead. The muscles above the nose bridge create these wrinkles. Since the eyebrows are located here, they are also drawn downwards together in the middle.

Credit: Chaseroflight via DeviantArt
The corners of the nose flare, and under the eye would pucker up, and so would the chin. The sides of the mouth around the corners would pull down aggressively. In fact, the mouth as a whole would be tense and square, and the gritting teeth may become exposed.
2. Tips for Capturing the Subtleties of Facial Expressions
Expressions are created through changes in facial features. Here are a few tips that can help you capture the subtleties of emotions and expressions in your portrait drawing:
Study human anatomy, particularly the functioning of different facial muscles and how they move.
Use lighting, symbols, and color to set the mood. For example, arranging the composition with dark shadows or shades of blue and gray can indicate melancholy.

Credit: Louis Smith Art via Pinterest
Provide a backstory to your character, or draw from your experiences to channel the emotions you want to convey. Also, consider giving the portrait drawing a dark background to emphasize the subject.
B. Enhancing Portraits Through Hair
Just like expressions can bring a portrait alive, adding touches of personality, like a quirky hairstyle, can enhance it.
1. Tips for Drawing Realistic Hair Strands
Drawing hair can be a bit challenging, but the following guidelines can support you:
● Draw strands from the root for maximum realism. Mark the strokes in the flow and direction of the flow of the hair according to the reference image.

Credit: DrawingHowtoDraw via Pinterest
● Use a sharp 4B or 6B pencil for the best results, but don’t press down too hard on the paper. You can even enhance the darkest shadows with a 3B pencil.
● Since hair is usually the darkest part of a portrait, patiently add layers until you achieve the contrast. Use an eraser to lift the highlights.
2. Adding Volume and Texture to Hair
Now that you have the basic drawing of the hair, you can improve it with volume and texture. Always remember that a head of hair is not entirely black or monotoned. It will reflect luster and, therefore, will have a range of shades across its surface, including spots of white highlights.

Credit: Design Stack
You can do this by creating tonal zones with different amounts of shading. So, it isn’t always necessary to draw every individual strand of hair, but rather, blend layers of graphite and add some directional marks. Recreate the hair type and texture with precise pencil strokes, as well as the unique hairstyle of the model, for better likeness.
Refining Your Skills: Tips and Tricks for Pencil Portraits
At this stage, pencil portraits are ready with their structure, shading, and details like hairstyle. The work is almost complete, and the likeness should be forming. With the following finishing touches, you can wrap up your creation.
A. Blending Tools for Smoother Transitions
You can blend your shading in many ways, as there is no right or wrong method to do it. Let’s explore the following options:
1. Paper Towels
Tissues are cheap and easily accessible, but you can scrunch them up and use them for blending your pencil marks. You can create smooth, soft transitions this way, although the tissue might leave a residue on rough paper.

Credit: Strathmore Artist
2. Tortillion or Blending Stump
An ideal tool for blending is a tortillion or blending stump. It is made up of paper wrapped firmly into a stump with a sharp end. It holds up tightly and gives you control as you roll the tortillion in your hand to blend graphite evenly.

Credit: Via Etsy
The difference between a tortillion and a blending stump is that the latter is created with more highly compressed paper. The stumps also have pointed tips and are available in different sizes. You can refine it with sandpaper when it becomes blunt.
3. Blending Brushes
There are brushes available particularly for blending, with delicate yet solidly-packed bristles. Since you can apply pressure softly on paper using brushes, the material (whether graphite or charcoal) won’t press too hard into the paper.

Credit: Artists Network
The brushes are shaped to give you control over blending. A helpful tip is to dip a dry brush into graphite powder for perfect transitions.
B. Erasing and Correcting Mistakes in Pencil Portraits
If you accidentally make mistakes, just know that you can use an eraser to remove the marks and draw over them. Where possible, try to edit the existing drawing rather than erase it to avoid residual remains of the pencil’s pressure.

Credit: Wow Pencils via Pinterest
Doing your first drafts and foundational drawings with soft, gestural strokes is always better to avoid these marks. A light sketch is always safer if you know there is a potential for errors and mistakes that need to be erased.
C. Exploring Various Pencil Strokes and Marks
You can create a variety of textures by using your pencil to draw different strokes and marks. These include:
● Stippling
Stippling involves creating dots by tapping the pencil's tip on the paper. You can create texture and shade the picture using many such big or small dots. For smaller dots, use sharper pencils.

Credit: Pinterest
● Hatching and Cross Hatching
Hatching involves drawing short, parallel strokes to create texture. Cross-hatching is done by making small crosses or intersecting the lines created in hatching for texture and shading.
Credit: Pinterest
These crosses often form rough ‘X’ shapes at right angles. You can vary the thickness and length of the lines. Alternatively, use small circles instead of lines.
● Scumbling
Scumbling involves moving the pencil to and fro or in a circular motion with a steady, firm hand. By applying consistent pressure, you can develop smooth layers with these strokes.

Credit: Brittany Bauer
● Striking Stroke
Striking strokes require you to apply pressure tightly at first, then lift the pencil and flick it away so it faintly trails. These tapering strokes can be sued, for example, for depicting animal fur.

Credit: Lisa Ann Watkins – Aura
D. Developing Your Style and Signature
As a beginner, you might need to follow tutorials and study drawing tips from various sources to understand the basics. But ultimately, you should figure out your own unique style of pencil drawing rather than relying on generic rules or guidelines. This takes time and comes with a lot of practice and learning.
You can discover your signature style by exploring different genres and types of drawing, such as a stippling sketch, a caricatural drawing, a hyperrealistic portrait, etc. You should also try varied mediums and materials, techniques, and approaches until you find one you connect with.

Credit: Pinterest
Visually consume art from different creators online or in museums, exhibitions, and galleries for inspiration. You can even buy art books or graphic novels for reference. Sometimes, you might discover your interest in a particular theme or subject- for example, fantastical beings.
Try to convey what is deep within you, be it your thoughts, emotions, or curiosities. This will bring out your creativity in a personalized way and help you establish your style. While you must consider any constructive feedback you get, know that you have the artistic liberty to let your imagination run wild.
Conclusion
As you can see, pencil portraiture need not be that intimidating if you take it step by step. Use quality materials and a well-lit reference photo, and follow the guideline patiently.
You can always erase mistakes and give yourself more chances, so minimize any pressure on yourself. Make sure to enjoy the process and learn from your errors. There is no single way to go about it, so let your creativity have the ultimate say.
Enjoy creating pencil portraits!

Poster from Picture: 5 Tools for Crafting Stunning Posters from Photos
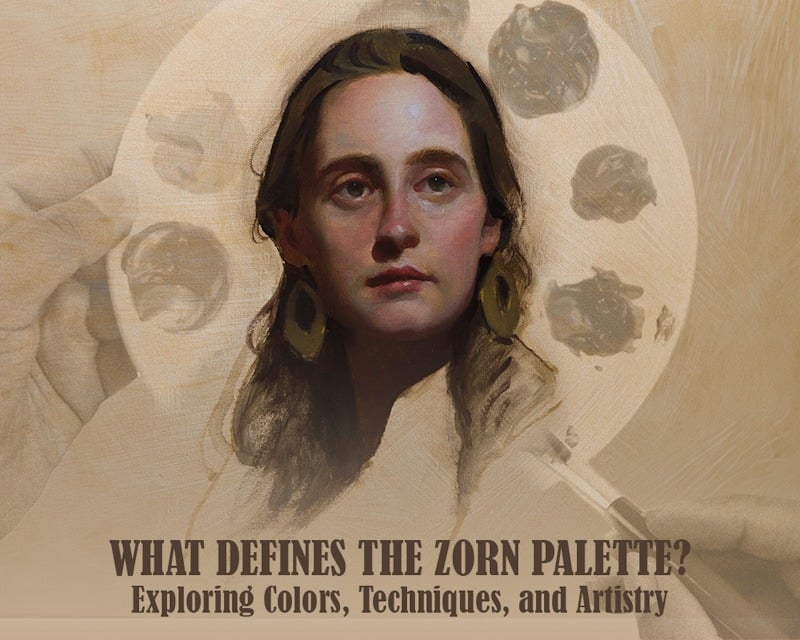
What Defines the Zorn Palette? Exploring Colors, Techniques, and Artistry

Equestrian Art: 13 Most Famous Horse Paintings of All Time
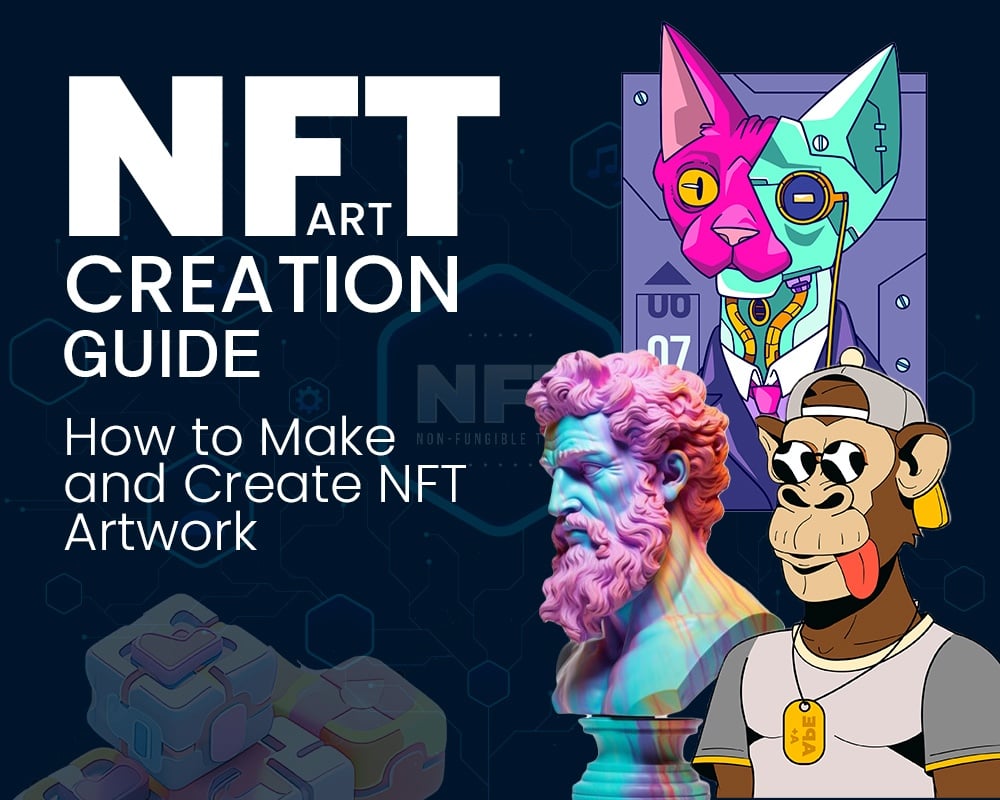
NFT Art Creation Guide: How to Make and Create NFT Artwork
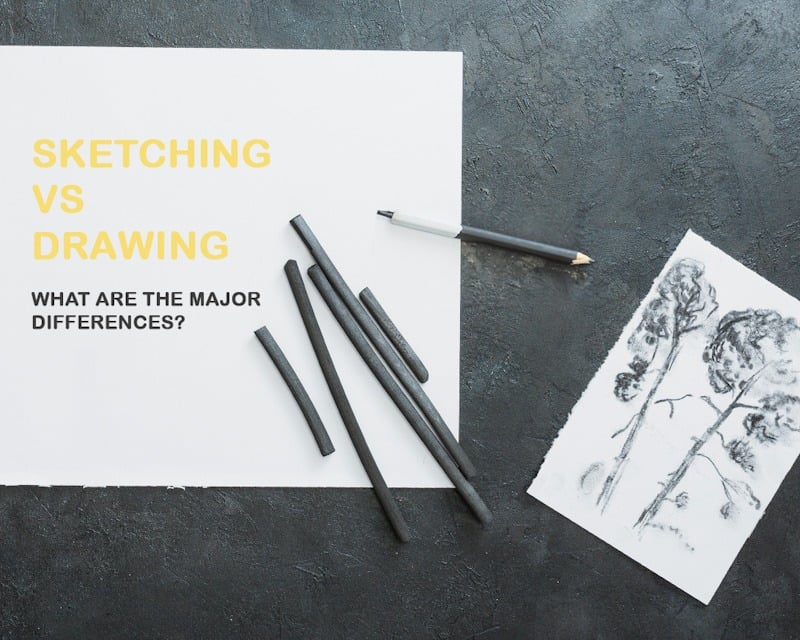
Sketching vs drawing: what are the major differences?
What Are the 5 Basic Skills of Drawing? Let’s Master!
Turn Drawing into Vector: A Step-by-Step Guide
Cheap vs Expensive acrylic paint : Which One Should You Buy?

How Do You Make a Family Portrait? 11 Tips For Great Family Portraits

Decoding Artistic Talent: Skill, Education, and Creativity

Couple Portraits: All The Basics You Need to Know
Self Portrait for Preschoolers: 20 Creative Project ideas for Kids
Exploring Watercolor Effects in Digital Art: A Comprehensive Guide
How to Improve Your Art Style: 5 Rules to Follow
How to Draw Faster: Techniques and Tips for Swift Sketching
Pastel Portraits: An In-depth Guide to Pastel Portrait
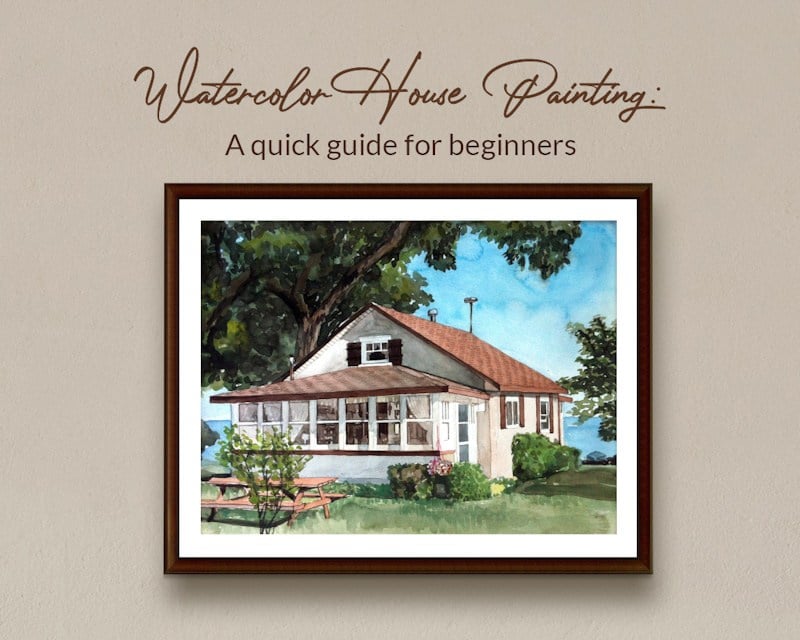
Watercolor House Painting: A quick guide for beginners
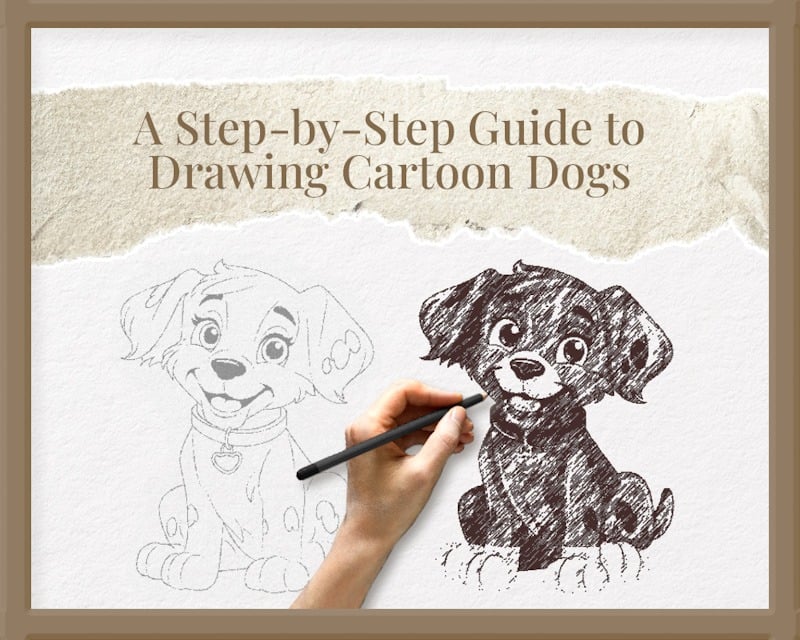
A Step-by-Step Guide to Drawing Cartoon Dogs
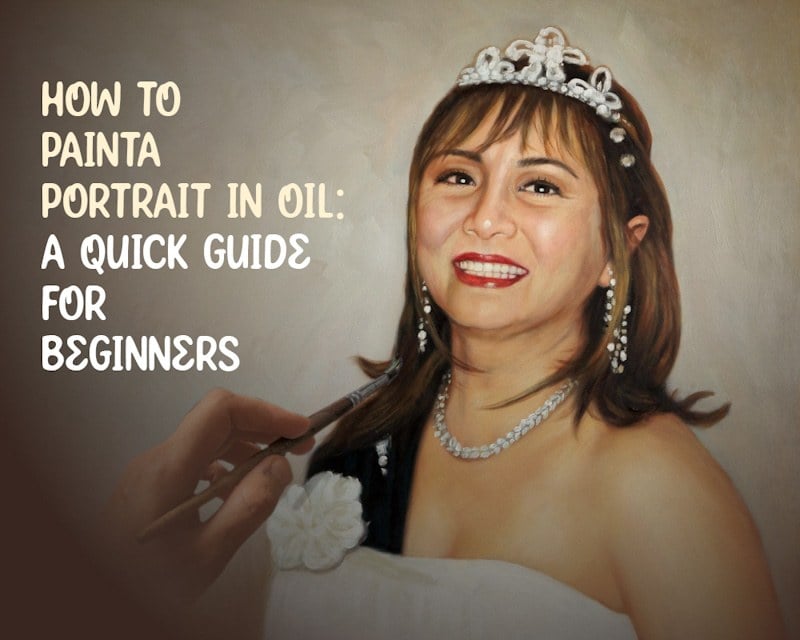
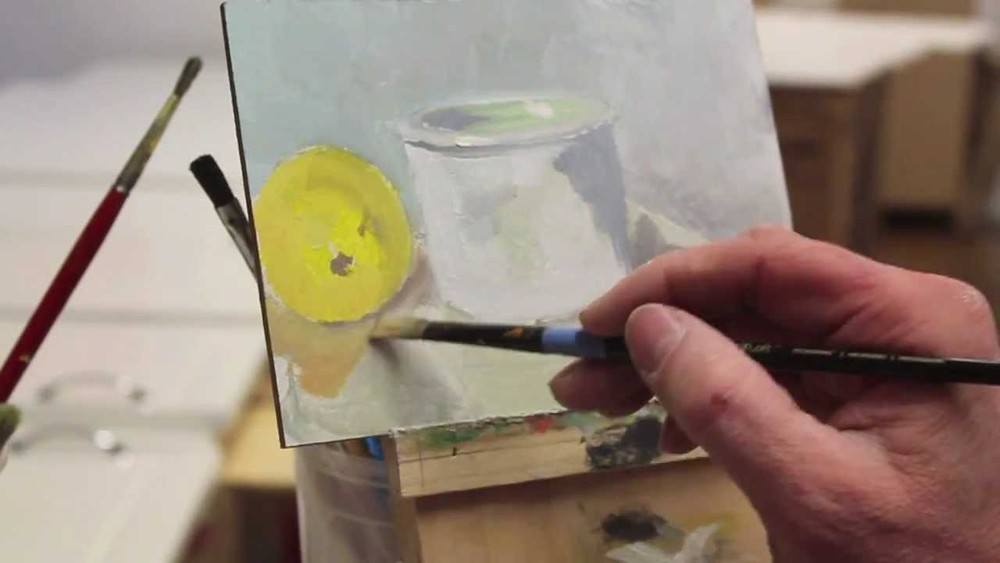
How to Paint a Portrait in Oil: A Quick guide for beginners

Turn Photos into Polaroids with Mobile Apps: Mastering the Vintage Look
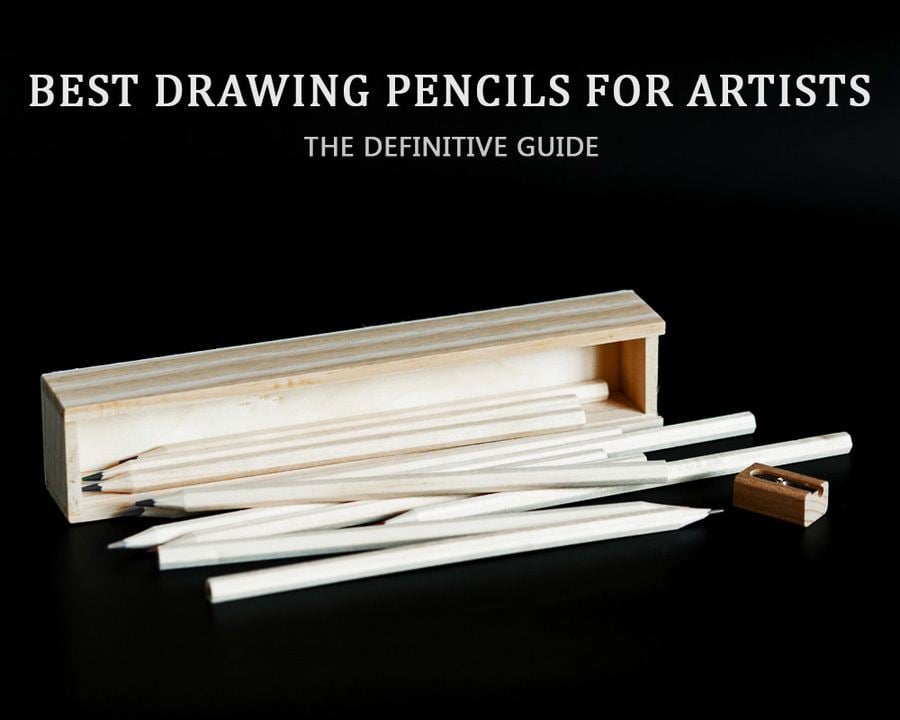
Best Drawing Pencils for Artists: The Definitive Guide
Mastering the Art of Pencil Portraits: A Step-by-Step Guide

13 Best Apps for Face Editing: Transform Your Photos with These Top Picks!

How to Seal Charcoal Drawing on Canvas? Here’s an Answer

Canvas Prints: Everything You Need to Know
Painting a Dog Portrait: Tips, Techniques, and Inspiration
The Basics of Line Drawing: Steps, Apps, and Examples
Expressionist Paintings: Key Facts About Expressionism in Art You Should Know

Famous And Professional Pet Portrait Artists Around The World
Cat Photography: 7 Tips for Taking Exceptional Cat Photographs

15 Heartfelt Pet Memorial Ideas to Honor Your Furry Friend

7 Reasons Why Custom Pet Portraits are the Best Gift for Pet Lovers

Convert Photo Into An Oil Painting: Top 7 Apps

Dog in Renaissance Paintings: 5 Key Facts to Know

What are Art Commissions? Important Facts About Commission Art and How it Works

Guide to Hiring Artists: Finding the Perfect Creative Talent for Your Project

Mastering Pencil Shading: A Comprehensive Guide to Shading Techniques
Canvas Painting: Techniques, Styles, and Preservation
Royal Portrait: History, Purpose, and Famous Paintings
Watercolor Portrait: Tips, Ideas, and Techniques to Follow
How To Paint Children’s Portraits in Watercolor? Top 10 Tips
Turn a Photo into Watercolor: Top 5 Apps
Turn Your Photos into a Canvas Painting: Tips and Steps to Get Started
What are Portraits and Portraiture in Art: An Overview

Impressionist Paintings: Facts, Characteristics, and Examples
Medieval Art – Historical Overview, Characteristics and Examples

Memorial Painting: Everything You Need to Know About Memorial Paintings
How to Paint a Realistic Watercolor Dog? A Step by Step Guide
How To Draw With Charcoal: Expert Tips

Renaissance Painting – Key Takeaways from the Renaissance Era of Art

Top 26 Customized Gifts for Pet Lovers (2023 updated)

How to Make Digital Pet Portraits? 3 Best Online Tools

How can I turn a Photo into Abstract Art? A Step-by-Step Guide

Charcoal Drawing Supplies: A detailed list

16 Websites That Offer Royalty-Free Drawings And Illustrations In 2024

Convert photo to digital art: An Easy Guide

Top 21 Most Expensive Paintings Ever Sold (2024 Updated)
How To Draw A Self Portrait: Key Steps To Master Self-Portraits

13 Pet Photography Tips for Great Pet Portraits
Character Design – Basics of Character Design with Examples

What is Portrait Painting? Everything you need to know about Portrait Painting
Artbreeder tutorial – How to use Artbreeder

16 Best Face Swap Apps in 2023

What makes a painting valuable? Value in art explained

Why do rich people buy art? Top 10 reasons

Sketch Artists : Career Prospects, Education and Job outlook

Finding local artists: Using Fresh Talent & Supporting Existing Artists

Top 15 apps to turn Photos into sketches and drawing
Everything You Need to Know About Free hand drawing
The Ultimate Guide to portrait drawing – Types, Ideas and methods
16 Different Types Of Drawing Styles Every Artist Should Try
Top 10 Tips for DIY Photography

Caricature: The Humorous Art that Captures Us All
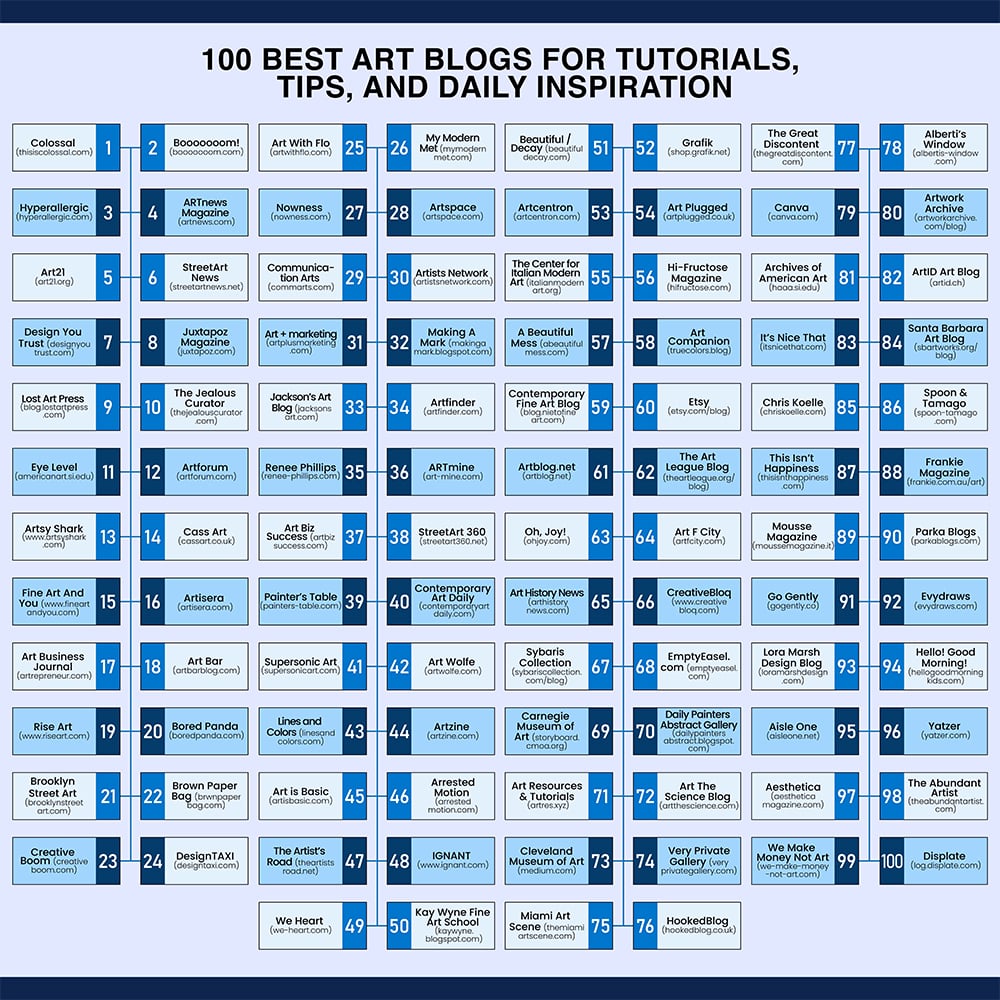
Top 100 Art Blogs To Do follow

101 Fun and Creative Gifts For Artists
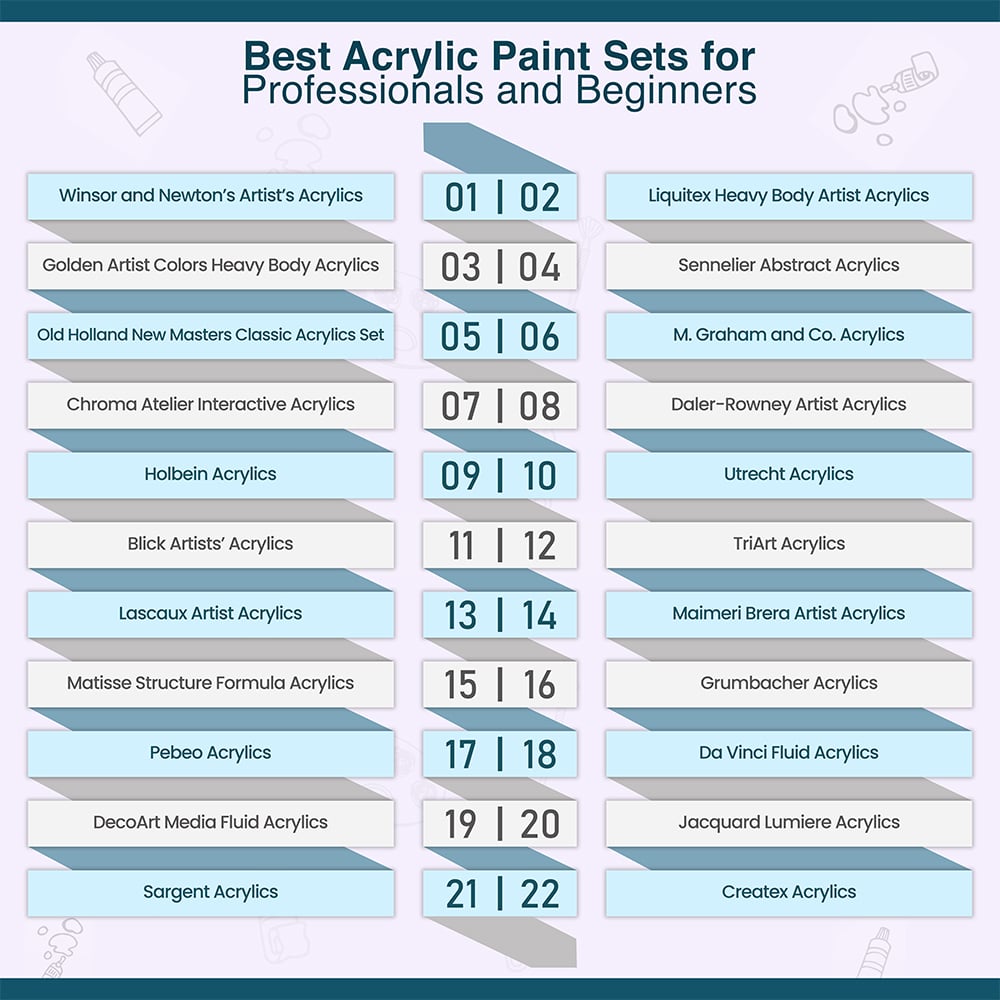
Best Acrylic Paint Sets for Professionals and Beginners
How To Sketch: 20 Essential Sketching Tips For Beginners

25 Best Apps & Software for Photo Editing

200+ Drawing Ideas That Are Easy and Beginner friendly
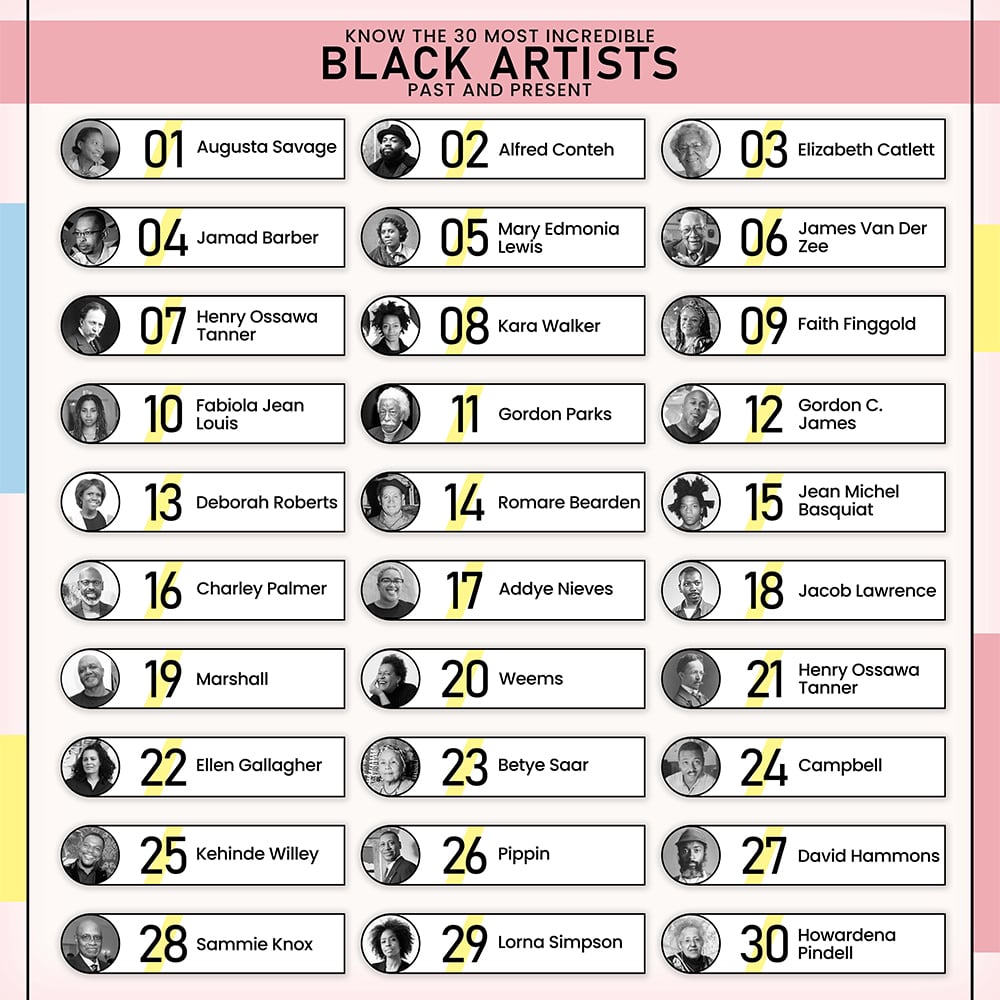
Know The 30 Most Incredible Black Artists: Past and Present

100 Best Art Schools in US
Portrait Painting With Abstract Background
90+ Cool Drawing Ideas to Inspire You to Draw
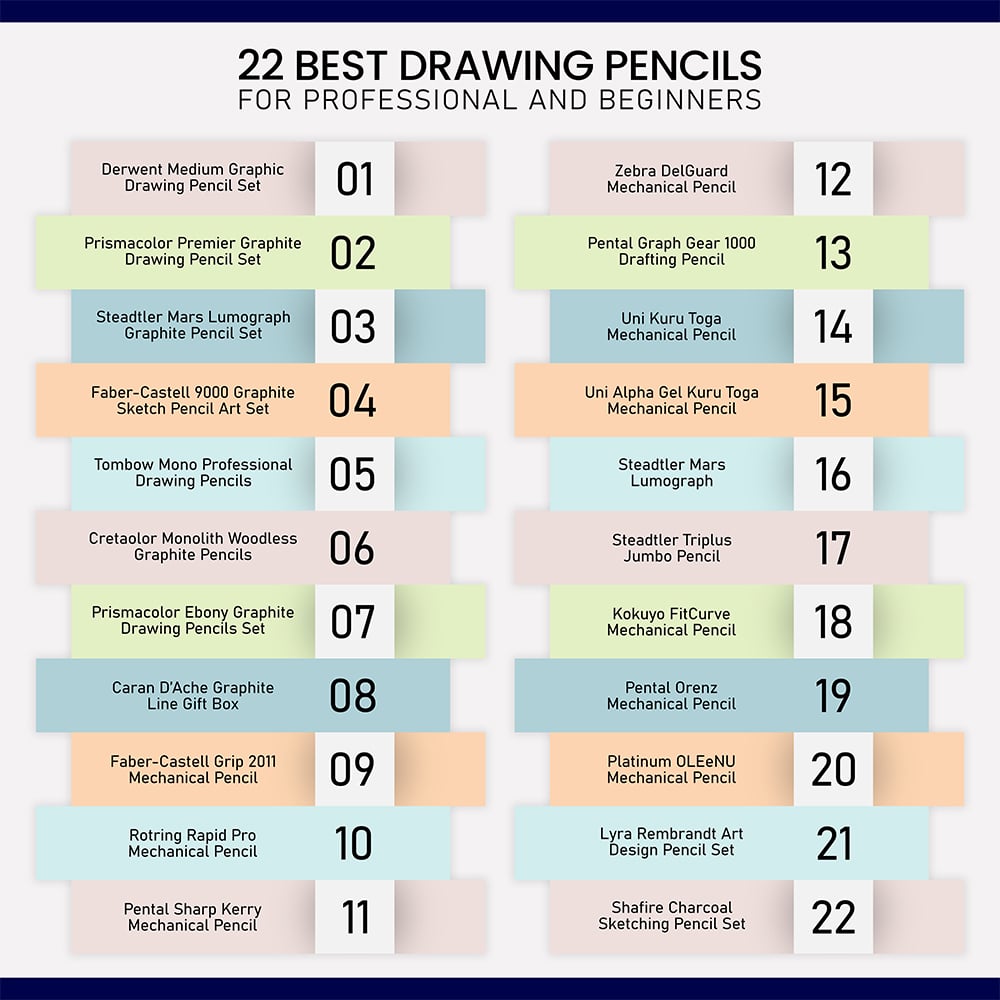
22 Best Drawing pencils for Professionals and Beginners
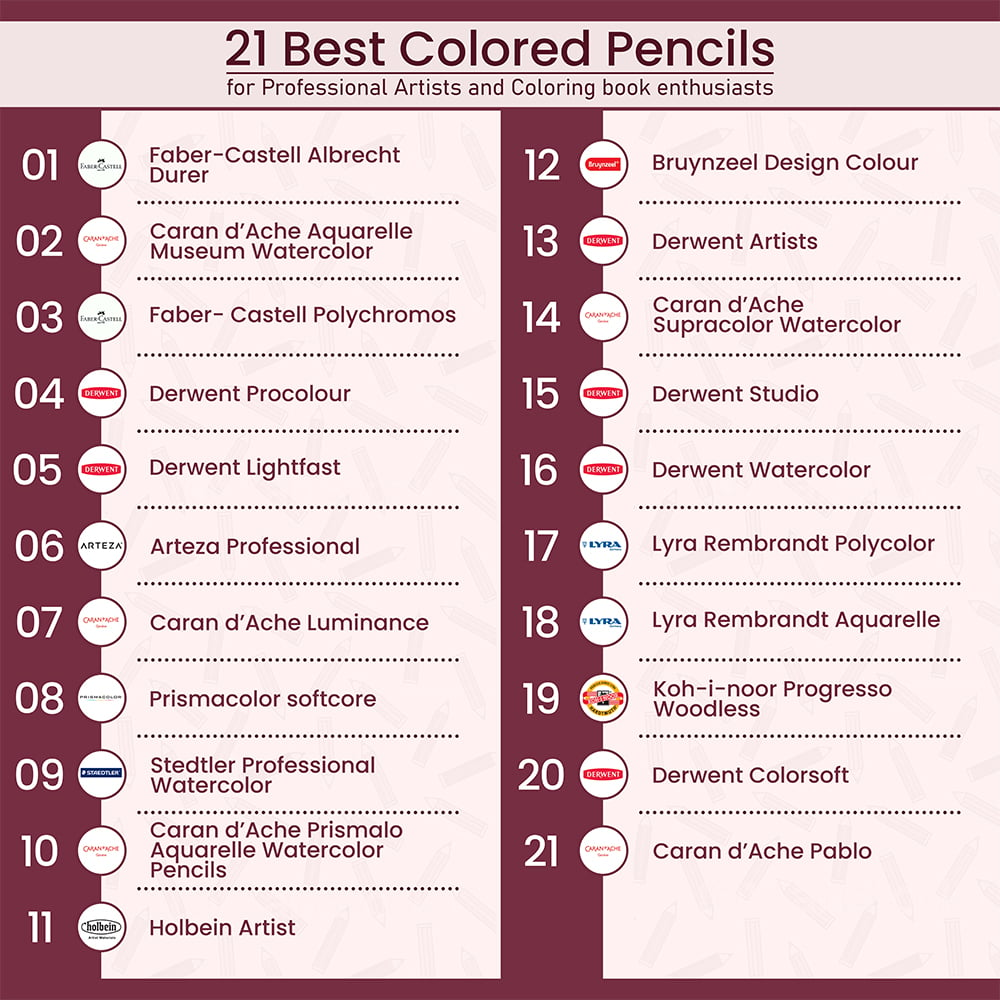
21 Best Colored Pencils for Artists
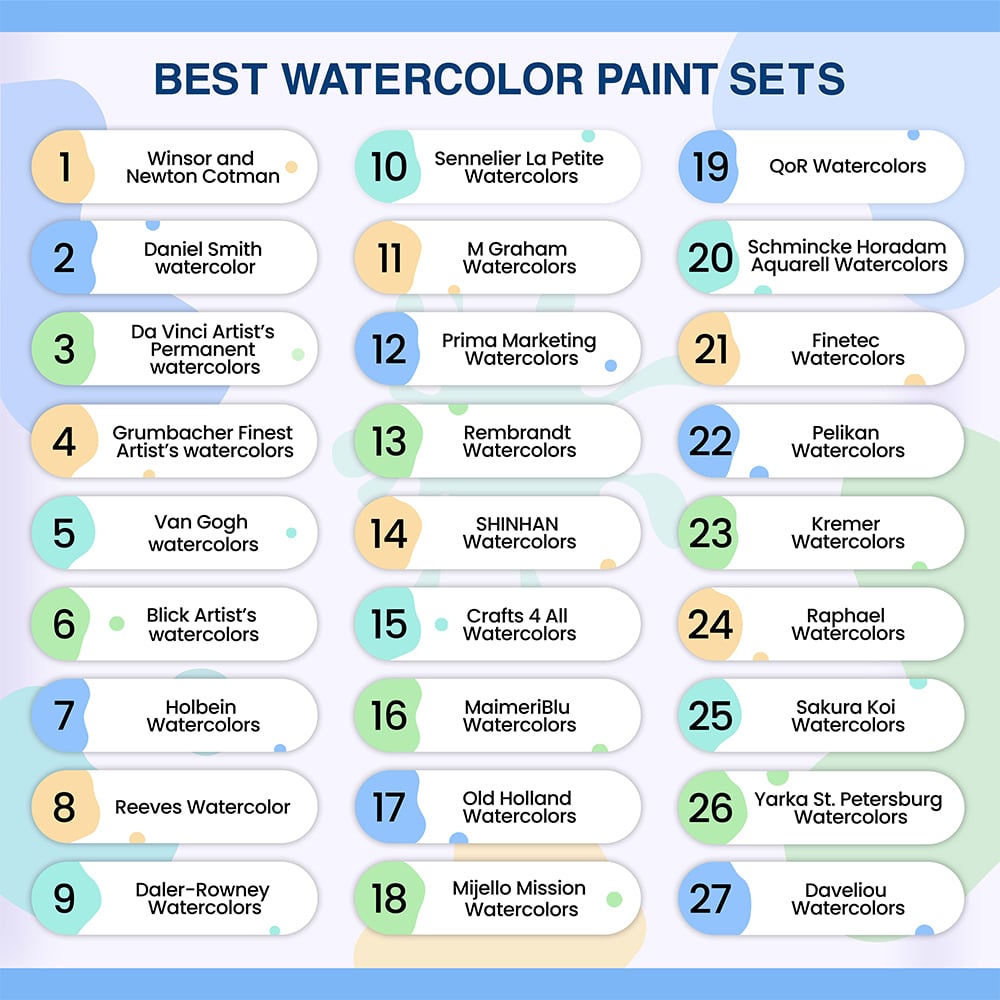
27 Best Watercolor Paints that every Artist will Love

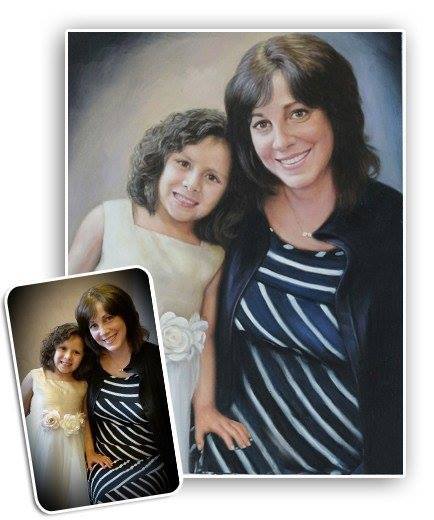
How We Created A Family Portrait From Multiple Pictures
How We Created A Pet Portrait With A Neutral Background

26 Best Drawing Tutorials Online – Learn How To Draw

30 Best Dating Apps To Look Out For In 2023

Christmas Gift Ideas for Men In 2023

24 Health Benefits of Drawing, Painting And Art
Step up the fun this summer with Squirt Gun Painting
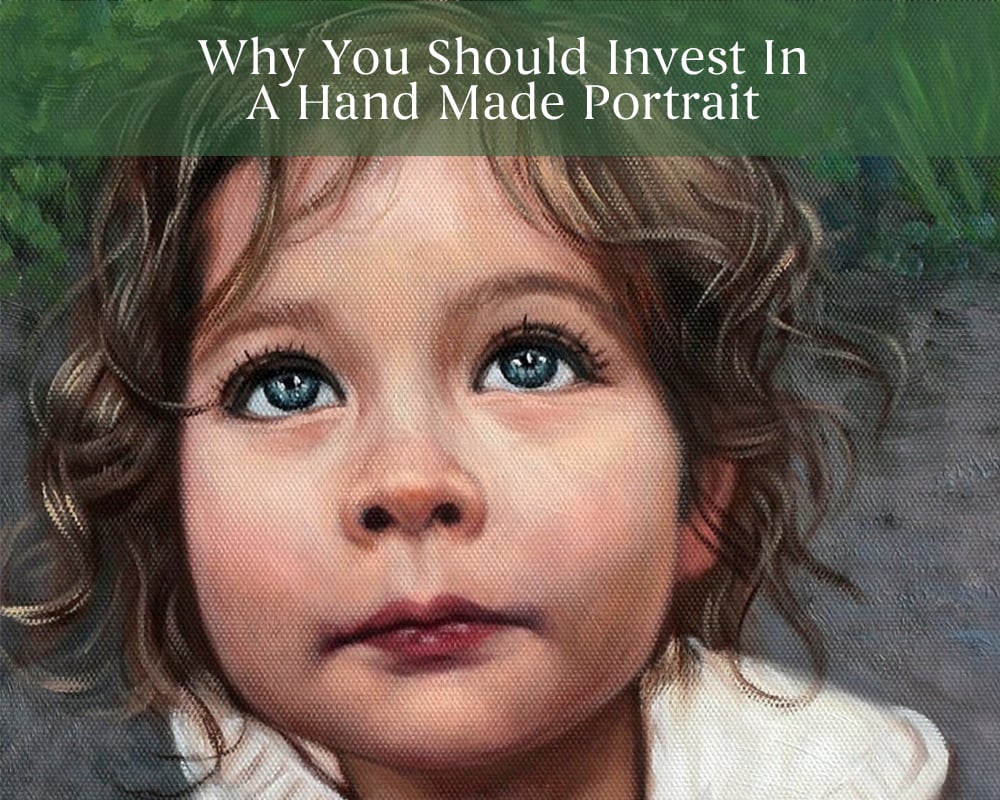
Why You Should Invest In A Hand Made Portrait

How To Hire A Caricaturist
The Best Ways to Turn Photo into Painting
Make a Photo into a Painting for Relieving Memories
How to Find the Best Professional Artists for Converting Photos to Paintings

5 Important Things You Need to Know About Picture to Paint Conversion

4 Tips for Photographing Your Pets

Top Tips for Choosing a Photographer for Your Destination Wedding
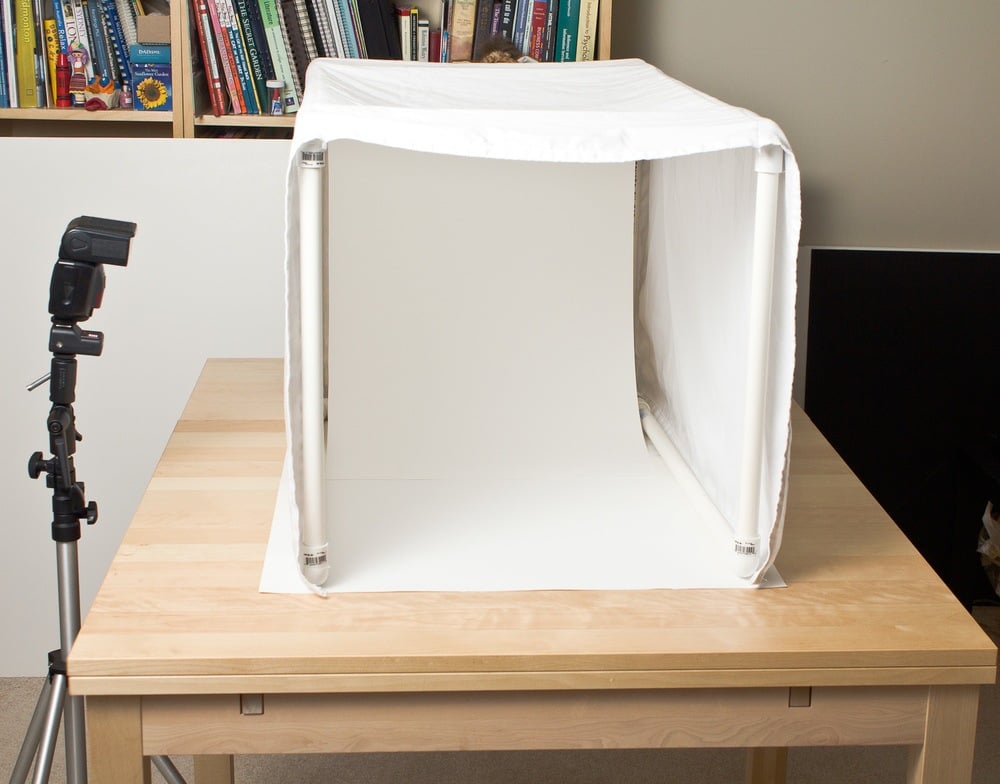
How to Make a Homemade Light Tent

10 Most Stunning Places on Earth – Take Your Camera!

5 Creative Things to Do With Old Family Pictures
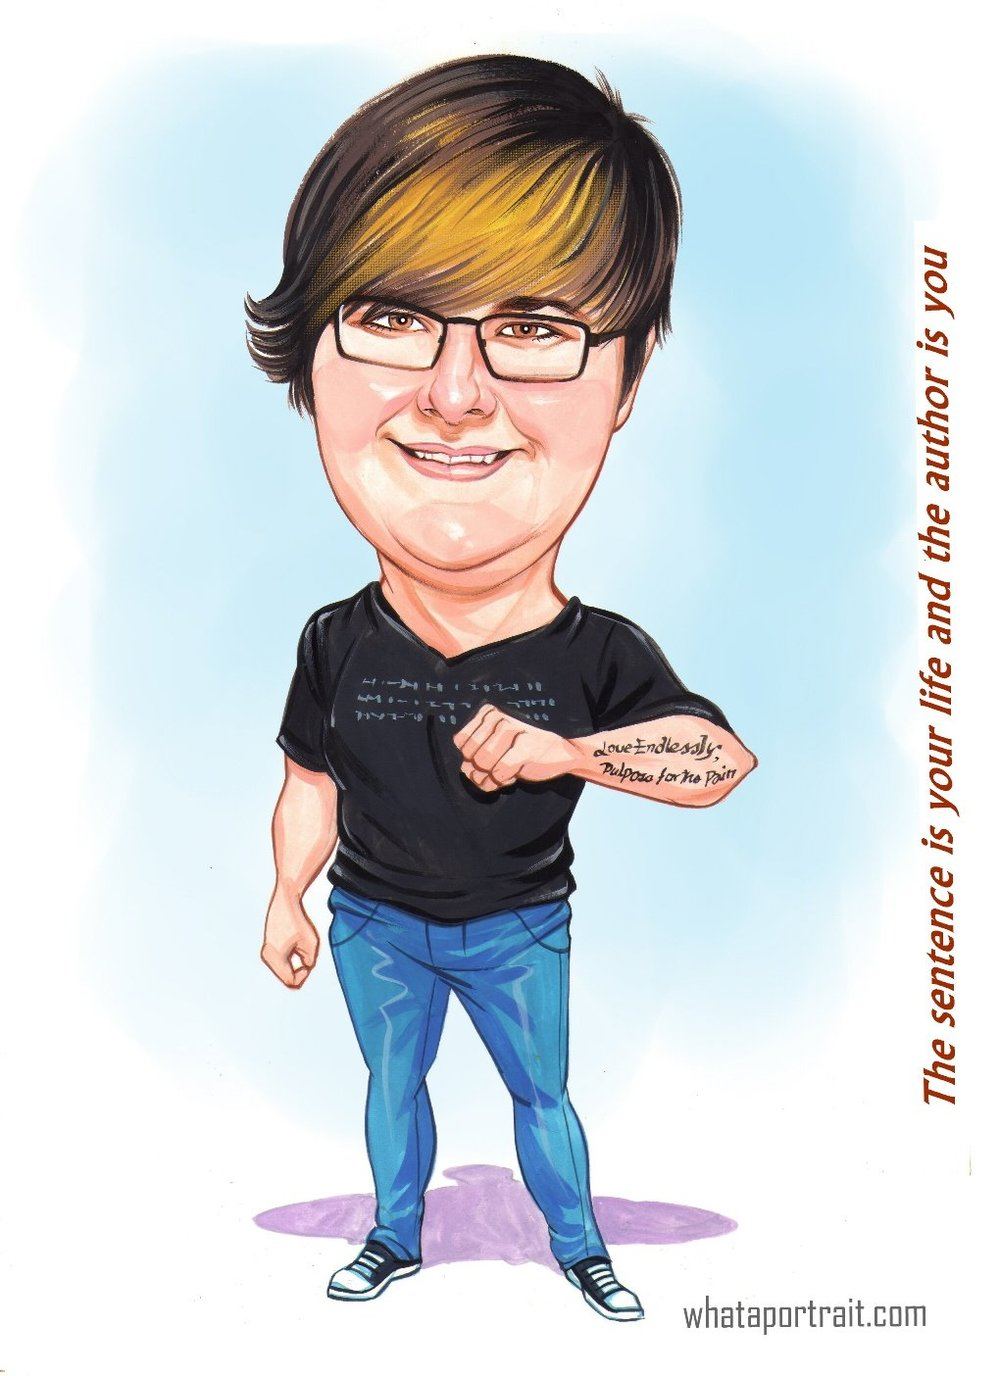
Show Support for Project Semicolon, Amy Bleuel with a Caricature
