Table of Content

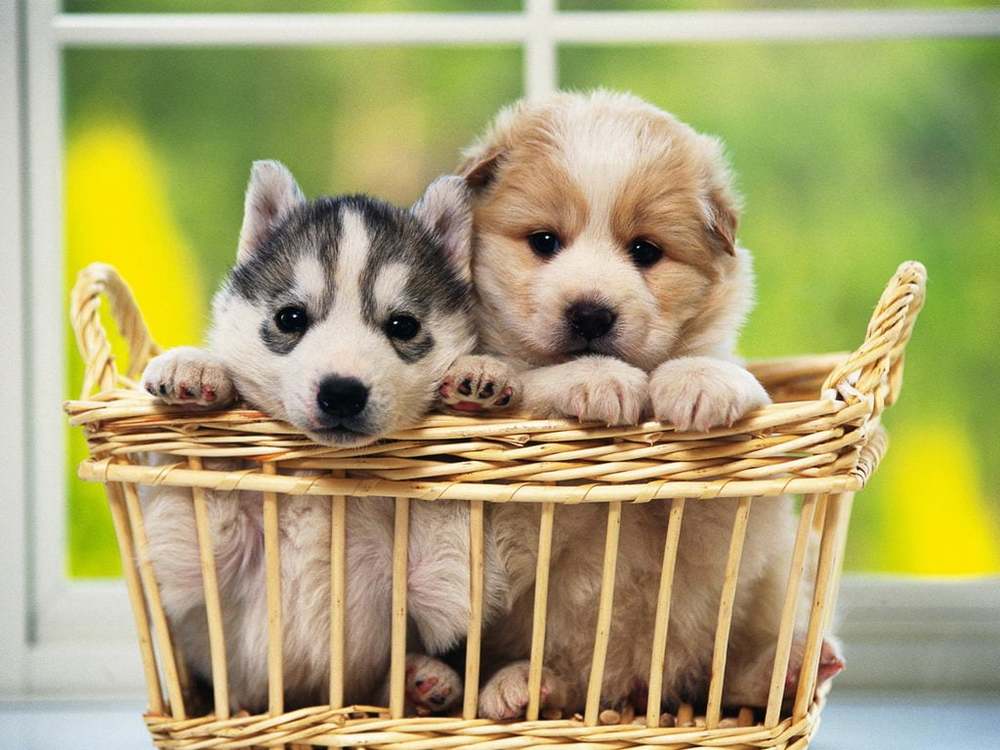
Today, moments of peace and comfort are rare and fleeting in people's busy lifestyles. Only a handful of things bring a person happiness, and playing with pets is one of them. Pet owners love their fur friends unconditionally, considering their pets family and pampering them.
Pet lovers never leave a chance to adore and capture their furry friends. A digital pet portrait is one of the best ways to store those memories. Digital pet portrait help preserve the everlasting memories of animals for the future. With the rise of pet photography, the demand for personalized pet portraits has also increased.
But before we move further, let's understand the meaning of a digital pet portrait.
What is a Digital Pet Portrait?
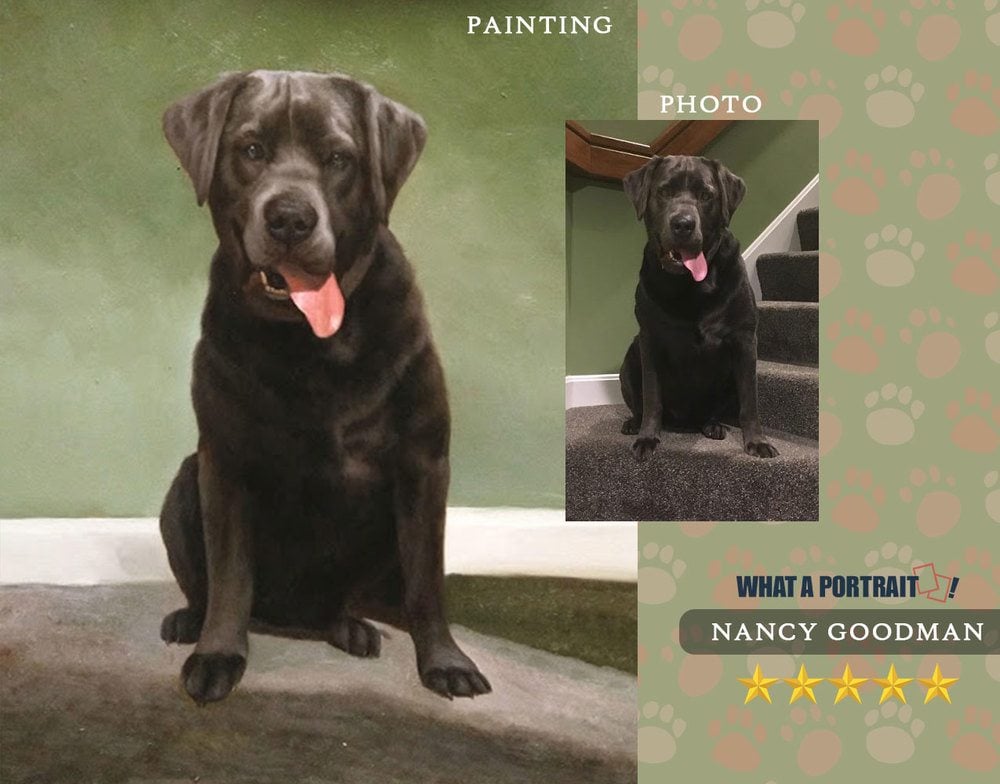
A digital pet portrait is an illustration made using different computer software and applications. It visually represents an animal's character, behavior, and traits. Pet portraits bring forth a funnier and more delightful side of a pet.
Pet lovers convert pet photos into custom portraits to honor and celebrate their pets. While several apps turn photos into pet portraits, let’s explore the three best online tools for this transformation process.

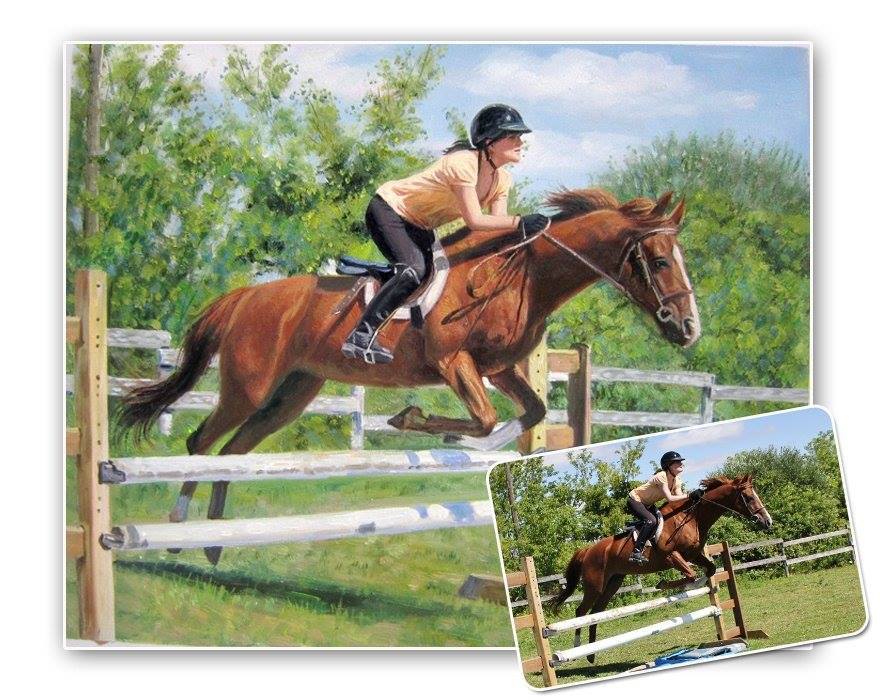
Credit: Paint My Pet

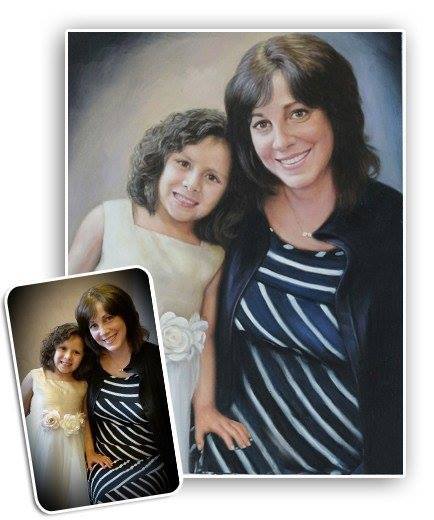
Credit: Etsy
Creating a Digital Pet Portrait Using The Procreate App
Procreate is a graphics editor app allowing users to digitally create and edit interactive images. It is a digital illustration application for creating digital paintings, lively animations, and beautiful, expressive sketches. However, Procreate is available only for IOS devices and not for Androids.

Credit: Procreate
Procreate is favorable among pet portrait artists because of its unique editing features. With multiple innovative online tools, Procreate lets users design attractive innovations and creations efficiently.
Procreate Pocket is a mobile application for iPhone users to make expressive portraits on the phone effectively. When working on Procreate using an iPad and Apple Pencil, artists have a feeling of real-world drawing while making digital art.

Credit: iDownloadBlog
The steps for creating a custom pet portrait using Procreate are as follows:

Step-1: Understanding the Interface Layout
Before beginning the designing and developing part, it is essential to understand the functioning and layout of any application.
● Procreate’s minimal interface divides itself into three parts:
- Painting tools at the top right corner consist of paint, smudge, erase, layers, and colors.
- Modification tools in the left side toolbar consist of brush size, modify button, brush opacity, and undo or redo arrows.
- Complex editing tools in the top left corner include a gallery, actions, adjustments, selections, and transform tools.

Credit: Michelle Kirsch
● The feature of Gestures allows users to use their fingertips to quickly carry out different functions like copying, pasting, rotating, zooming, etc.
- Two-finger taps to undo recent actions.
- Three-finger taps to redo.
- Single touch to paint, smudge or erase.
- Pinch to zoom in or out.
- Pinch and twist to rotate.
- Three-finger swipes for copying, cutting, or pasting, and many more.

Credit: Adventures with Art
● Using other keyboard shortcuts or accessibility elements, artists can conveniently access other filters and effects while making digital art.
● Using an Apple Pencil, artists can utilize the full potential of precision, accuracy, and speed of Procreate.
Step-2: Select a New Artboard
After understanding the essential functions available in the application, let us begin the creation of the custom pet portrait. The first step is to select a new artboard.
● Open Procreate application and click on (+) to add a new canvas.
● Select the screen size of your canvas and press ‘Ok’.

Credit: Ebb and Flow Creative Co.
Step-3: Inserting a Pet Photo for Creating a Pet Portrait
After you have added a new canvas, choose a pet image.
● Procreate gives three ways of adding a picture for transformation into your canvas.
- Inserting a file
- Inserting a photo through the Photos app
- Snapping a picture at that moment
- All you have to do is click on the ‘Actions’ function and select ‘Add’.
- A pop-up will display three parts - ‘Insert a file’, ‘Insert a photo’, and ‘Take a photo’.
- Select the option of your choice and upload the picture accordingly.
- The ‘Insert a File’ option will open the Files app displaying all the recent images. You can even scroll and browse through the other connected folders.
- The ‘Insert a photo’ option will open the Photos app showcasing all the saved and taken photos on your iPad.
- Taking a photo option with the help of a built-in camera will let you do pet photography.
- You can add photos in any format, whether JPEG, PSD, or PNG.

Credit: Adventures with Art
Step-4: Add Another Layer
- Once you have added the photo of your choice, go to the Layers option in the top right column.
- Select Layer 1 and reduce its opacity to 75%.
- Now add another layer on top of Layer 1.
- Layer 2 is where you would sketch the pet portrait.
Step-5: Remove the Background
While making a custom pet portrait, the focus must be on the subject. Before you start sketching out, remove the background from the pet image. Use the eraser tool, select the appropriate thickness, and wipe out the background.
Step-6: Sketch Out the Pet Photo
- Click on the paint tool in the top right corner toolbar.
- After clicking on it, a dropdown menu will appear.
- Select the Sketching option from it.
- Now, choose the brush you want to sketch your portrait with. Options available are technical pencil, HB pencil, Derwent, 6B pencil, oil pastel, soft pastel, artistic crayon, etc.
- After selecting the sketching brush, choose the color.
- Now start outlining the image using the Apple pencil.
- Generally, block out the shapes and outlines.

Credit: 21 Draw
Step-7: Work on the Features
- After completing the rough outline of the pet, start working on its features.
- Begin with the eyes, then the nose, mouth, tongue, jaw, and ears.
- Add wrinkles and textures to give the pet image a realistic look.
- For shorter hair, do shorter strokes; for longer, make bigger ones.

Credit: Etsy
Step-8: Highlight the subject
- Work towards highlighting the photo with different colors.
- Enhance the pet photo by adding light and dark tones.
- Smudge out the colors to make it look like an original photo.
- Change the sketching brush and experiment with several other strokes and lines.
- Give final touches to your pet portrait.

Credit: Pinterest

Credit: Skillshare
Step-9: Add Text
After completing the artistic part, the next step is to give your custom pet portrait a name.
- For adding text, go to the top left toolbar and select the Actions Menu icon.
- Go to ‘Add’ and then select ‘Add’ text.
- Now, you will see a little text pop-up where you can type the pet’s name.
- You can pick any font style, size, and color for the text.

Credits: Kiki Pet Portrait
Step-10: Export your Custom Pet Portrait
- The final step is to export the portrait’s digital copy.
- Go to the ‘Actions’ Menu icon at the top left toolbar.
- Select ‘Share’ and choose the image format you want to export.
- Again, a pop-up will appear asking where you want to save the portrait. Pick your choice of saving option, and that’s it! Your digital pet portrait is ready.
Creating Digital Pet Portraits Using BeFunky App
If you are looking for an application that turns your pet photos into portraits hassle-free within a few minutes, BeFunky is the perfect app. The photo editor of BeFunky, powdered by AI-technique style transfer, helps create customized pet portraits quickly and effortlessly.

Credit: BeFunky
It is available on Android and IOS. Follow these simple steps to turn an original photo into a beautiful digital pet portrait:
Step-1: Remove the Background from the Pet Photo
After uploading your chosen picture, the first step is to remove the photo's background. Removing the background ensures that the viewer focuses solely on the subject. To do so:
- Go to ‘Edit’ in the left side main toolbar.
- Select the ‘Cutout’ option.
- Now, click on ‘Remove Background’. This tool automatically detects the subject and separates it from the background.
- A pop-up window featuring the results preview will appear when you click on it.
- If you want to make any changes, you can do so with the help of the ‘Remove’ and ‘Keep’ tabs.
- Once you are satisfied, click on the blue-colored ‘Apply’ tab.
- If the subject is not prominent and needs more precise editing, you may have to use the other cutout tools.
- The various cutout tools are Paintbrush, Polygon Lasso, Rectangular, Lasso, Circular, and Magic Brush.
- These tools will help you manually and accurately cut out the subject from the background.


Credit: Befunky
Step-2: Export the Cutout as a New Layer
- Once you have isolated the subject from the object, save the cutout as a new layer.
- Select the ‘Export as Layer’ option.
- Exporting the layer will add the cutout to the image manager and allow you to work individually on the subject and background.
Step-3: Color the Background
- Adding a plain color to the background will enhance the subject.
- To add color, click ‘Edit’ and choose ‘Background’.
- Go to the square located near the ‘Fill’ color.
- The color picker will appear in front of you.
- Now, choose the desired color to cover the background.
- Note selecting a color contrasting with the subject is better.
- Click on ‘Apply’ to see the results.
Step-4: Edit the Exported Image Layer
- As the background and the subject are in separate layers working on them becomes more accessible.
- Go to ‘Image Manager’ in the left toolbar.
- Select the exported image layer of your pet.
- Now, click on ‘Edit Image’.
- Apply artistic filters like Color overlay, Tint, Shadow, etc., to make your portrait more expressive.
Step-5: Apply other Effects to your Digital Pet Photo
- Check out the Artsy option in the left toolbar to enhance the pet portrait.
- Edit your digital copy using various features and filters.
- Use the slider available to modify the minute details.
- Explore the various accessories alternatively to create a custom pet portrait.
- You can even cancel the selected effect and try on some other.

Credit: BeFunky
Step-6: Adjust and Reposition the Image
Once you have edited the portrait, alter its size and position accordingly. You can drag the image’s corners inwards and outwards to zoom it in or out. You can also rotate the picture upside down or in whatever direction.
Step-7: Add Text
After altering and modifying the pet photo with beautiful filters and accessories, give it a name. To add the text, you must:
Click on the ‘Text’ option in the main toolbar.
- As you select it, a text box will appear.
- Select the font size, style, alignment, and color according to your preference.
- You can even use the alternatives in the ‘Text Properties’ panel.

Credit: BeFunky
Step-8: Save your Digital Copy
Once your personalized pet portrait is finished and ready, save it using the ‘Save’ option on the top of the screen. You can choose the desired location for saving the picture and the file type by clicking the ‘Save’ button.
Keeping your digital copy in a pdf format ensures high-quality printing and displaying.

Credit: BeFunky
Using NightCafe AI for Creating a Digital Pet Portrait
If you are a pet lover and want to customize the best pet portrait, Nightcafe AI can help you convert original photos into exceptional artwork.
Nightcafe Creator is a unique AI tool using text-to-image algorithms to generate pictures and illustrations. It uses machine learning techniques to transform a writing prompt into an image. The steps to follow while making pet portraits are as follows:
Step-1: Understanding NightCafe AI Tool
NightCafe Creator, an AI art production tool, can be complex. Before starting to create, let's look at how this software functions.
● NightCafe produces alluring and beautiful picture recreations using neural style transfer techniques.
● NightCafe Creator uses an algorithm, model, text prompt, input image, and art style to generate artistic pictures.
● The best features that NightCafe offer is:
- Content import and export,
- Content collection,
- Image editing,
- CAD tools, and many more.
●Although NightCafe works on a credit system, it is free for the first two-three uses.
Step-2: Create your Custom Pet Portrait
- Click on ‘Start Creating’ from the menu bar.
- A list of options will appear in front of you.
- You can continue with the primary mode or try the advanced mode.
- Choose from the algorithms, i.e., the creation method available- Stable, Coherent, Artistic, and DALL-E 2.
- Pick the model you want to generate the image in.

Credit: Diffusion News

Credit: Capterra
Step-3: Write a Text Prompt and Insert an Input Image
- The next step is to write the text prompt. The text prompt describes how you want your portrait to look. If your digital art is complex, insert multiple text prompts to explain the details.
- Examples of text prompts are a portrait of a dog playing in a garden or an animal lying on the ground.
- Input images as references for the AI tool. Upload a photo you want to recreate.
Step-4: Pick up Style for Editing
● Choose from the numerous artistic styles available.
● The options are Artistic Portraits, Caricatures, Modern Art, Oil Painting, Abstract Curves, Charcoal, Cosmic, etc.
Step-5: Wait for the Results
- After filling in all the options with your preferences, click ‘Create’.
- Now, sit tight and wait for your AI pet portrait to generate.
- Once the results are out, review them and edit the image further if you are unsatisfied with any part.
Step-6: Download or Publish your Creation
- Once the portrait is ready, you can download, publish, or share it.
- You can even purchase a print of your creation.
- Add your order to the cart, mention the preferred size, and pay for it.
- The product will be delivered automatically to the chosen address with zero shipping charges.


Credit: NightCafe AI art generator
Conclusion
Framing artwork in home decor brings liveliness and vibrance to the atmosphere. With so many online tools available, one can create a perfect digital copy of the portrait by following these simple and easy steps.
So, next time, pick a digital pet portrait if you wish to gift a pet lover (Top 26 Customized Gifts for Pet Lovers (2023 updated)) a lovely picture of their happy and playful dog or want to hang a frame in memory of your beloved dog or cat.